Demolition
Taking the Bus down to its bones
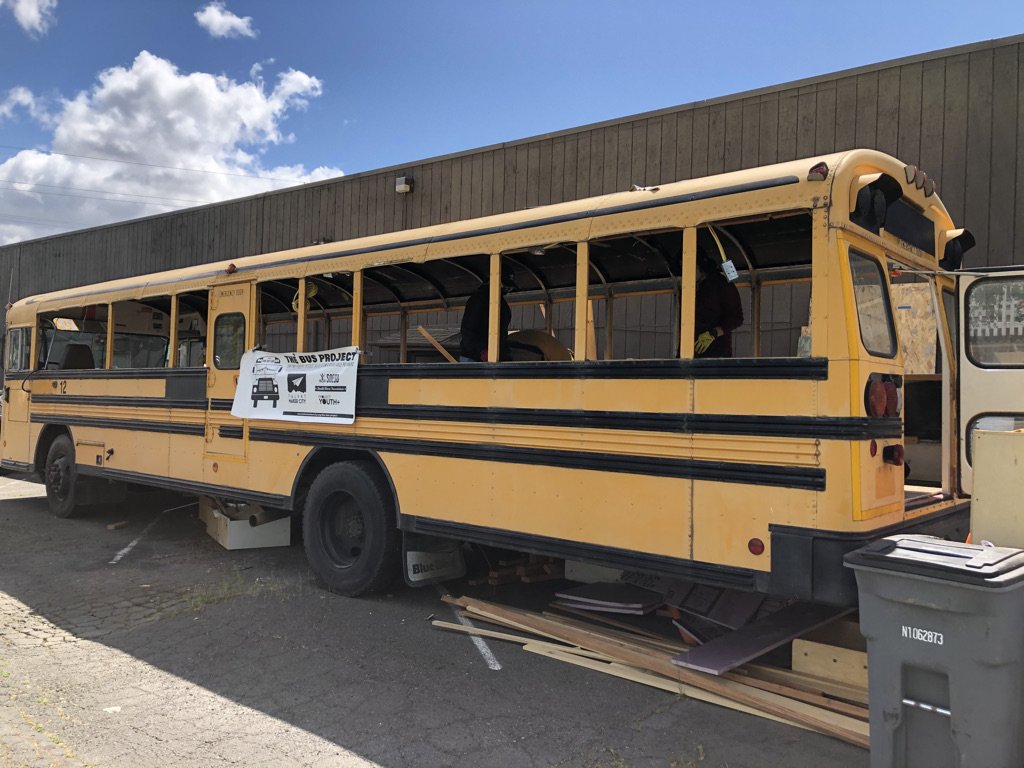
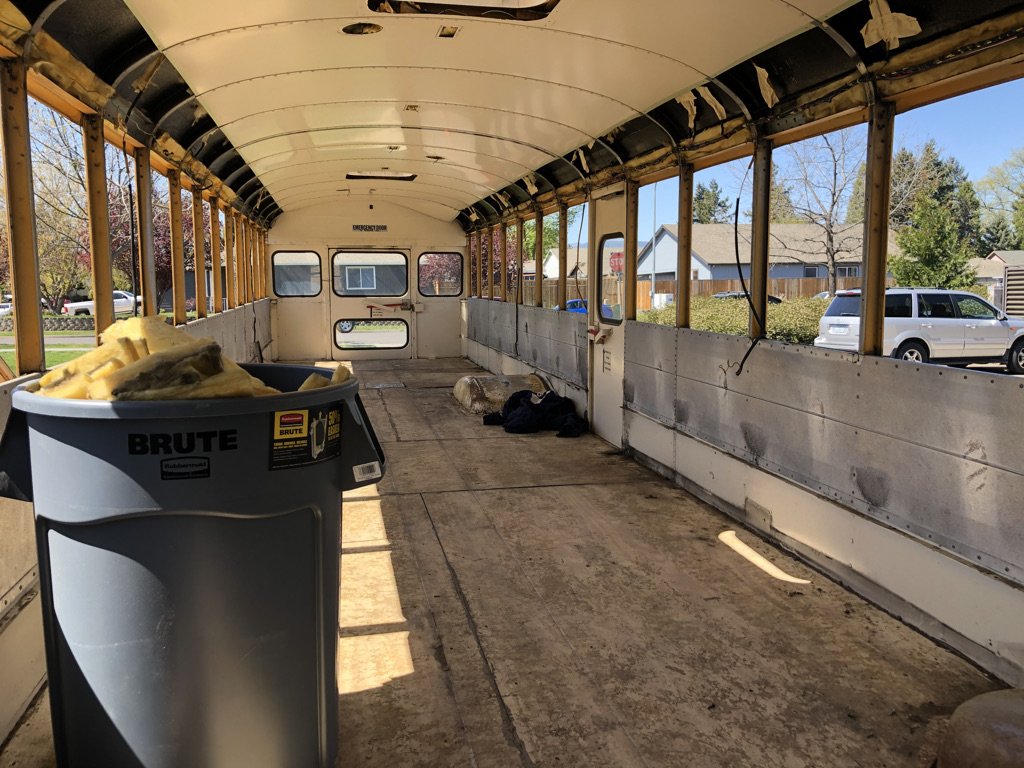
Took metal siding off
Would recommend leaving the metal ceiling intact (ours was already removed)
We exposed the side wall cavities in order to insulate them
Took out all school bus windows from sides (left front and rear windows)
Would maybe leave some of the more functional windows? Depends on design and access to new windows
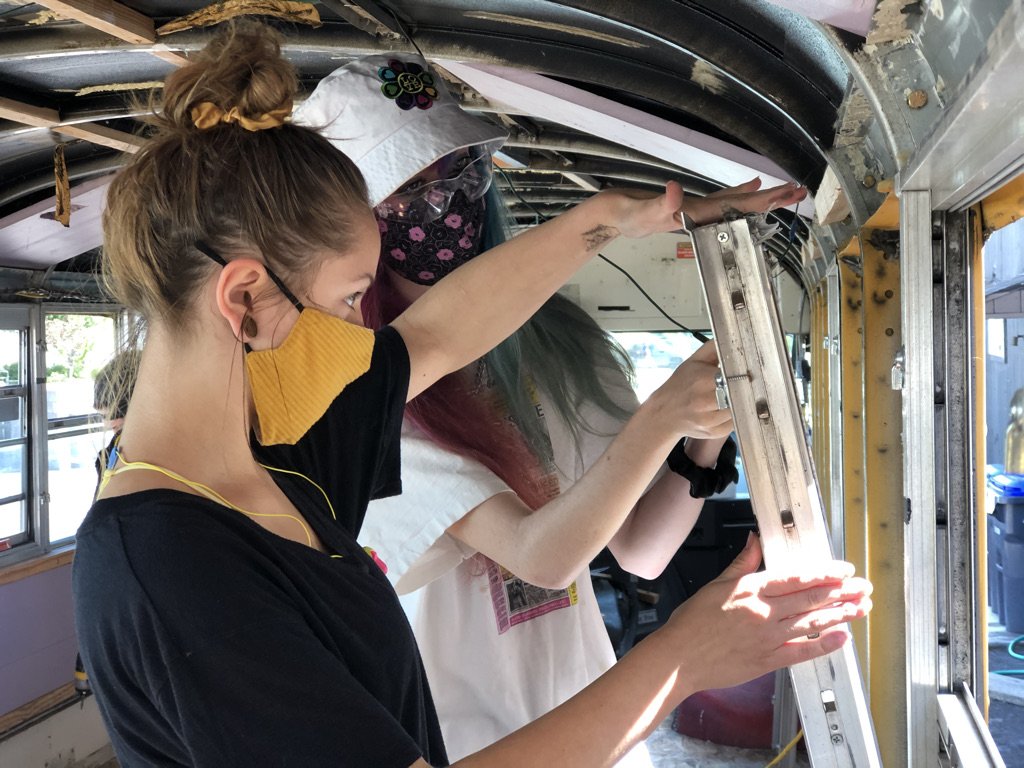
Cut specific metal ribs with angle grinder from between window bays in order to fit larger windows
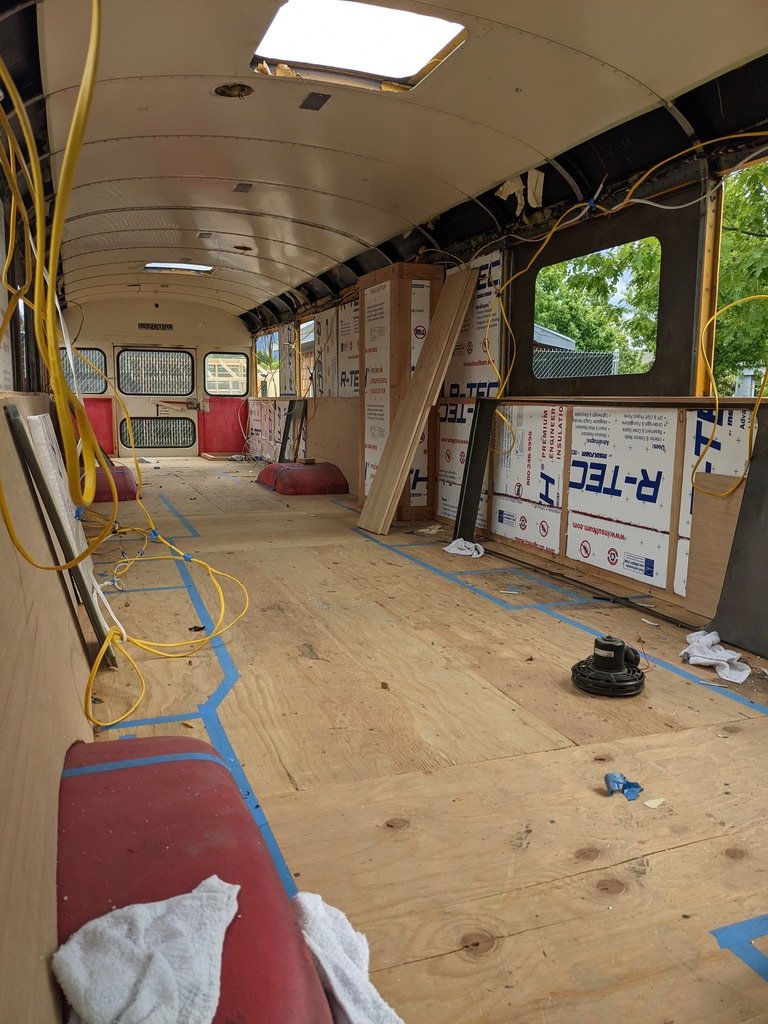
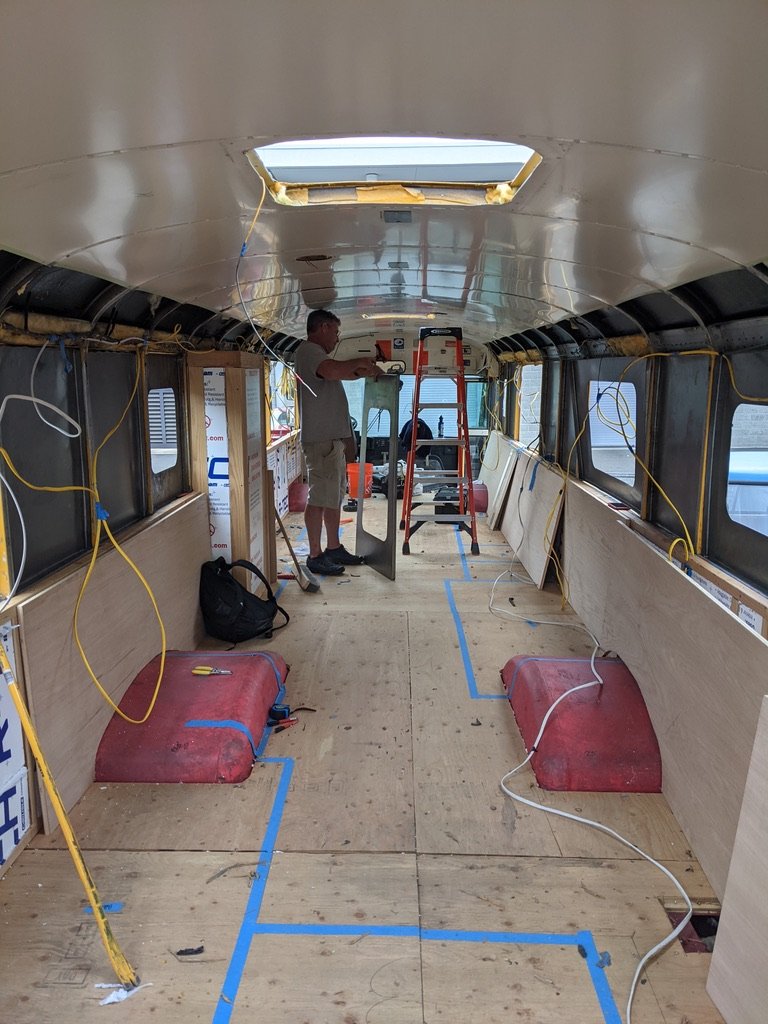
Took floor down to metal subfloor
Cleaned up all rust, glue, mold, etc from frame
Sealed up all small holes in floor and walls with liquid nails
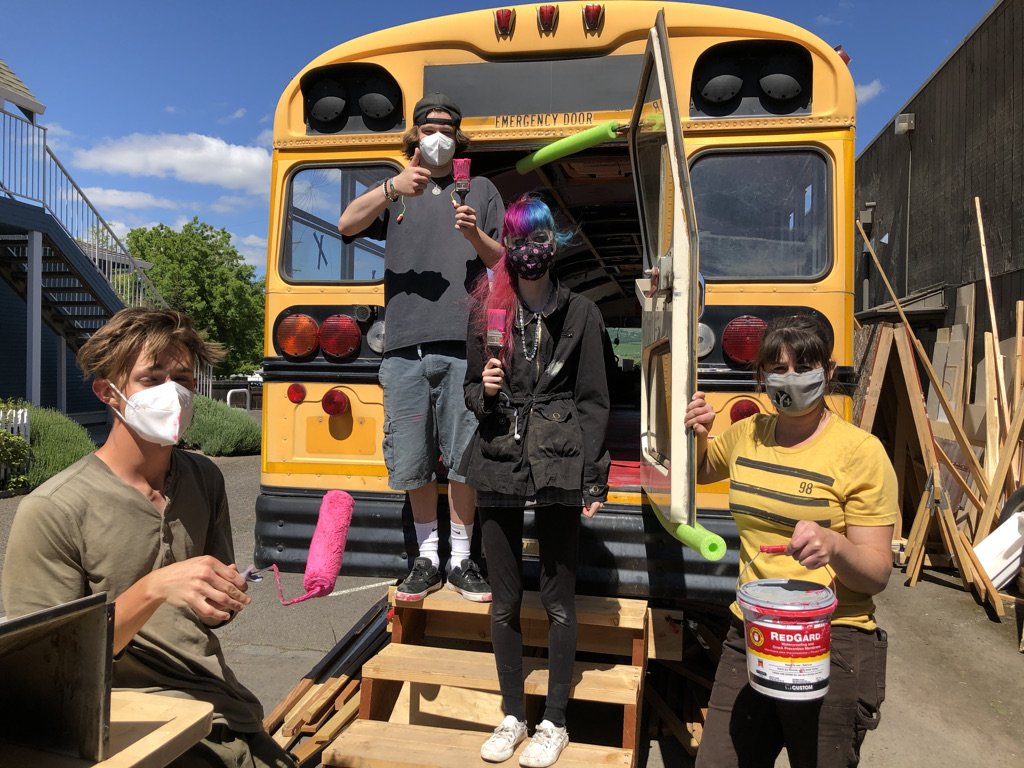
Painted metal subfloor with rust resistant paint (Red Guard)
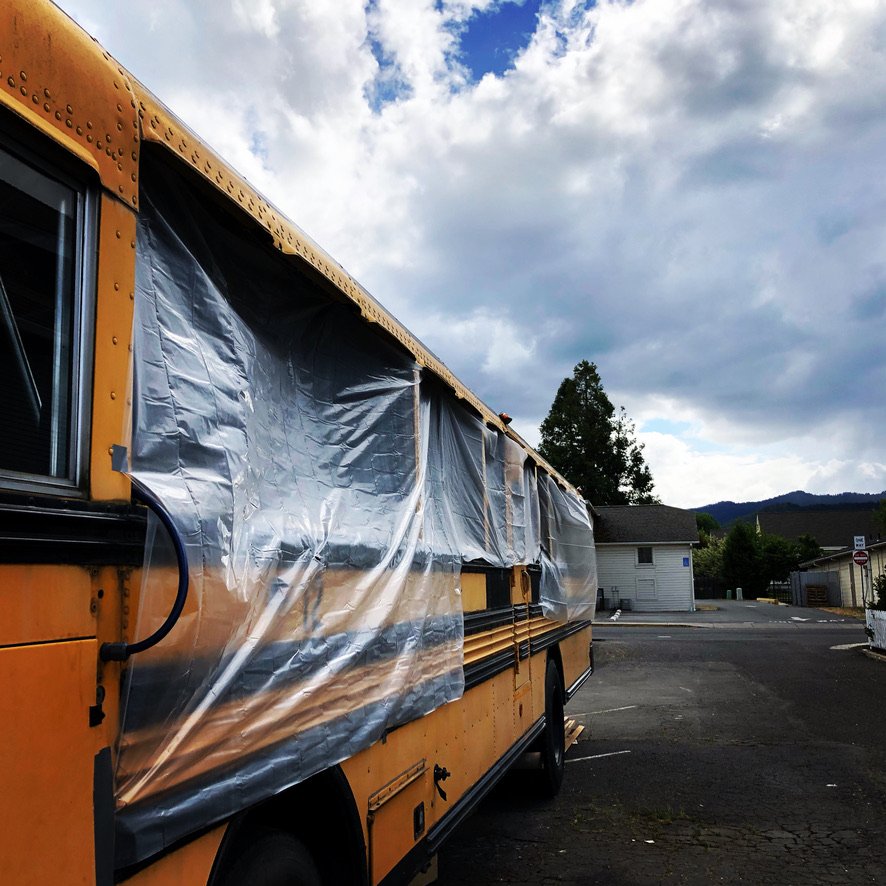
Recommend sealing around exterior bus lights - potential moisture access
Builder Notes
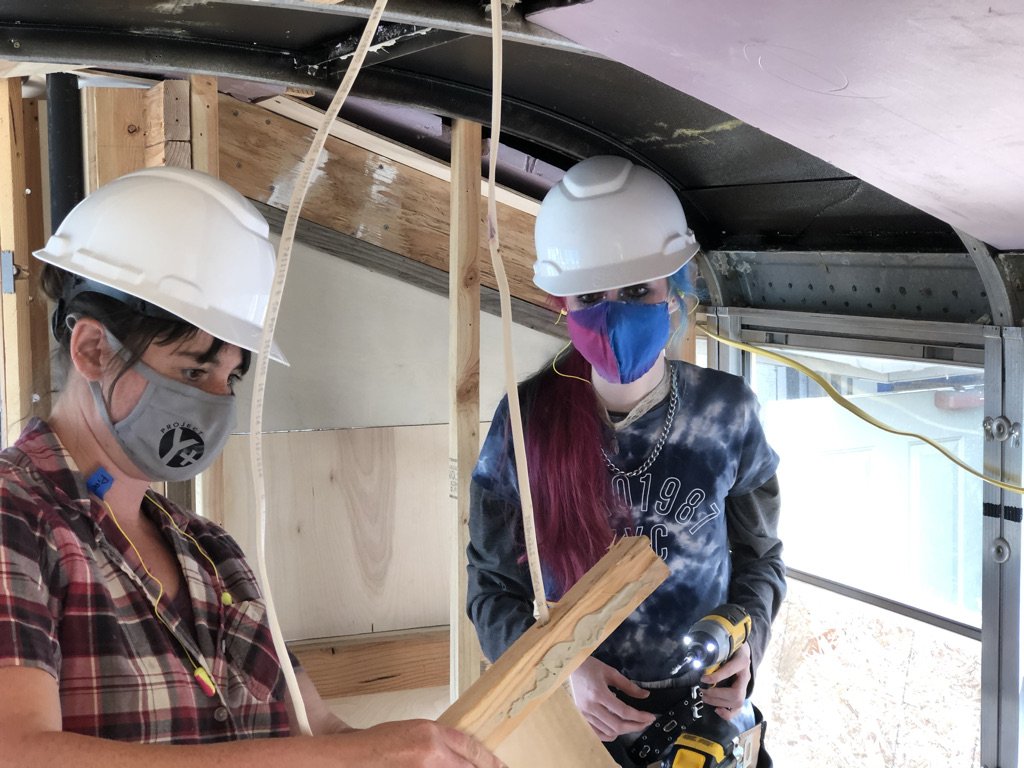
Because our school bus already had some work done on it, much of our demolition process had already been completed. We started with a bus that didn’t have seats, lower wall skin, or ceiling skin. This made the demo work easy, and also there were certain choices that had already been made that we might not have made ourselves - most notably removing the ceiling skin. In our moderate climate, the pre-existing insulation within the metal ceiling would be sufficient for temperature control, and leaving the skin would have saved us months of work in re-insulating and re-skinning the unique curvature of the ceiling. In more extreme climates you might make the judgment call to take off the ceiling, but if you can justify leaving it we highly recommend saving yourself the hassle!
We did remove the existing plywood subfloor in order to insulate the floor and do rust mitigation, and would recommend removing the metal wall skin below the windows in order to insulate and furr out the walls with wood. We also removed all school bus windows because of their poor quality, though if your bus has well-placed windows in decent condition, leave them at your discretion.
The rest of the demo is fairly discretionary - clean up rust, fill holes, seal possible moisture access from the outside as needed.
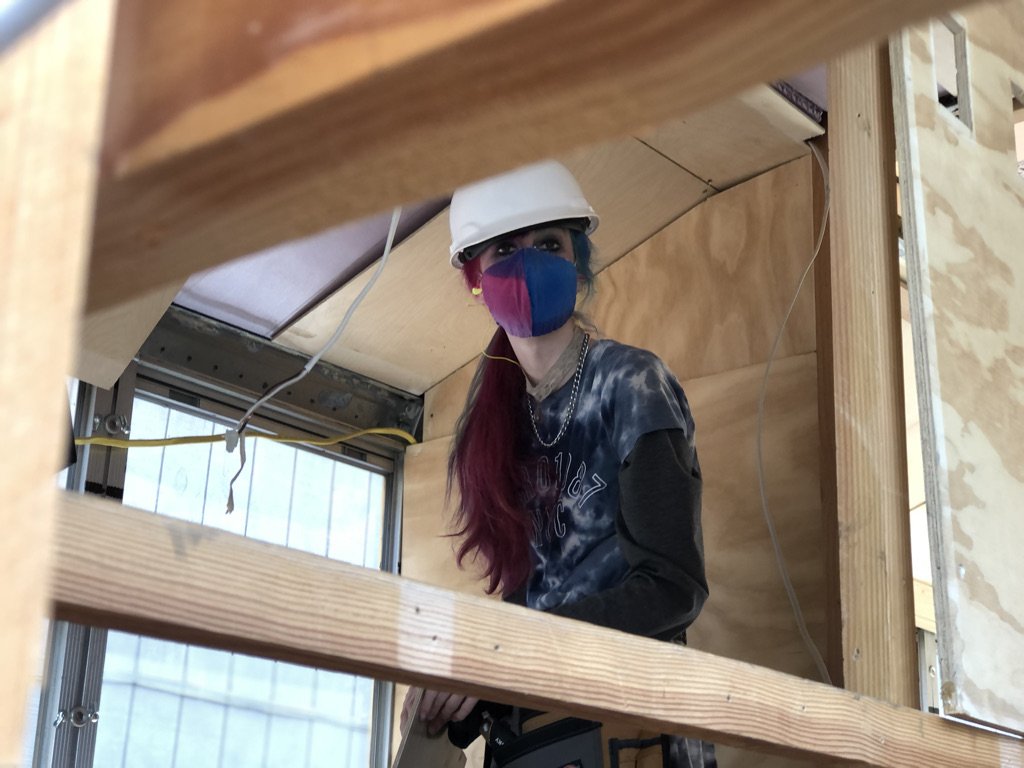
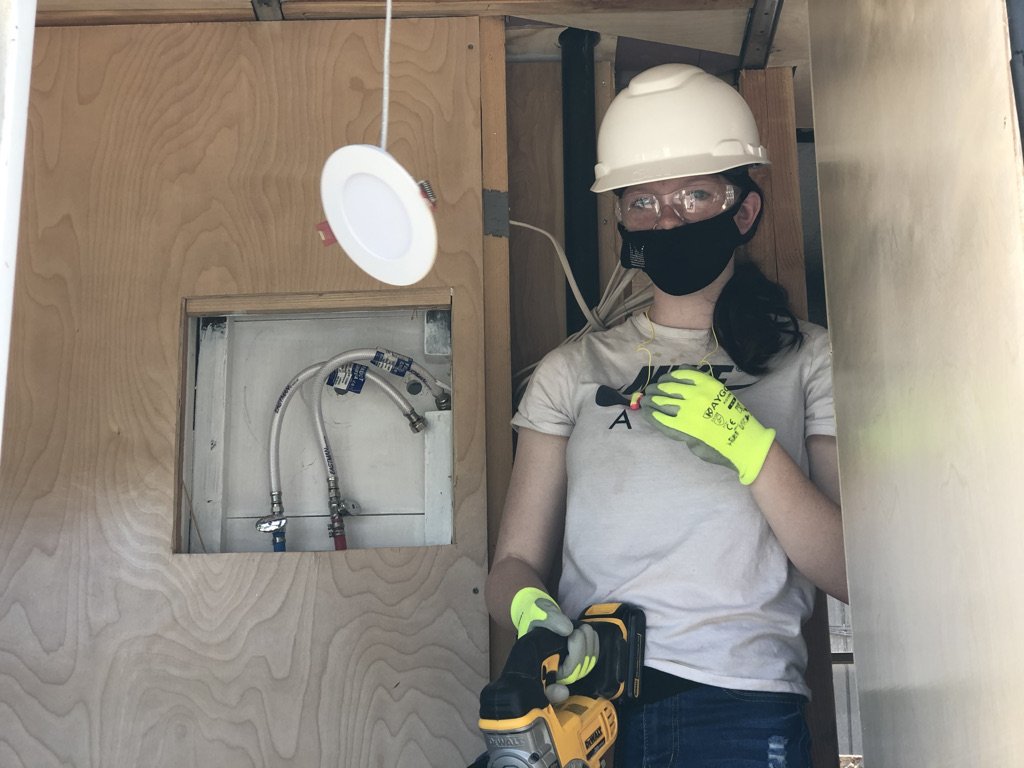
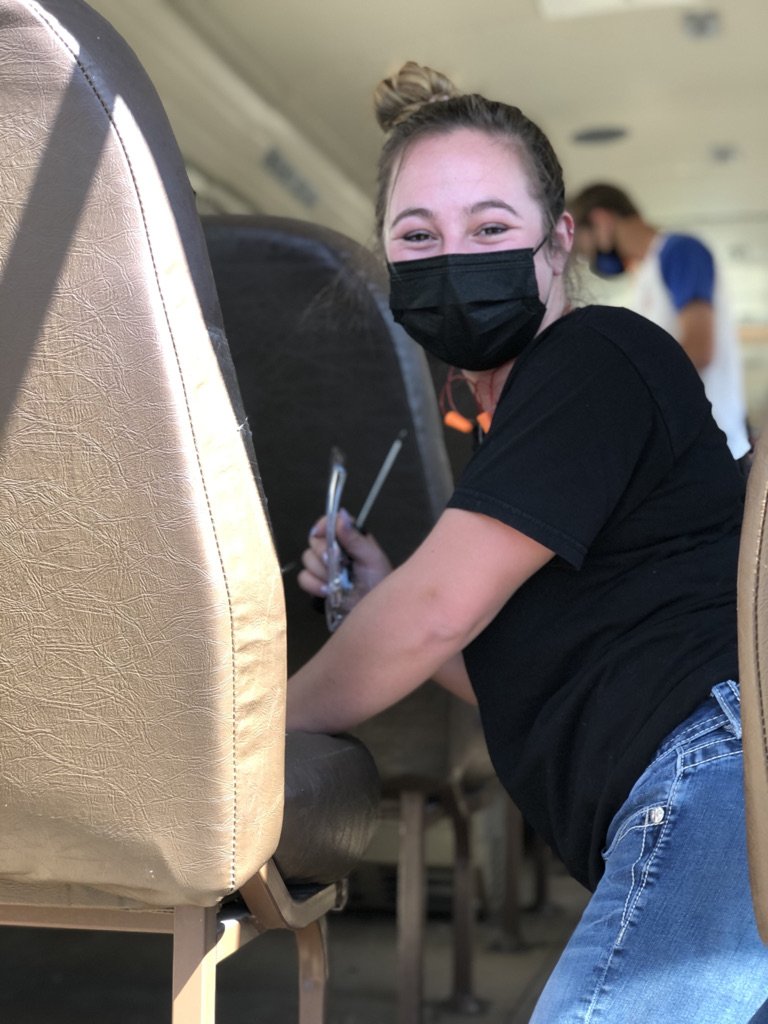
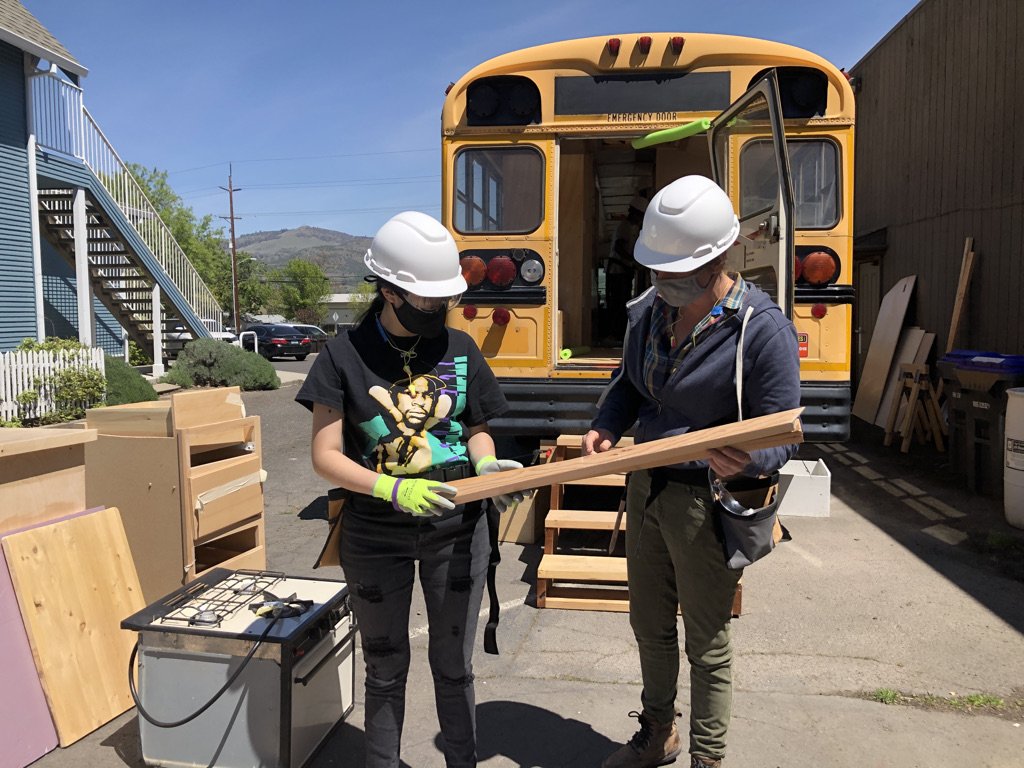
*Demo is a quick, hopefully fun activity that students can participate in and is a great introduction to get them working with tools and materials. Unless you are working with advanced students, don’t have students work with the grinder or sawzall on this phase.
