Installing Wall Partitions
No bouncing off these walls!
Used majority 2x2 material to keep walls as narrow as possible
The wall between parents’ bedroom/bathroom top plate is a 2x6 on end scribed to match the ceiling curve.
Studs spaced to match 4x8 sheets of ply on 4’ center.
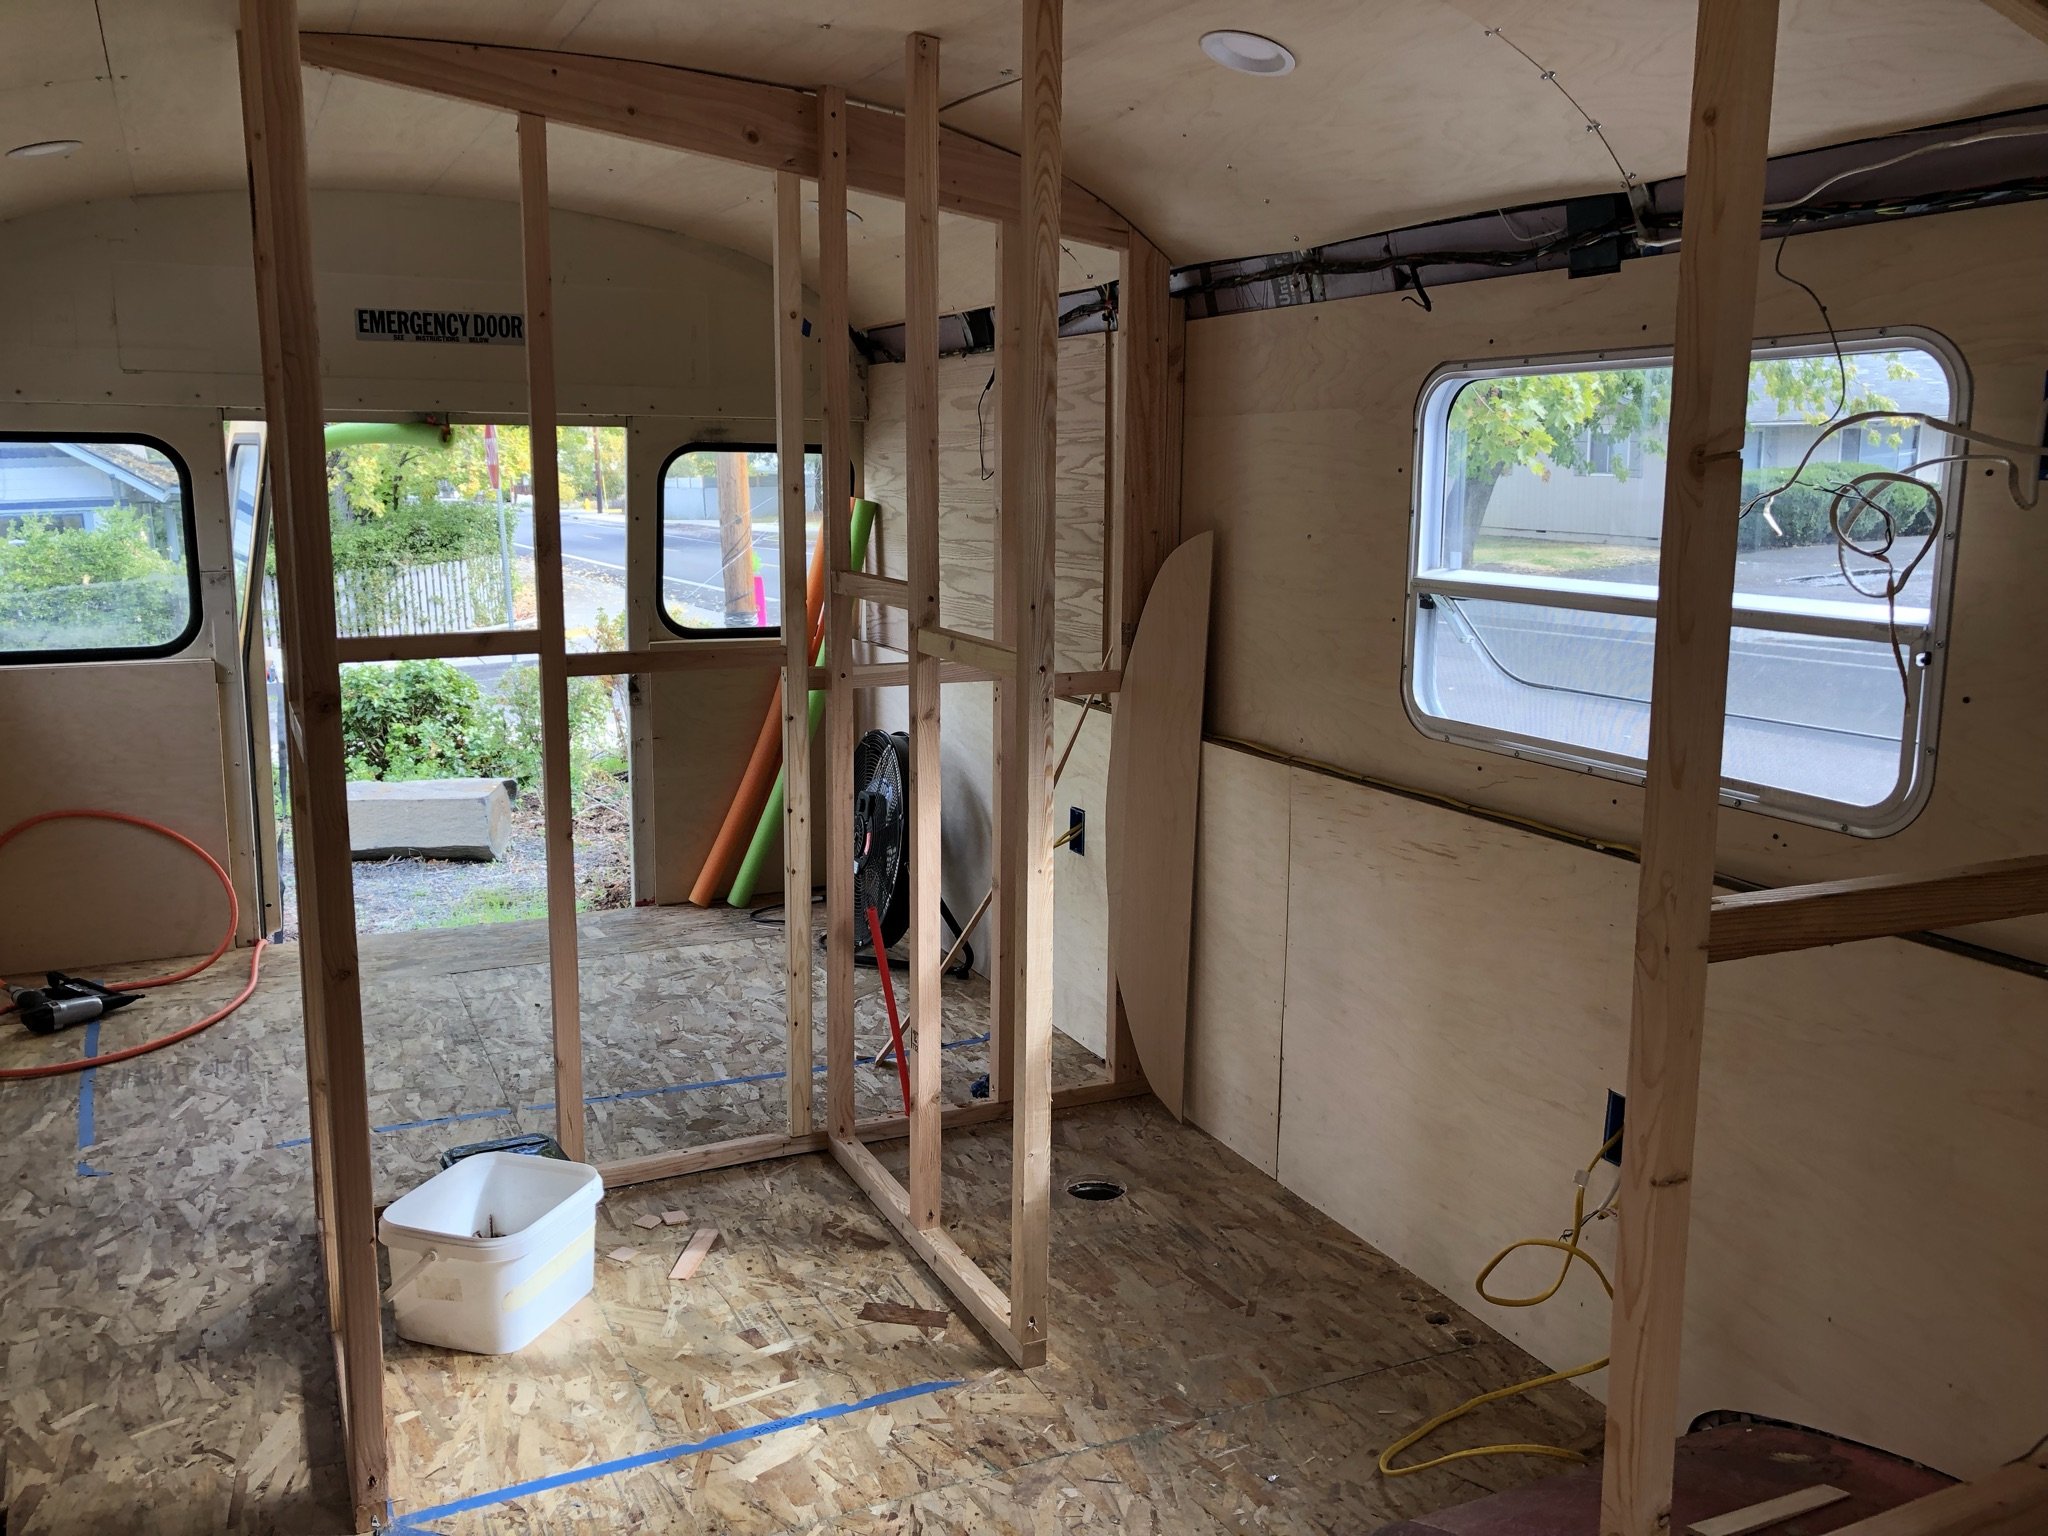
The wall between toilet and shower is spaced 32 ½” from the interior wall (hallway wall) to make space for a 32” shower stall, leaving just enough room for toilet (24” to wall)
Make sure to bring in the shower through the back door before building the wall.
The bathroom door will be a 30” bi-fold. To fit in the bus, it will need to be special ordered or cut down to the correct height (approx 72”). Will fold to the right (towards storage cabinets)
Builders Notes
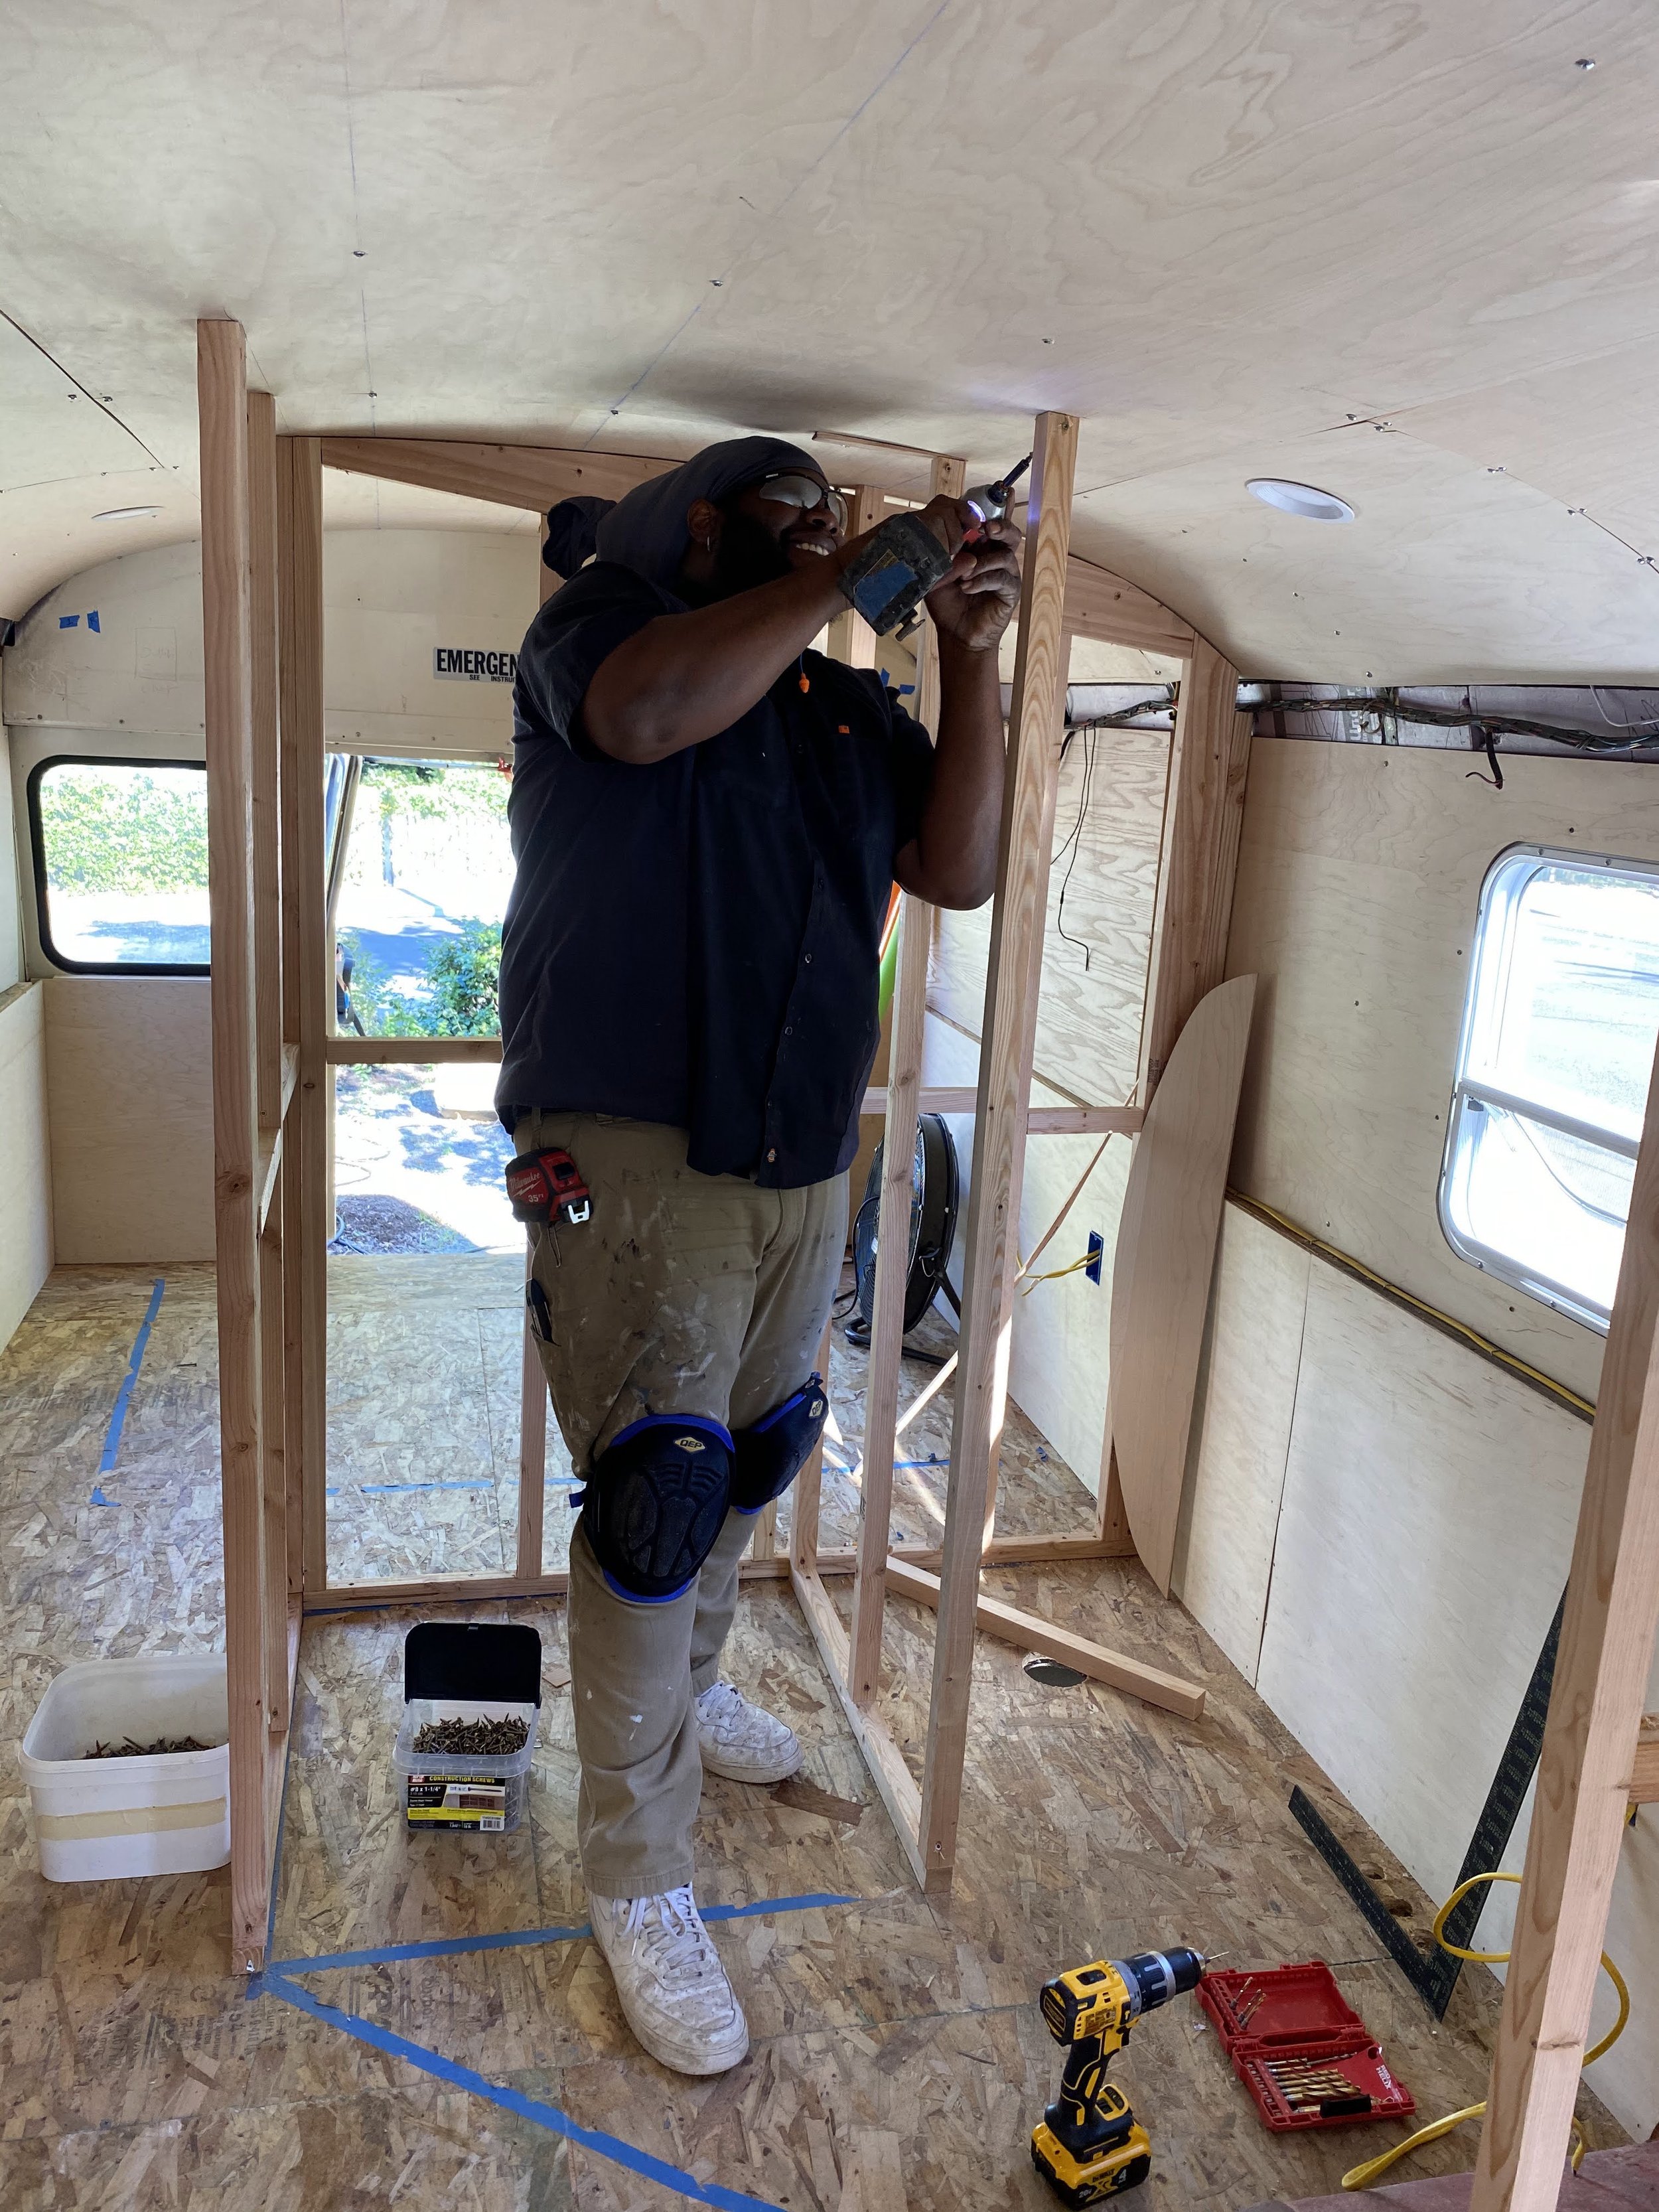
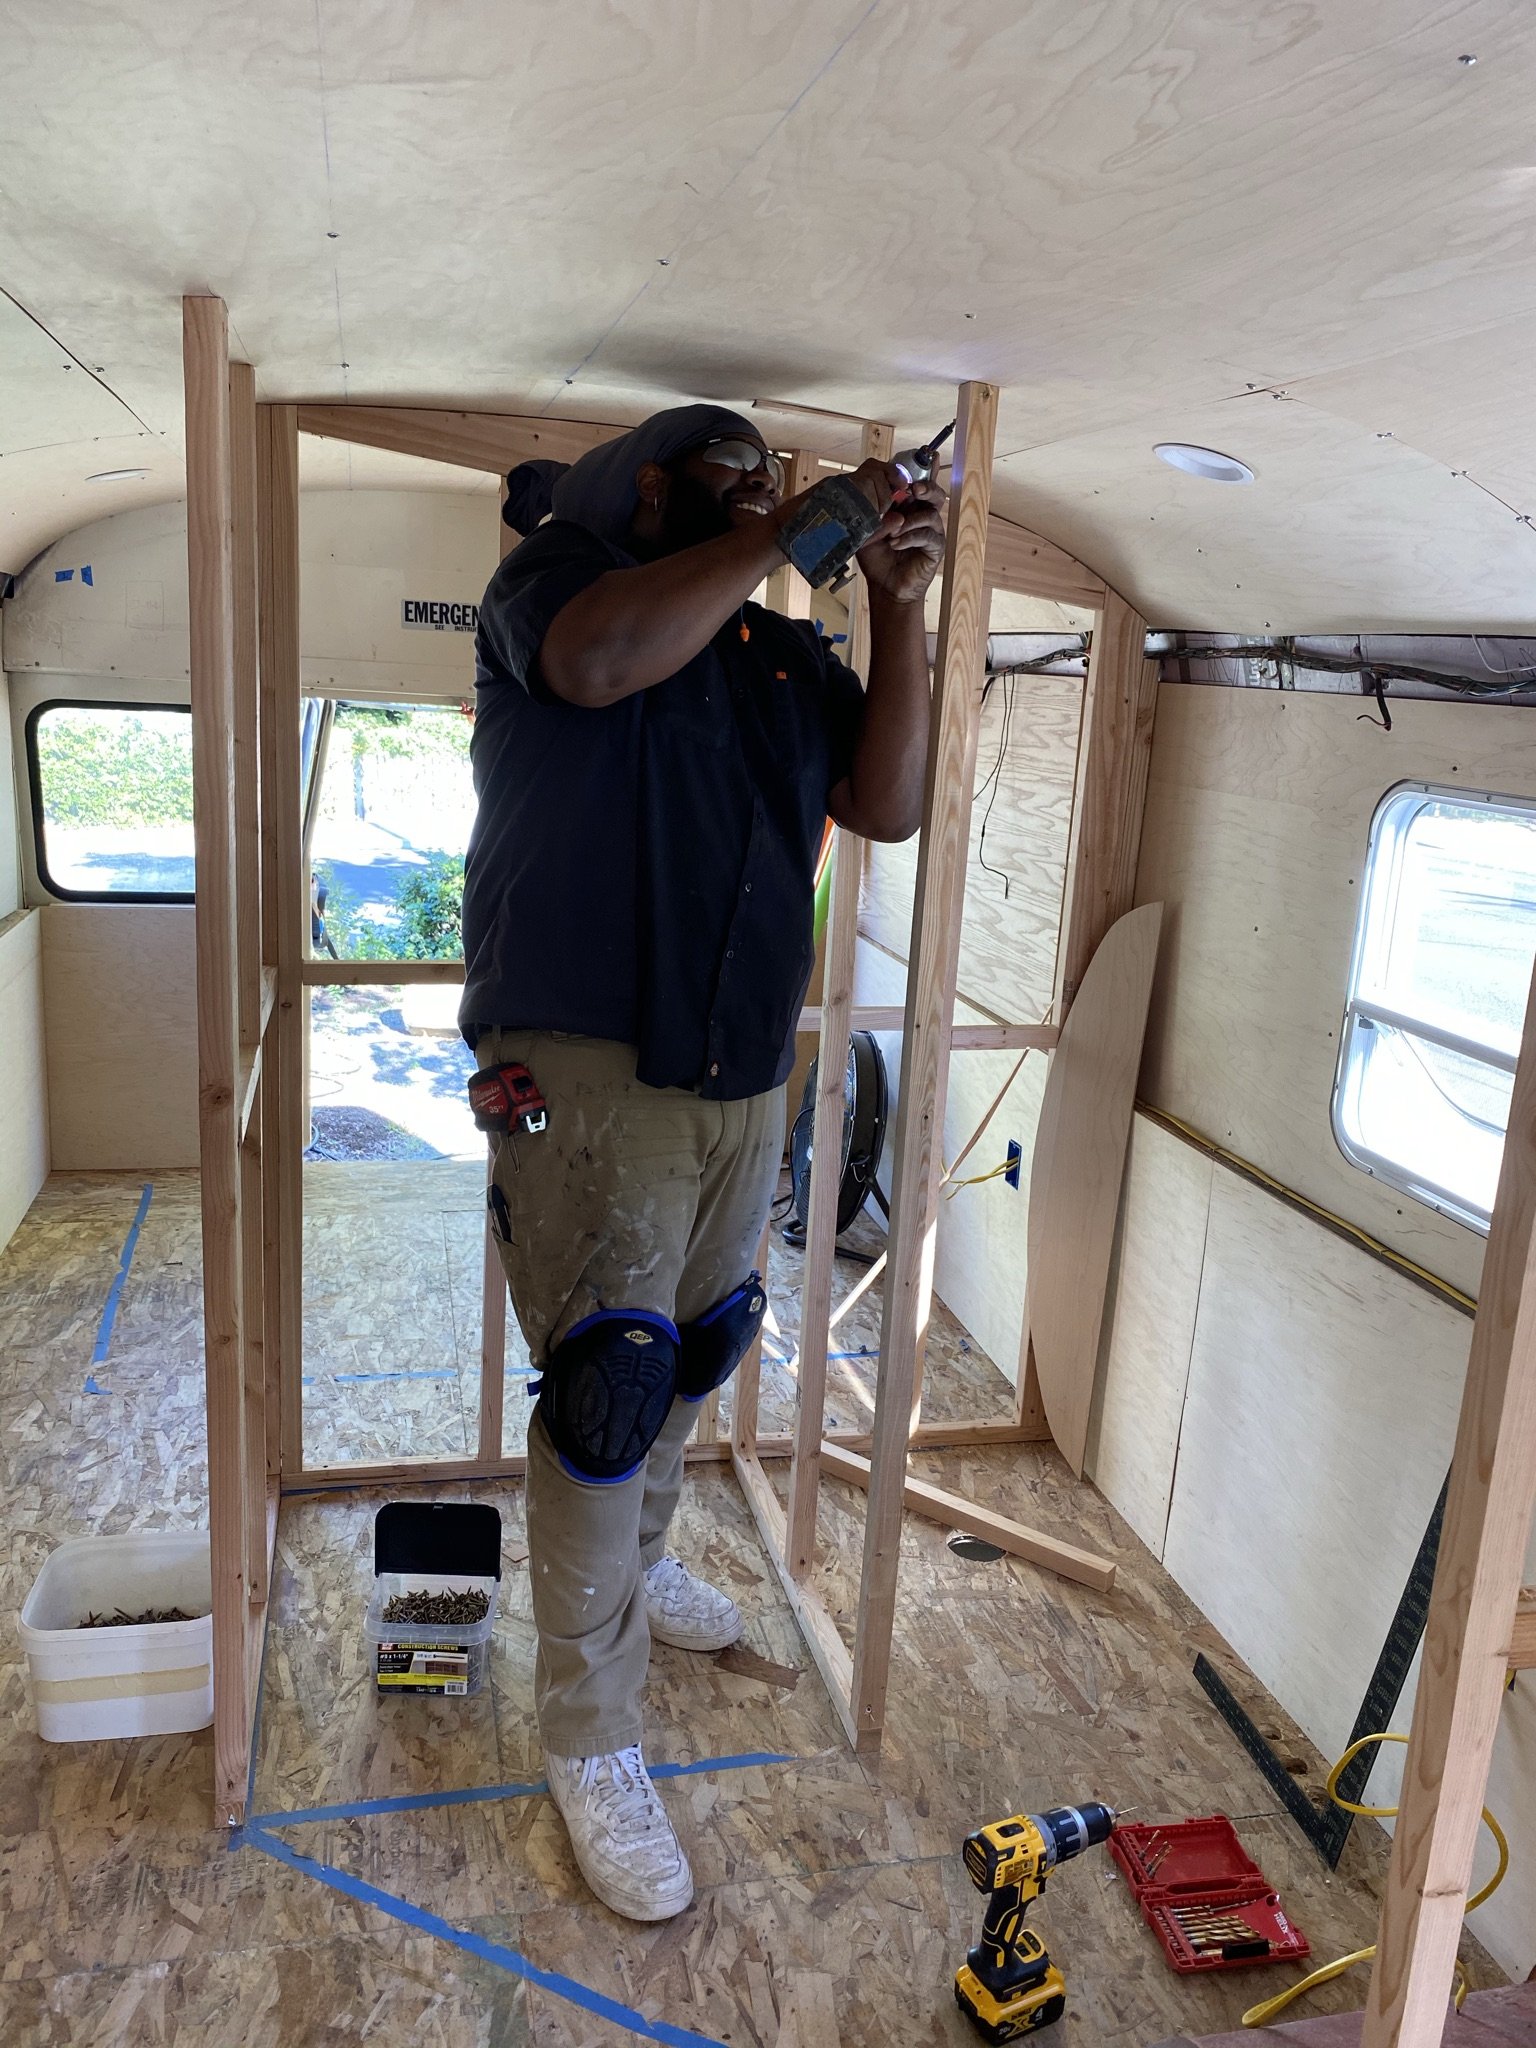
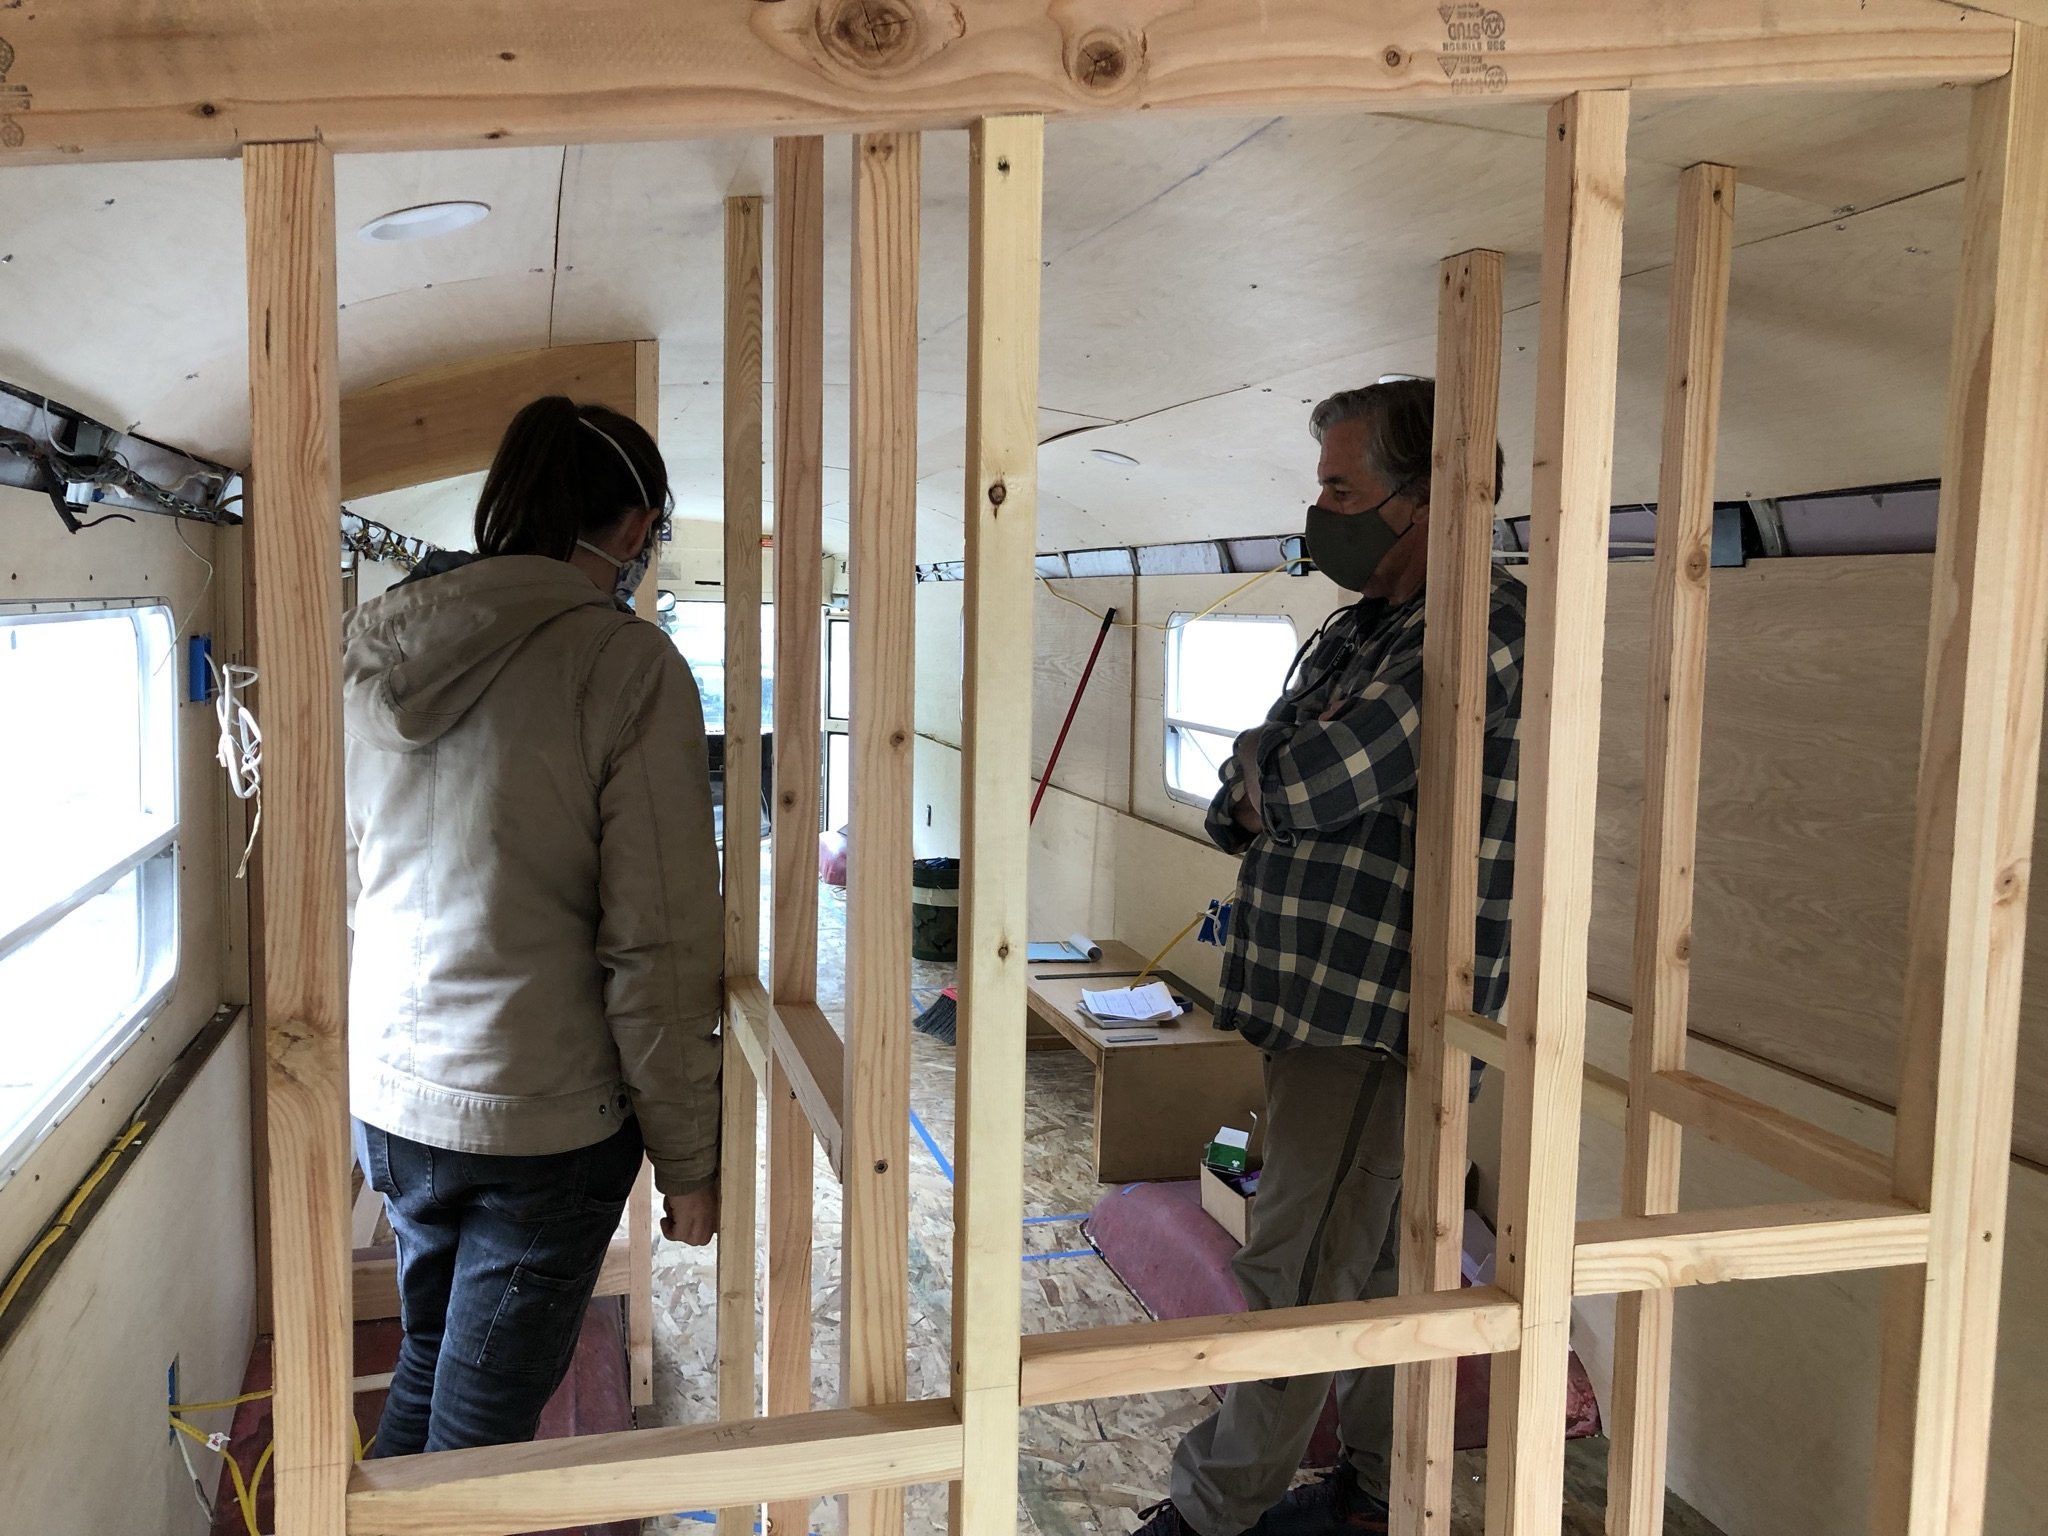
The interior wall partitions in our bus enclose the bathroom and include one bifold door frame. The walls going across the bus from side to side were unsurprisingly the most difficult to construct, given the curvature of the ceiling. We scribed a 2x6 on end to the roof and cut it with a jigsaw, and used this piece as our top plate. Other than this piece, the walls were framed with 2x2s to keep a low profile. We attached them to the subfloor, the ceiling where possible, and the bus walls where they met. Finally, we sheathed them with ¼” plywood.
*We chose not to have our students work on the rough framing of the interior walls - it was particular and so unique in how they went that it was not a great example of rough framing in general. However, it is possible to do this step with students.