ELECTRICAL
Turn it on. Turn it off.
2 zones: 1 kitchen/kids room, 2 bathroom/parents room
Zone 1 (two circuits)
Two full-depth receptacles in lower bays (Range: 4th bay on Driver’s Right, Fridge: 7th bay on Driver’s Left)
Five shallow receptacles in window bays/countertops
“Kids’ bedroom” lights draw power from receptacle in trundle bed countertop - one switch, three lights
SEPARATE CIRCUIT FOR KITCHEN LIGHTS:
Two switches (3-way), one above front door, one in back of kitchen, six lights
Zone 2
Three full-depth receptacles in lower bays (14th bay on both sides, 11th bay Driver’s Left, bathroom)
Two switches - one in parents bed (2 lights), one in bathroom (1 light)
Breaker box behind driver’s seat - main lug breaker box with main power source running to an extension cord that can be hooked up to outside power source
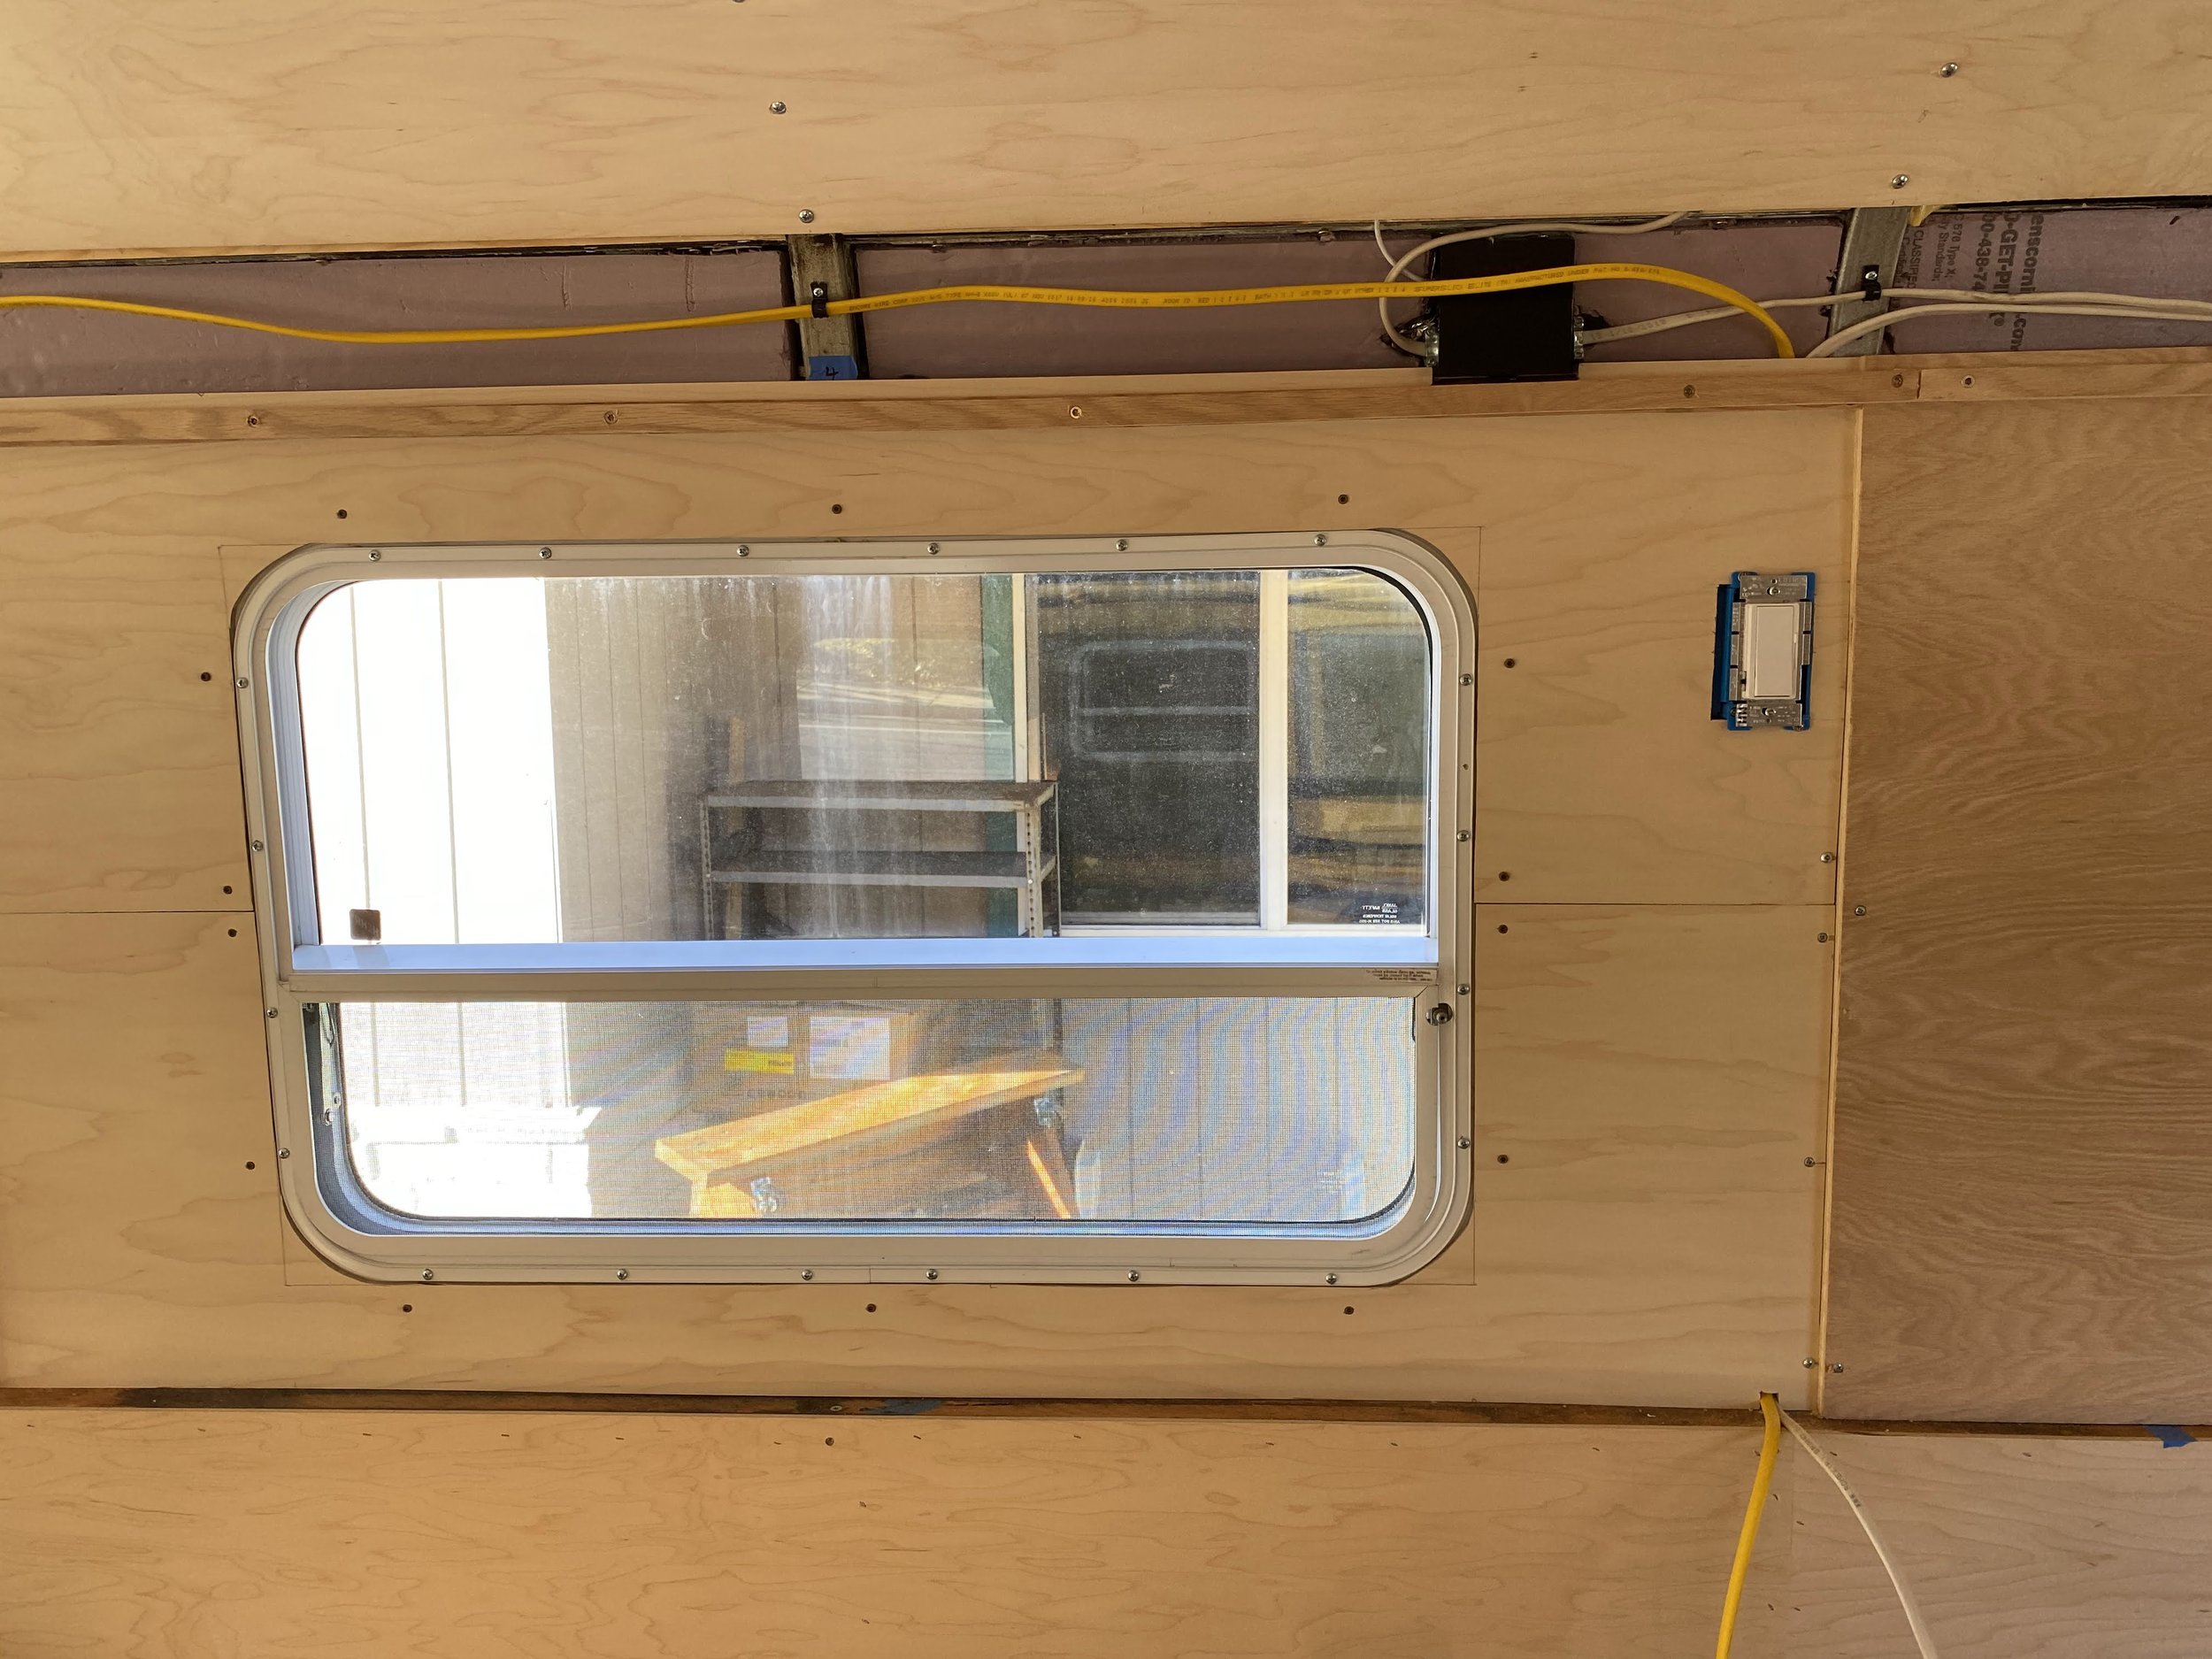
Wires run along a channel right above door height
Junction boxes for lights are all within this channel as well
Bus electrical wiring all in this channel on Driver’s Left
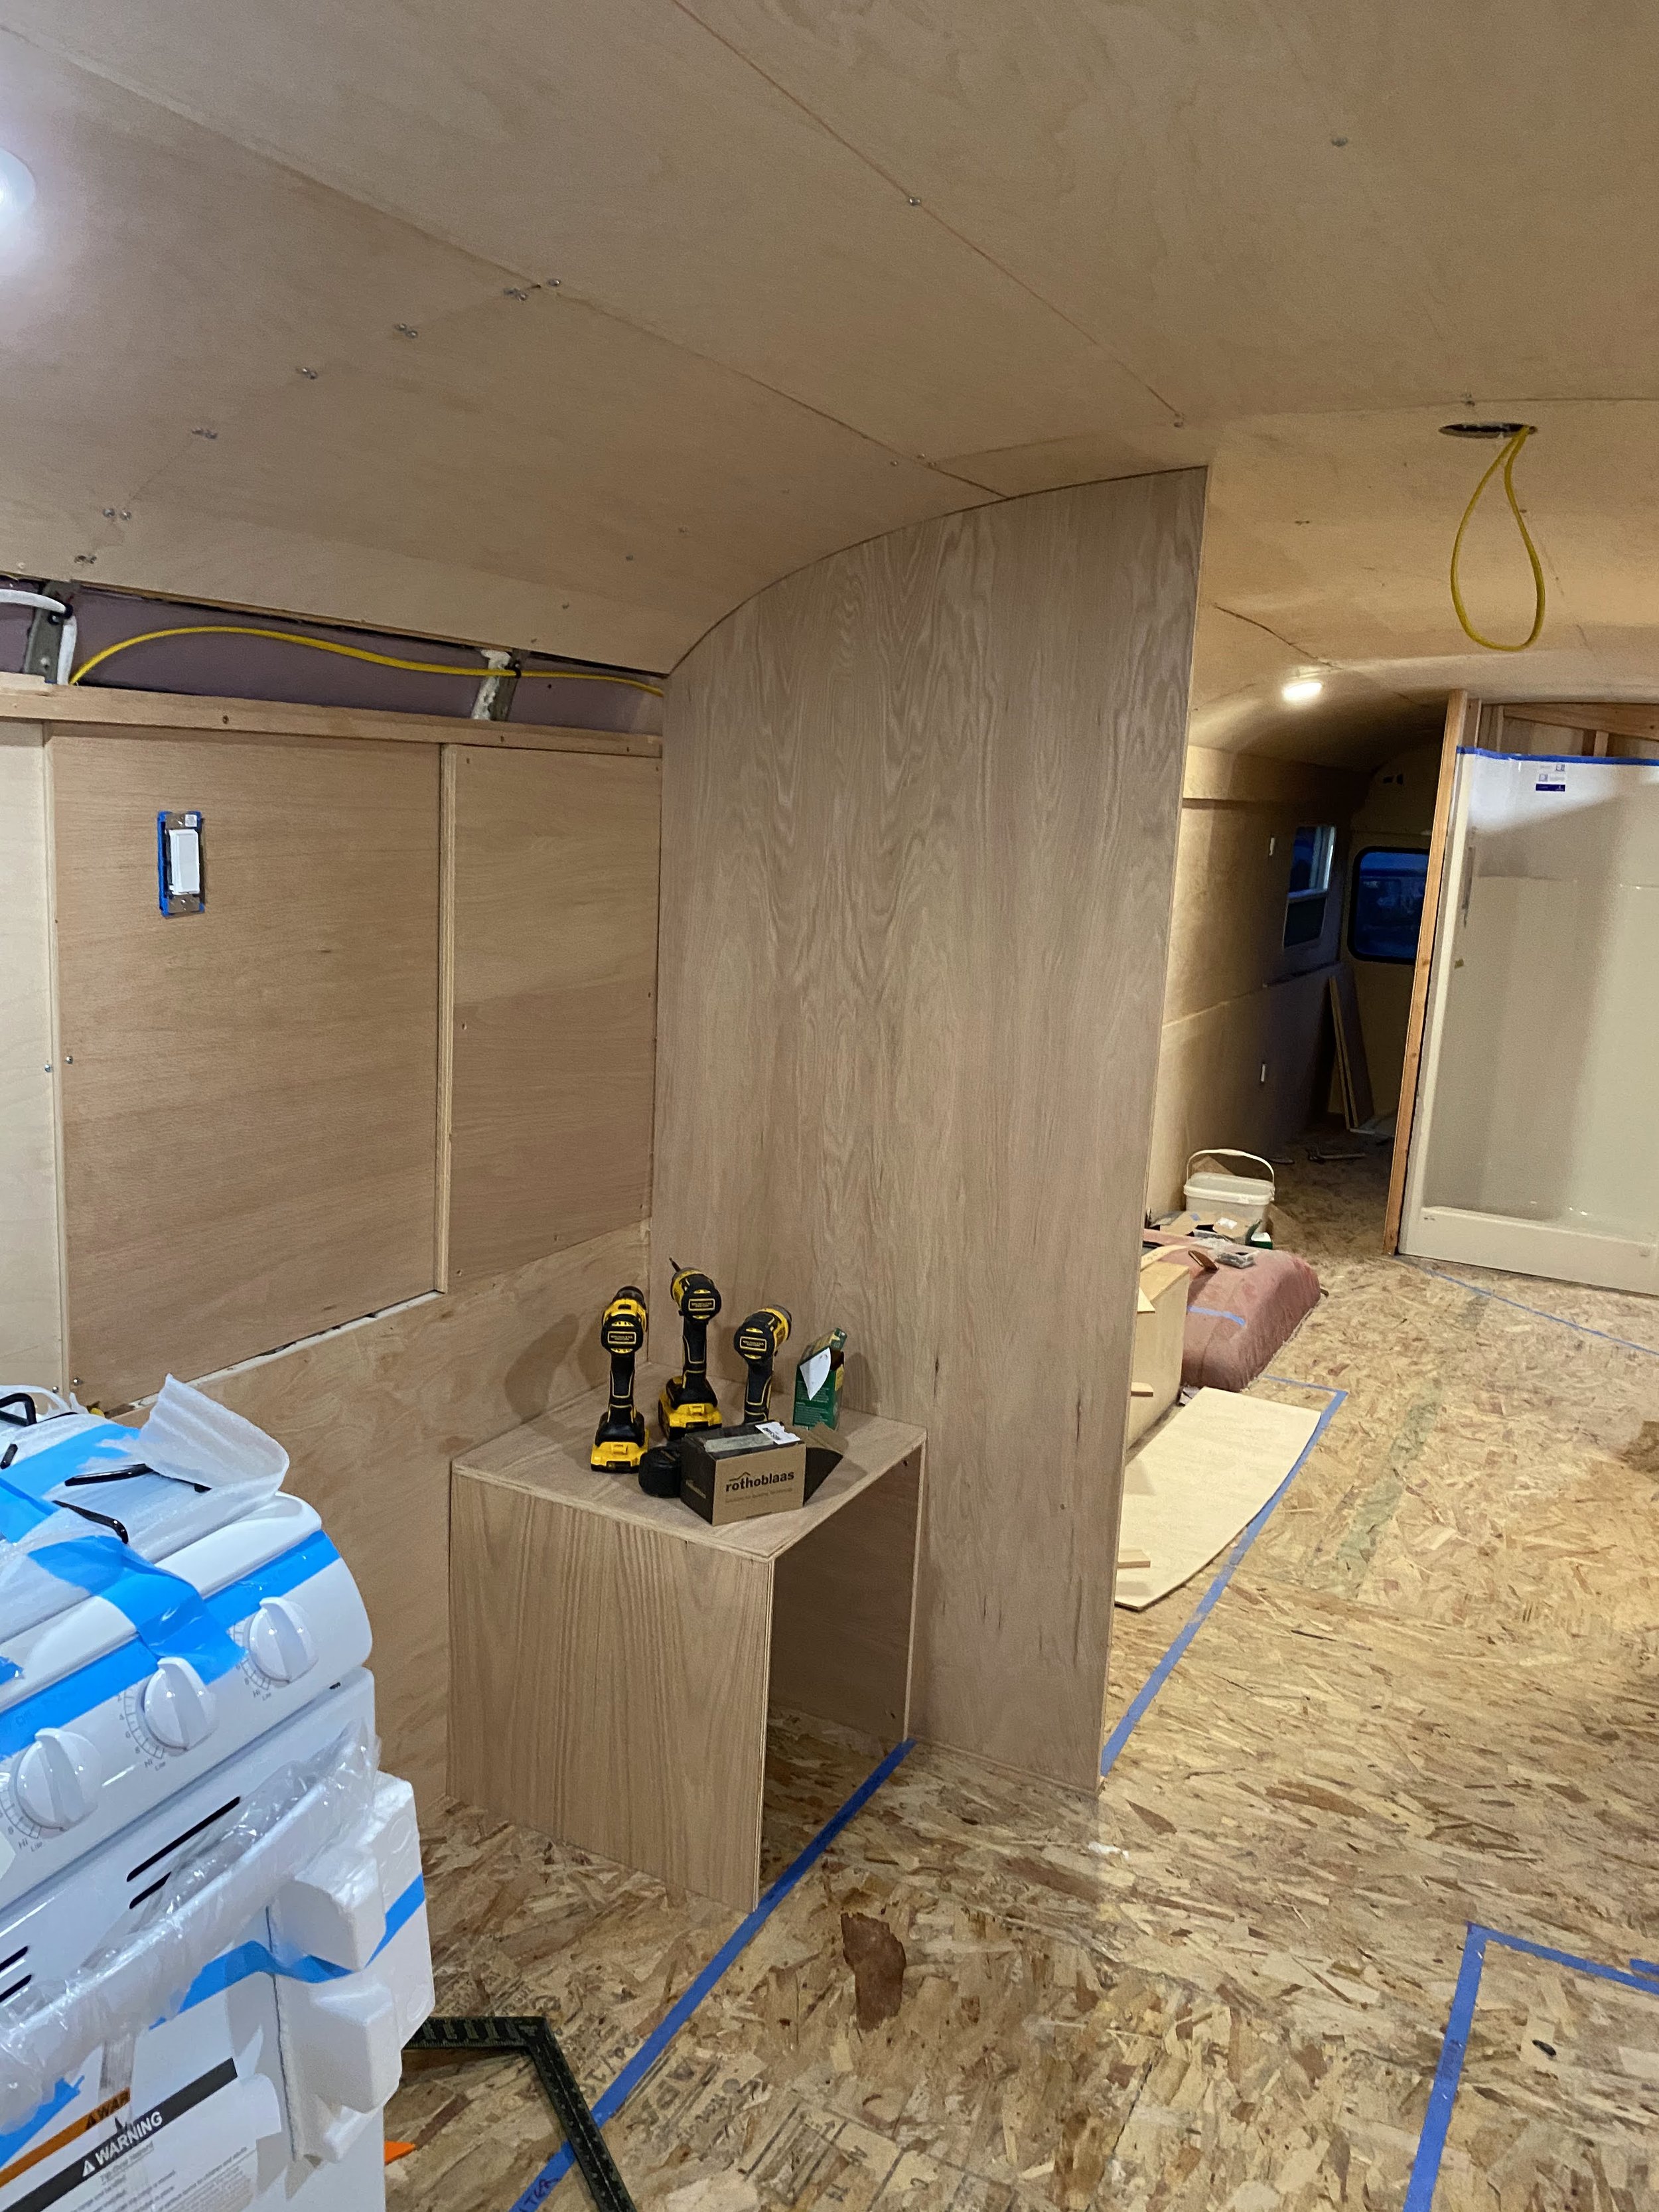
Channel is covered by a plywood box
¾” wide strips of plywood run along upper walls, ½” below top of wall
½” and ¾” inch plywood is layered to bring ¼” walls flush with ¾” walls
Sections of ¾” plywood cut with a 45 angle at the top are attached to the strip at the bottom and directly to the ceiling at the top. They are 6 or 6 ½” wide depending how much clearance underneath them is needed for wiring
Driver’s Right kitchen receptacle wires and Driver’s Left parents’ bedroom wires running along channel at counter height
Wires run through ceiling at 5 points:
Behind driver dash - receptacles and lights to breaker box
Between lights in 5th bay
Between lights in 9th bay
Between receptacles in 14th bay
Between lights in 15th bay
Used low-profile LED can lights with dimmer switches
Can lights are 4 ⅛” in diameter, used 4 ¼” template and jigsaw to cut hole in ceiling skin. Could also use 4 ¼” hole saw
Separate wire/circuit run for A/C
Ran wires after insulating/before installing skin
Drilled through 2x2 furring strip with a 9/16” bit to feed wires to 5 lower receptacles, placed approx. 14” from ground
Wires are difficult to cleanly get out of the way/work around. Coil and tack with zip-ties where possible
LABEL OFTEN AND CLEARLY
Builder Notes
Our bus is going to a location with a main power line, so we wired our electrical to run off a standard electrical extension cord. The cord runs to a breaker box above the driver’s seat. We laid out the electrical in two zones - the kitchen/kids’ room, and the bathroom/parents’ room. These two zones are on two separate circuits, and the kitchen lights are on their own separate circuit. The kitchen lights are controlled by a three-way switch - one switch above the front door, and one in the back of the kitchen. The lights in the kids’ bedroom, bathroom, and parents’ bedroom all have their own switches.
We installed different stages of the electrical in conjunction with different stages of the build. Most of it was done after the furring strips and insulation was installed in the walls, but before the skin went on. It’s difficult to temporarily tack up wiring, so we balanced installing early when we had easy access to wall cavities with holding off so we could keep things clean. Most of the wiring we ran along a channel between the upper walls and the ceiling, where all of the bus’s main electrical wiring already runs. We boxed all of this wiring in with easily removed plywood so the wiring is covered but accessible.
The wiring is run close to ribs where it is attached with wire clamps. We drew up a detailed schematic which should be referred to before attaching anything into the walls to avoid hitting a wire.
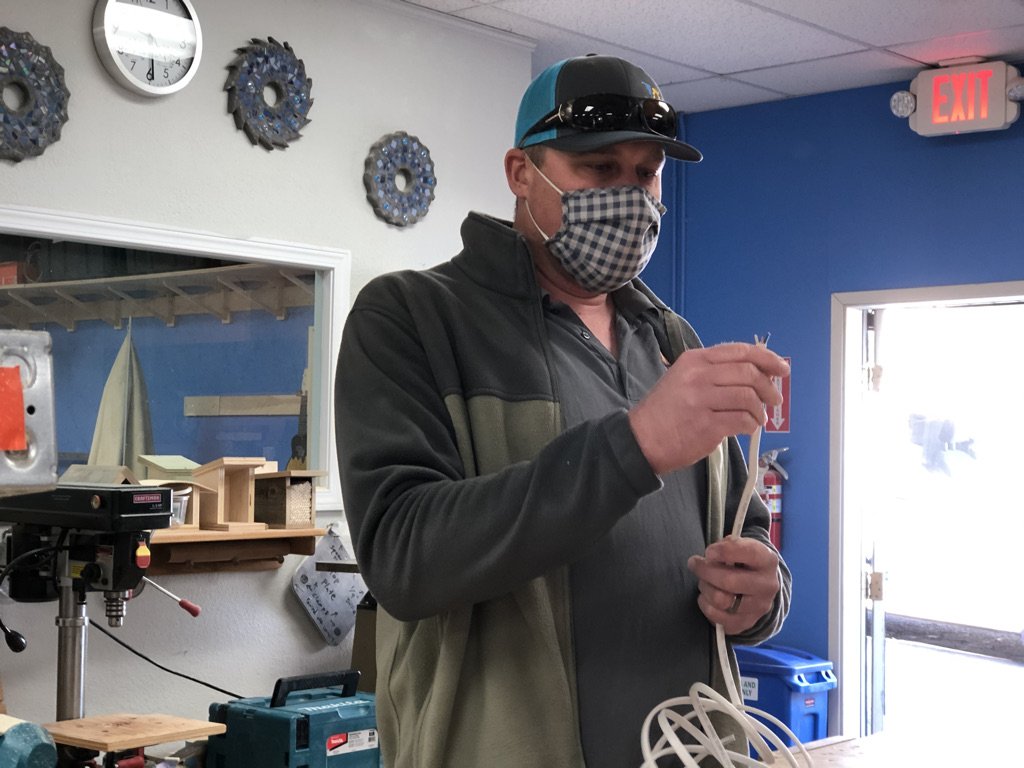
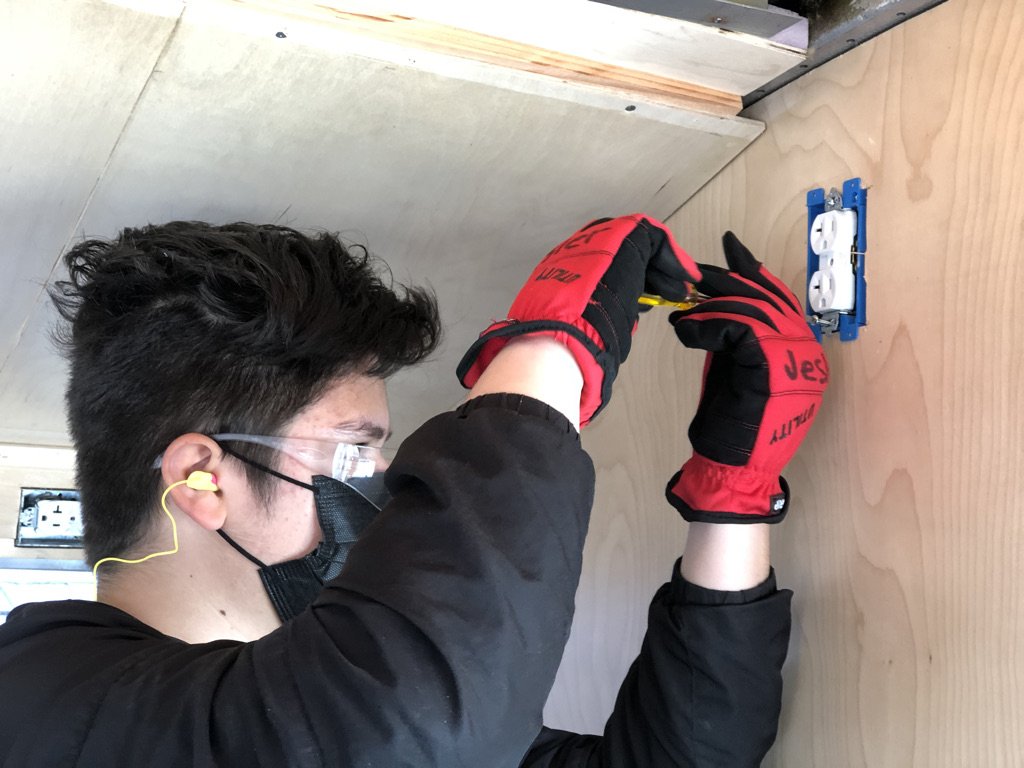
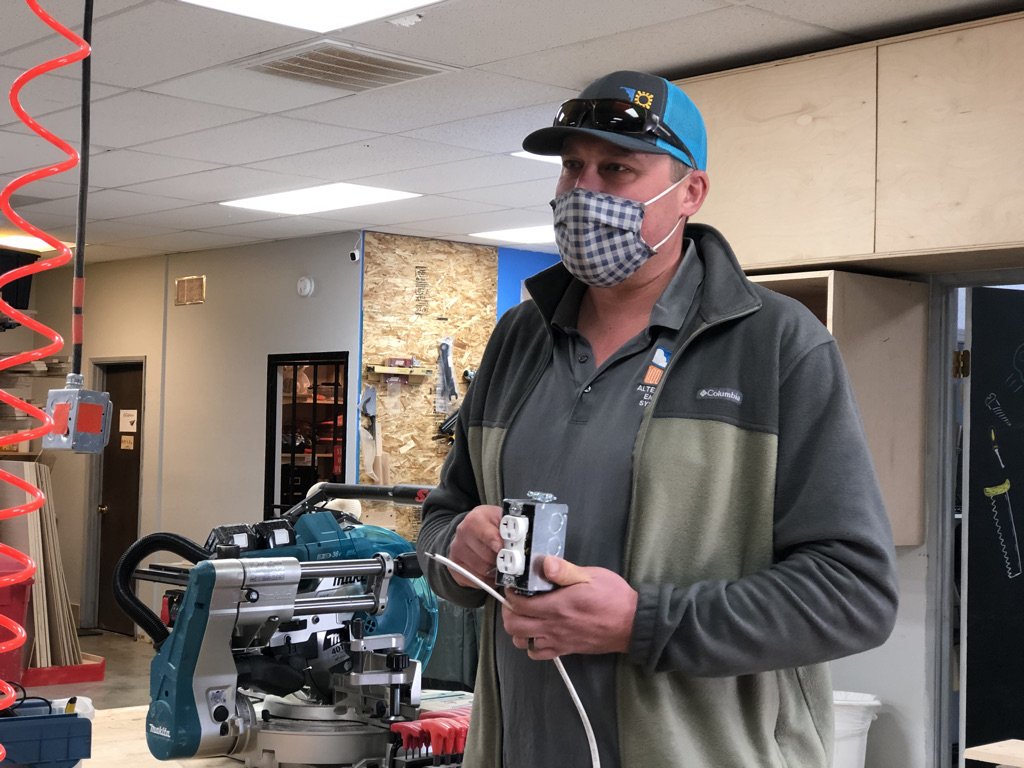
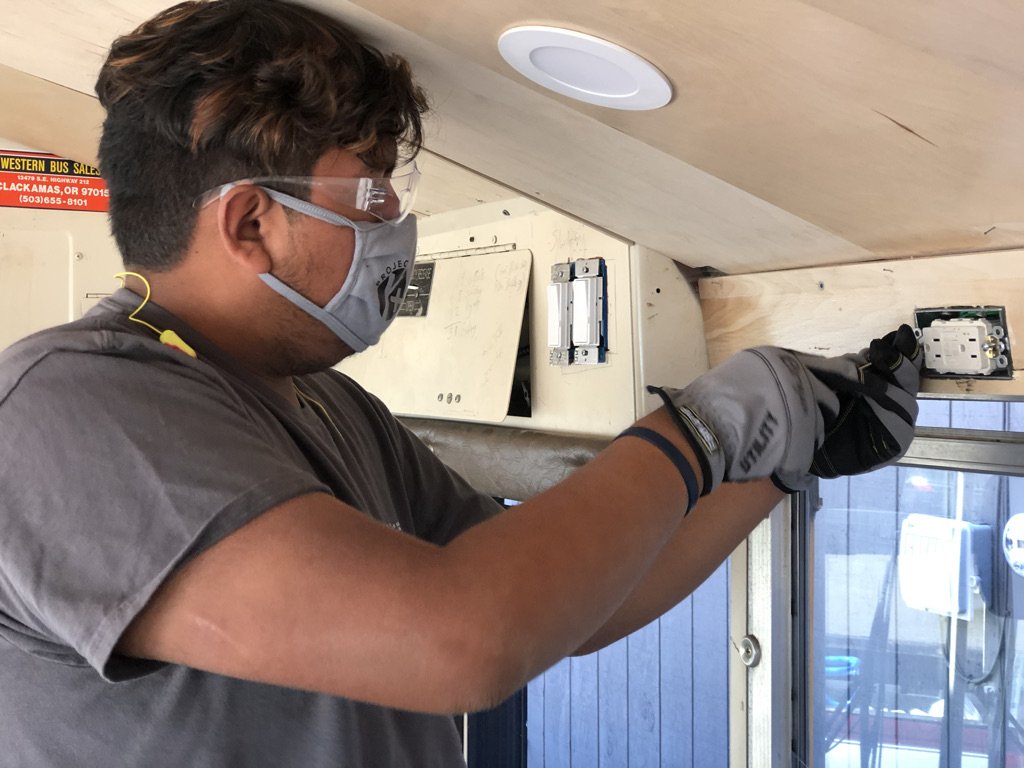
*The bulk of the electrical process, while it should be triple-checked by an electrician/builder, is a great project to involve students in. Because there are no live wires coming from the breaker box, the wiring process is extremely safe and very easy to trace steps. It is also easy to relate to a more conventional build, so is a good project to extrapolate and build off of. Have students practice wiring receptacles, lights, switches and circuit breakers, just be sure to check all work!
