Installing Subfloor
Foundation, foundation, foundation!
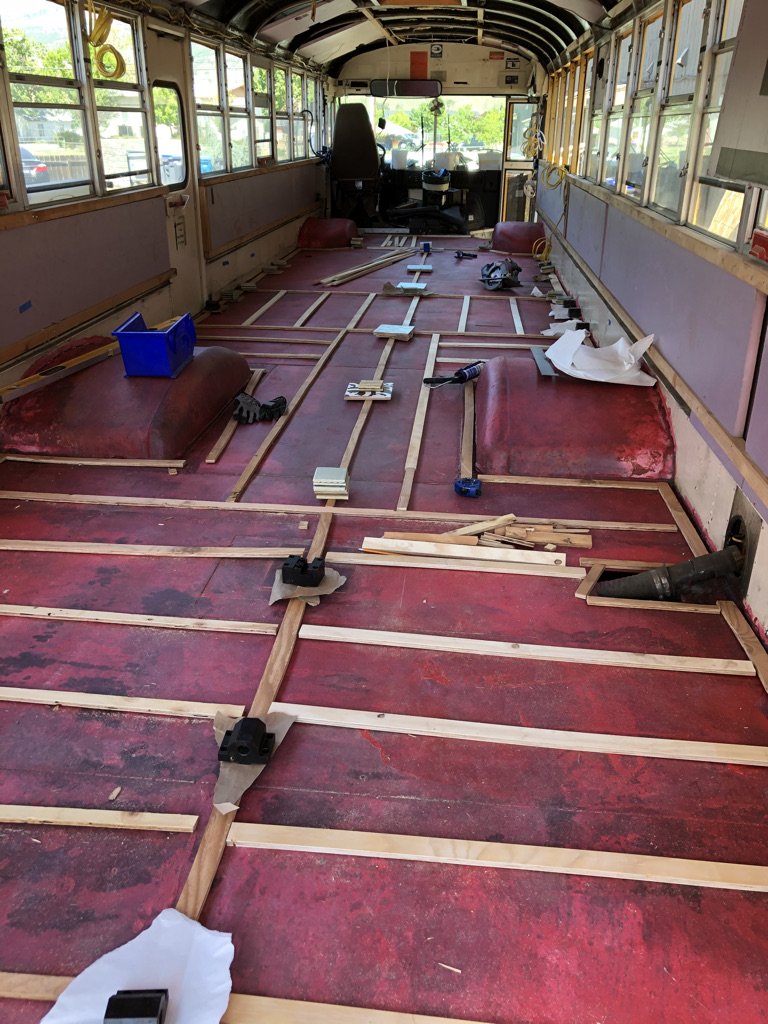
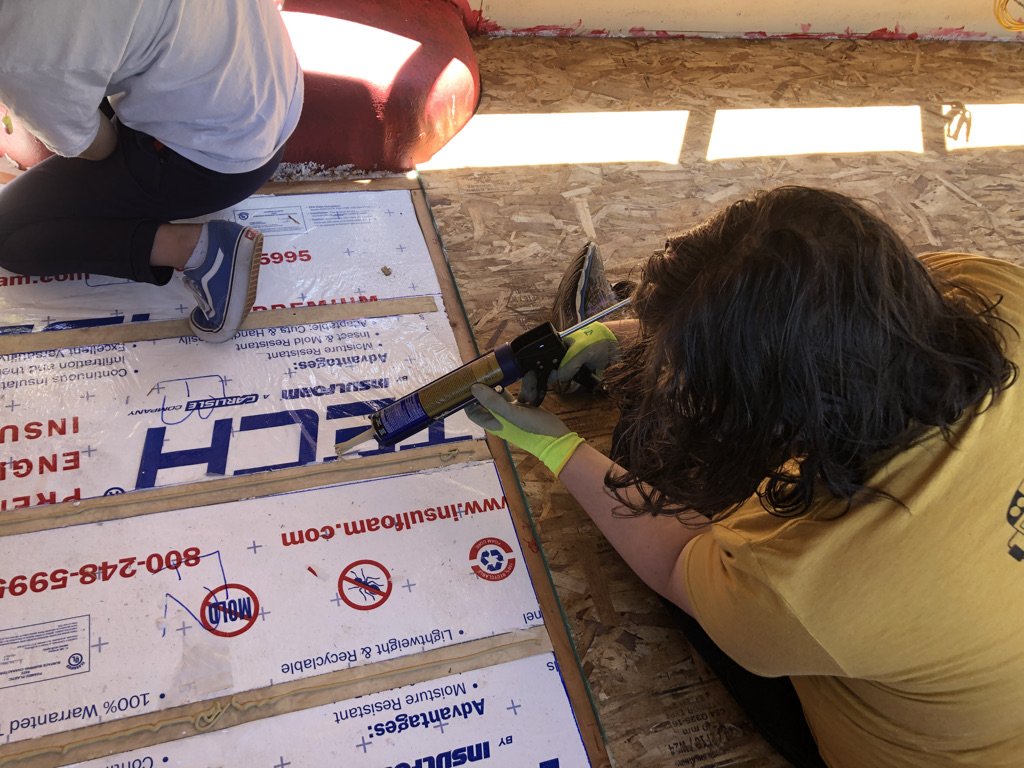
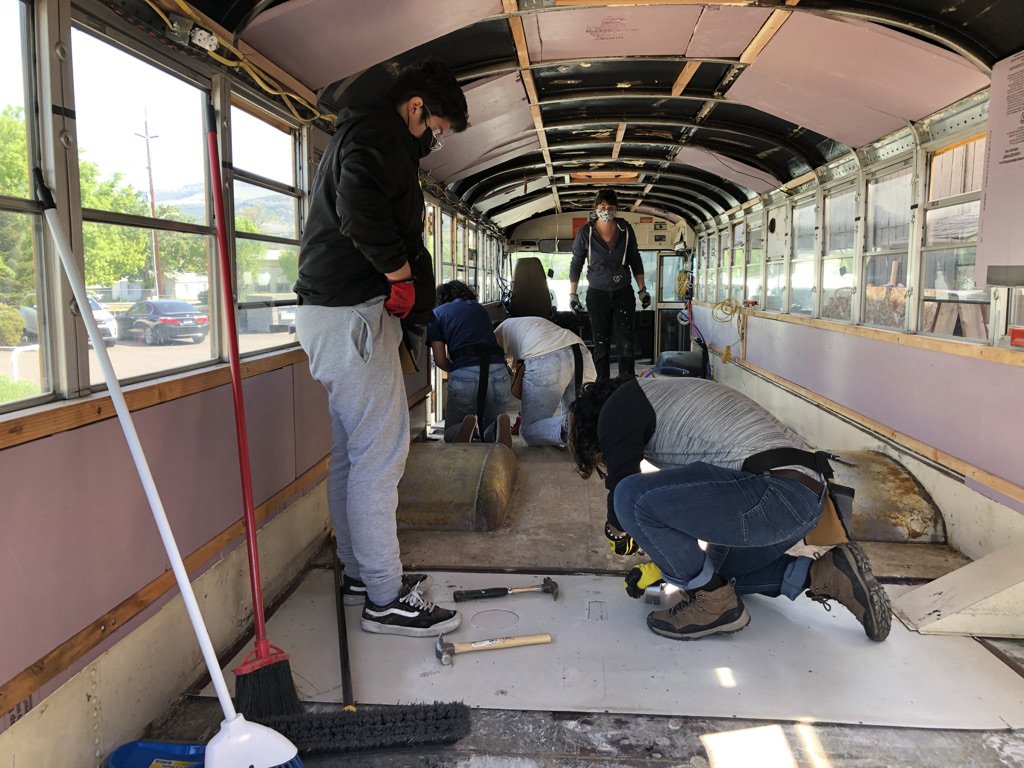
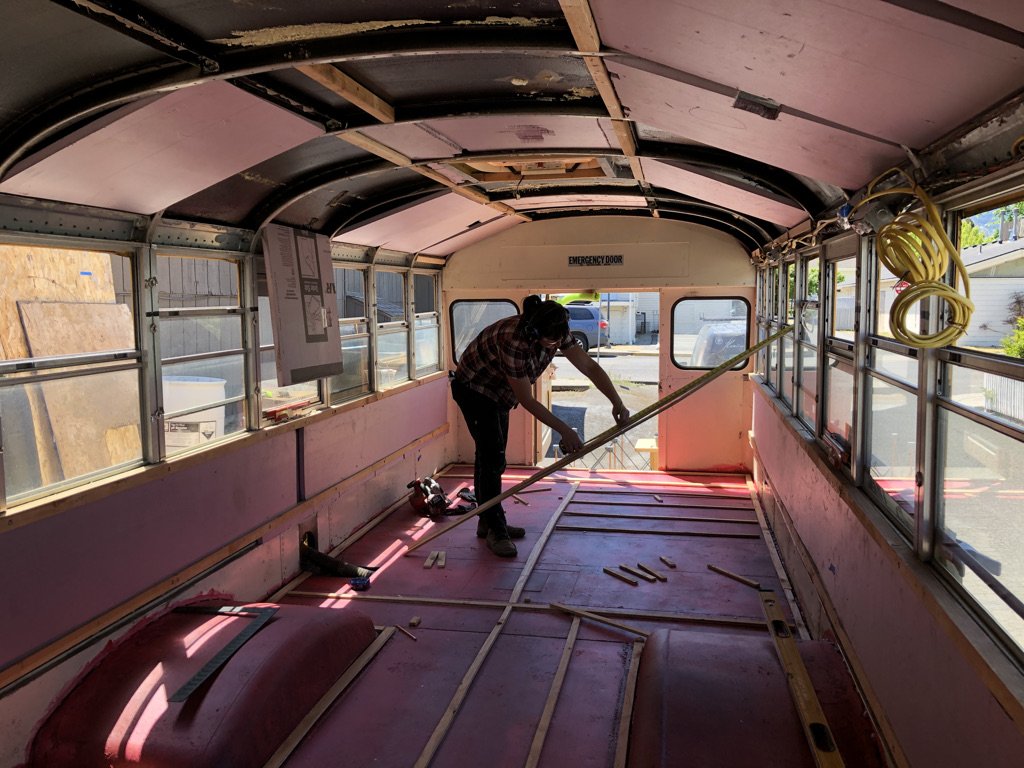
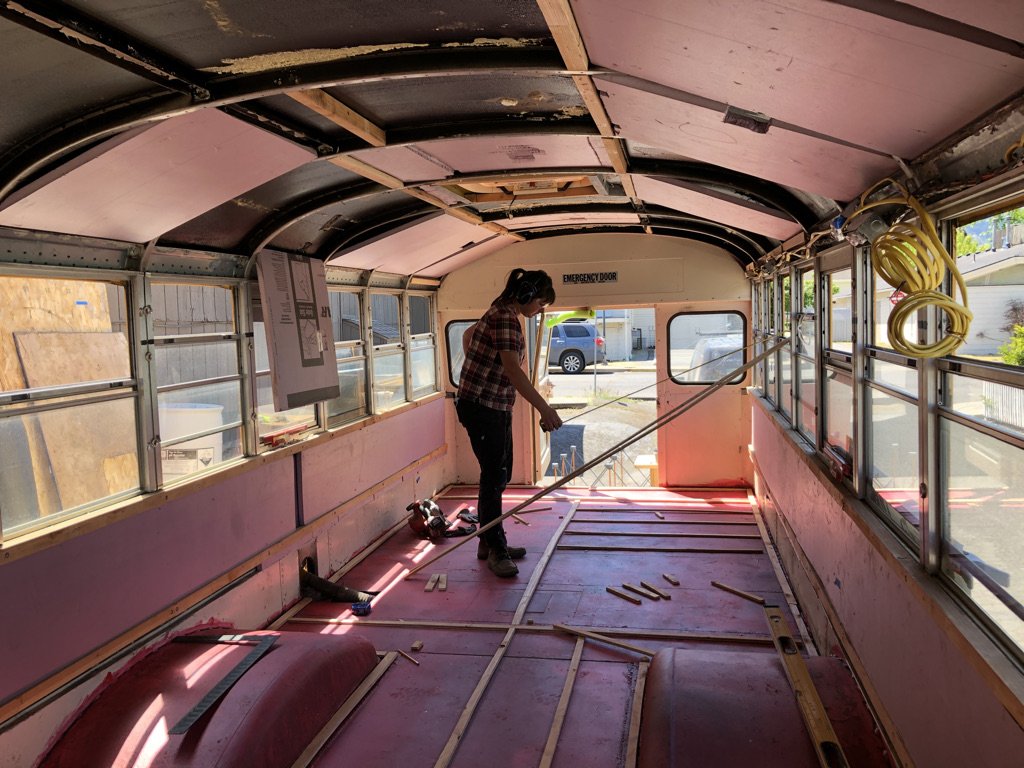
Used liquid nails to attach strips of ½” plywood (used cut-up pieces of demo-ed bus floor) in a grid on the prepped metal floor.
Around edges, wheel wells, seams where subfloor will meet, and approximately every 12” between
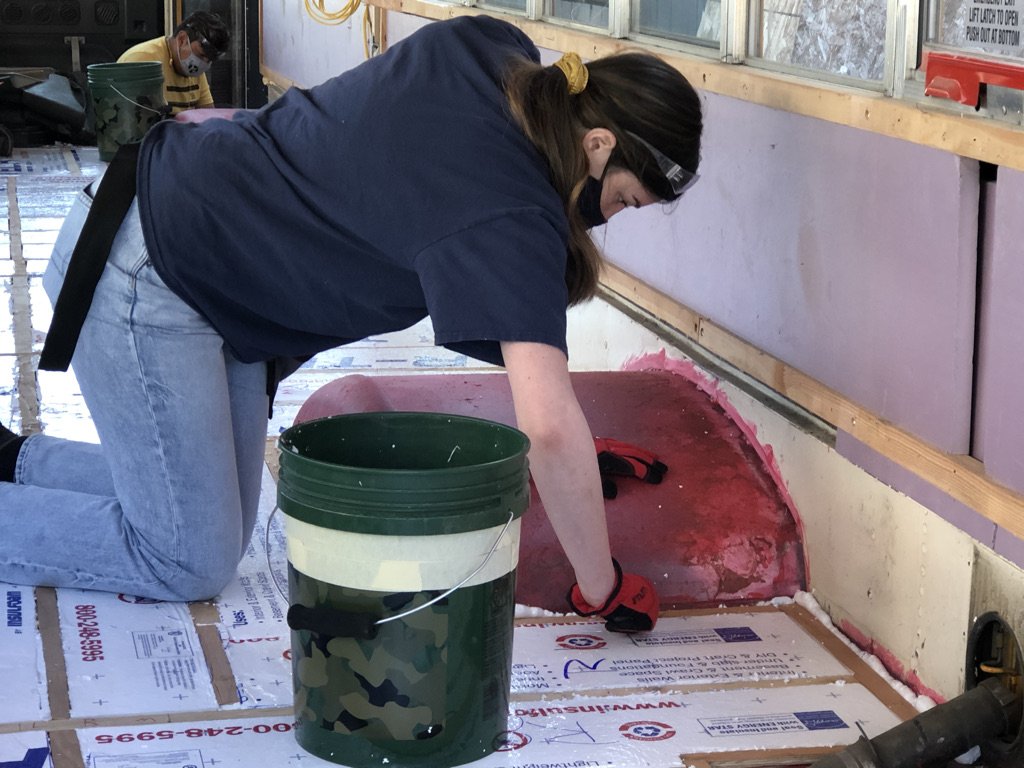
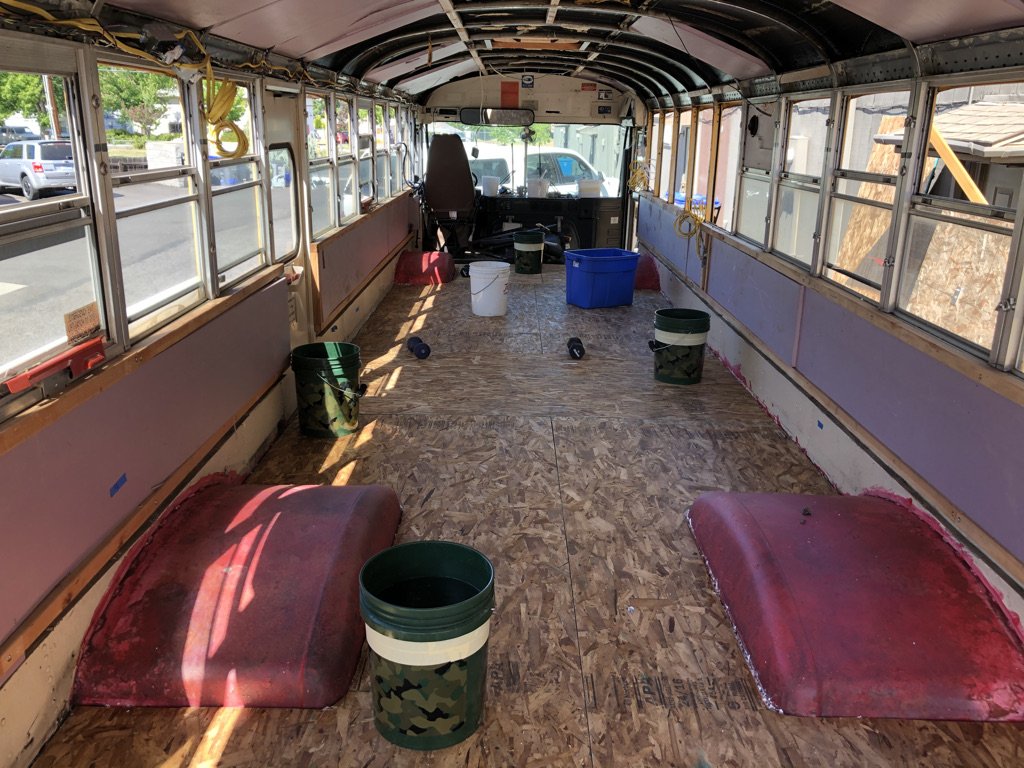
Weighed down strips with buckets of water and other heavy objects as liquid nails dry
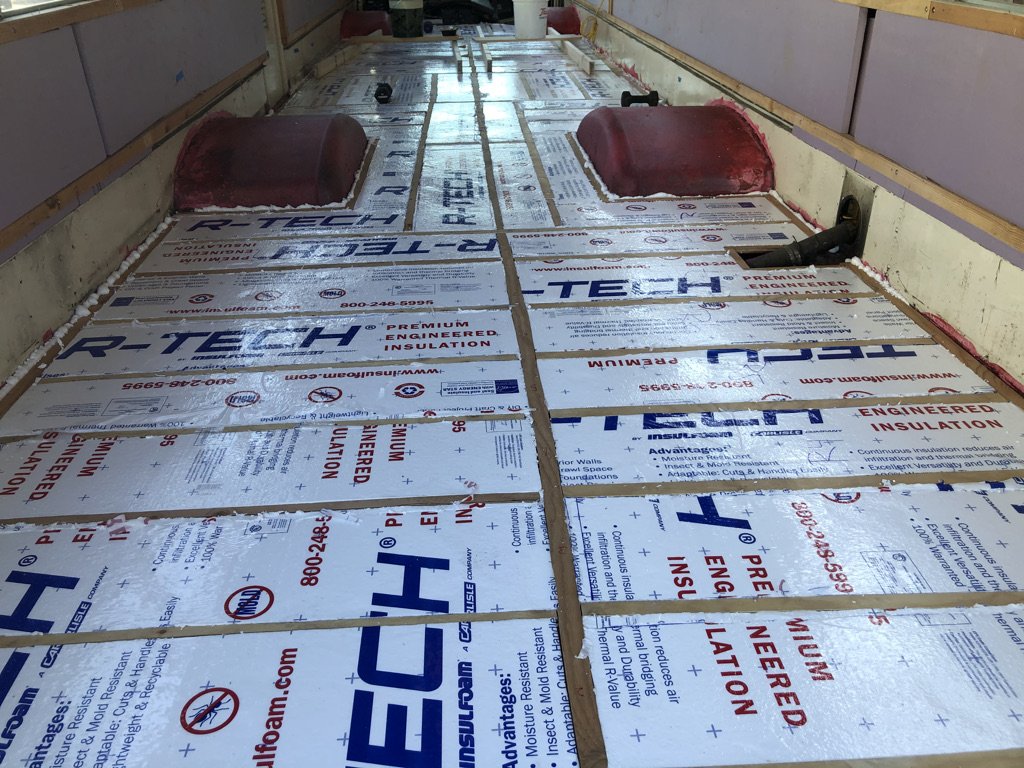
Embedded ½” rigid foam insulation between strips
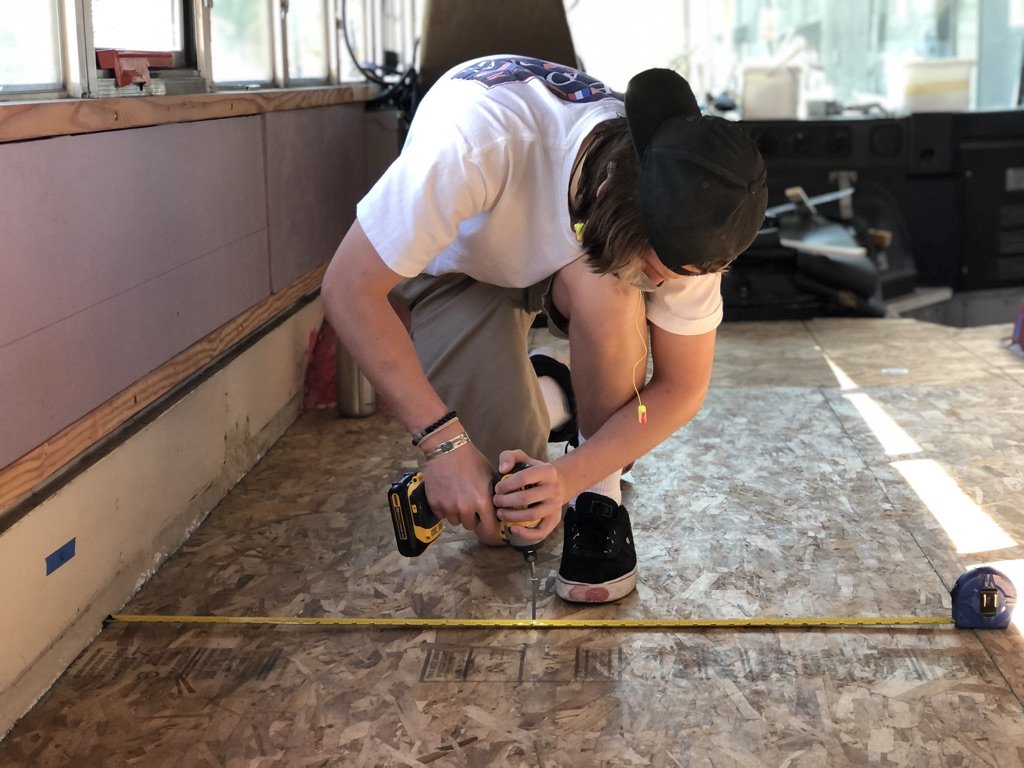
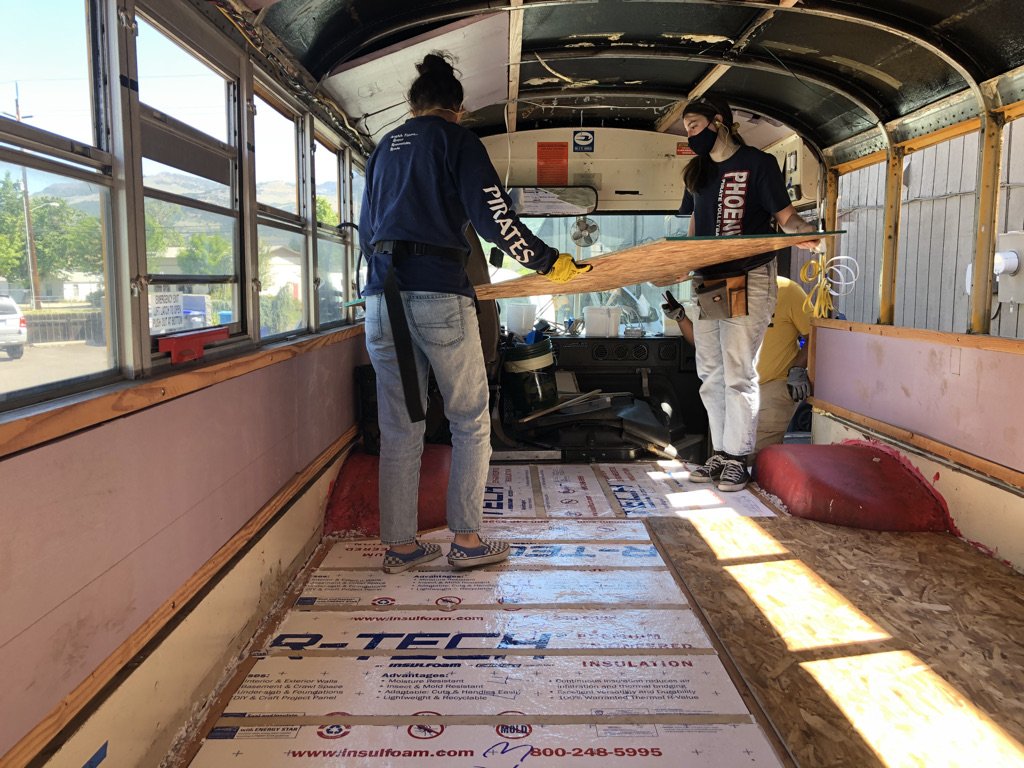
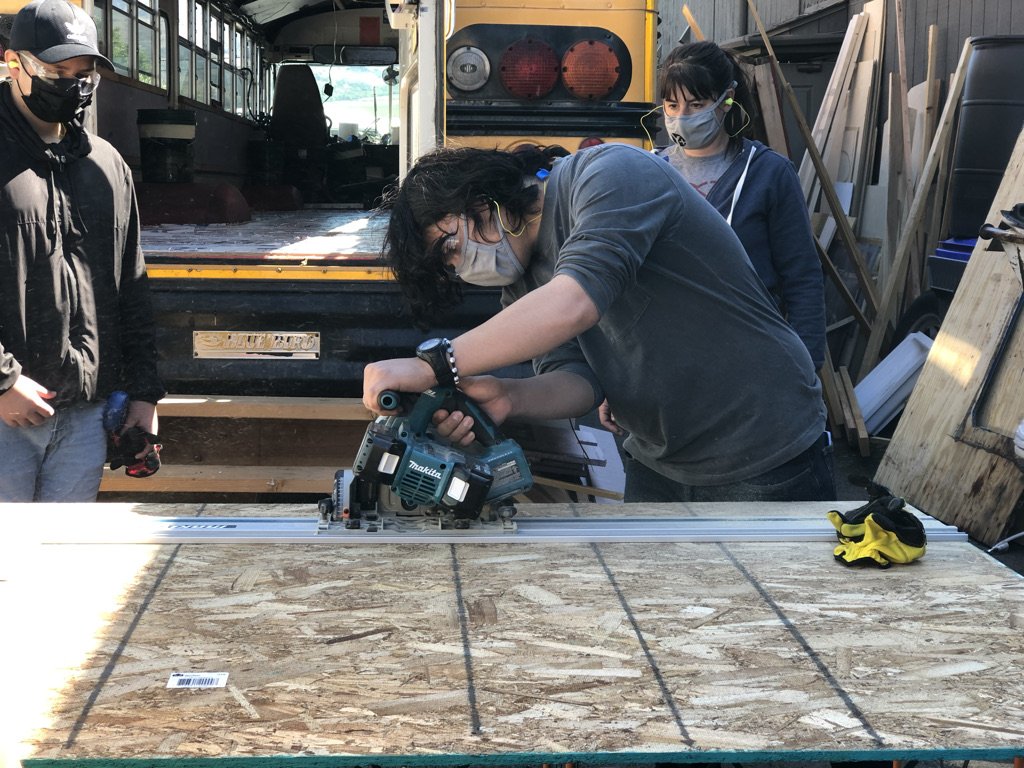
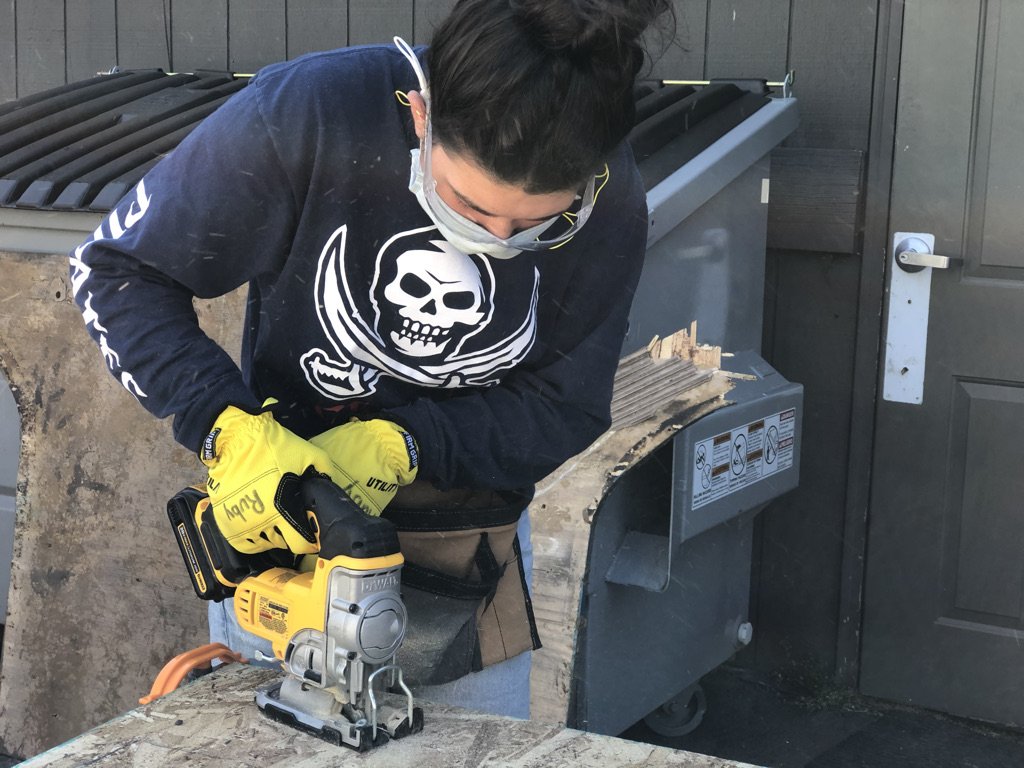
Used demo-ed bus floor pieces as a template to scribe ⅝” OSB plywood for a new subfloor
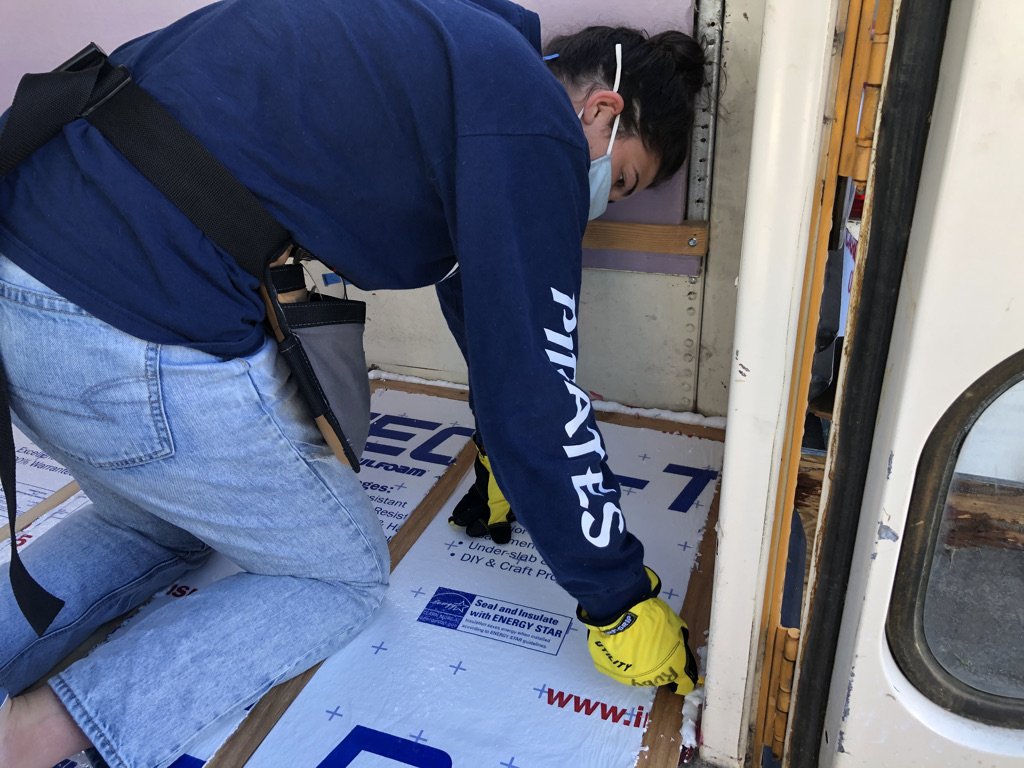
Attached the subfloor with liquid nails and 1 ½” (?) self-tapping metal screws along seams, edges, and furring strips (make a note of where your furring strips are before laying down ply)
Builders Notes
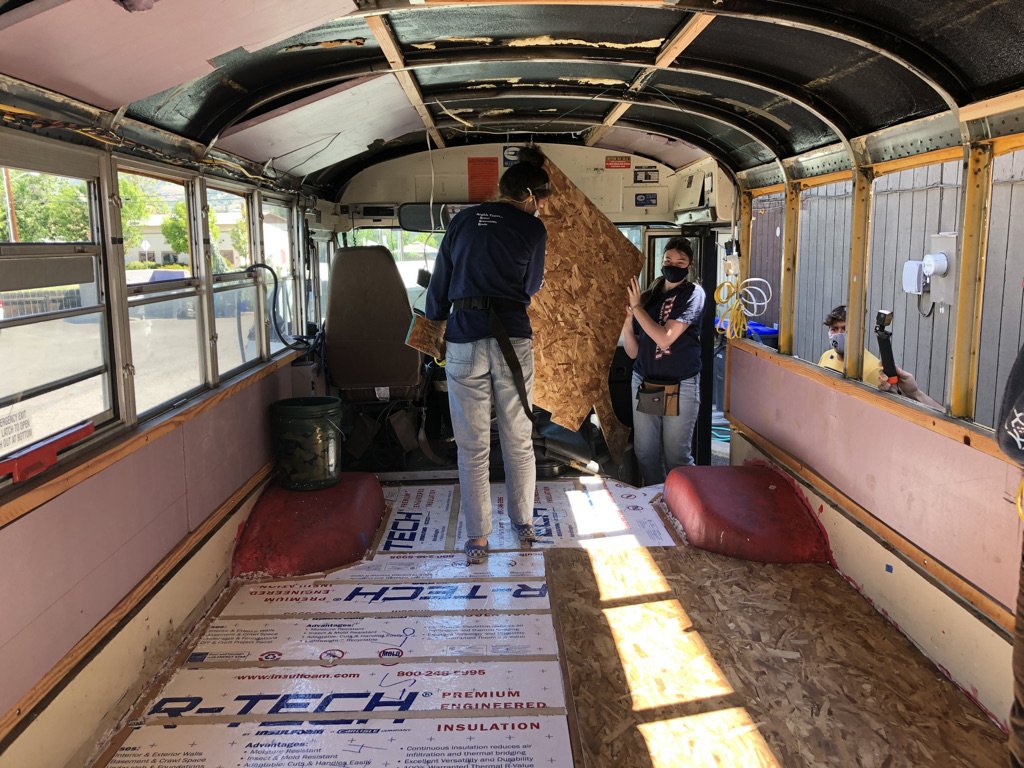
We made sure to keep the bus’s plywood subfloor as intact as possible. We took it out and used it as a template to scribe and cut new pieces of ⅝” OSB. It’s crucial to insulate the floor of the bus; otherwise, it will be a huge heat sink, so we took the time to install furring strips and ½” insulation beneath the subfloor. Strips are necessary at the seams, and as a support system for the floor, so the insulation doesn’t get crushed.
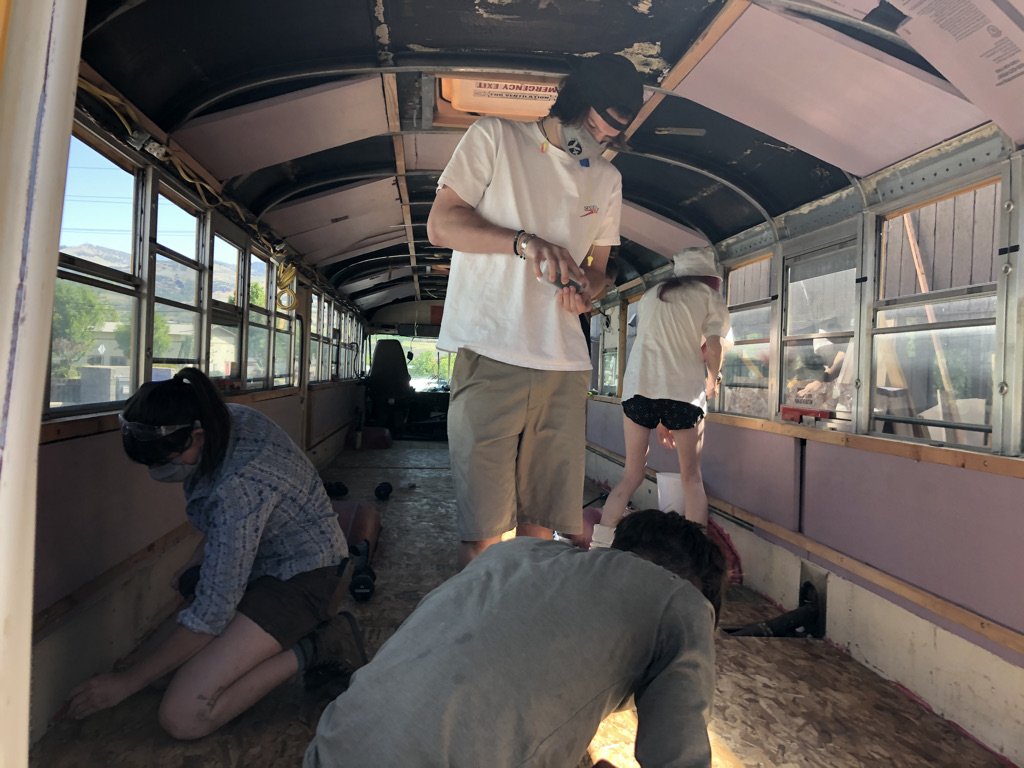
Installing the subfloor was relatively straightforward, with the previous subfloor as a template. We had to remove some metal threshold pieces around the driver’s seat to account for the height difference in our floor with insulation from the previous floor, so that transition will have to be dealt with after the final floor goes in. We brought the new floor as tight against the wheel wells as possible.
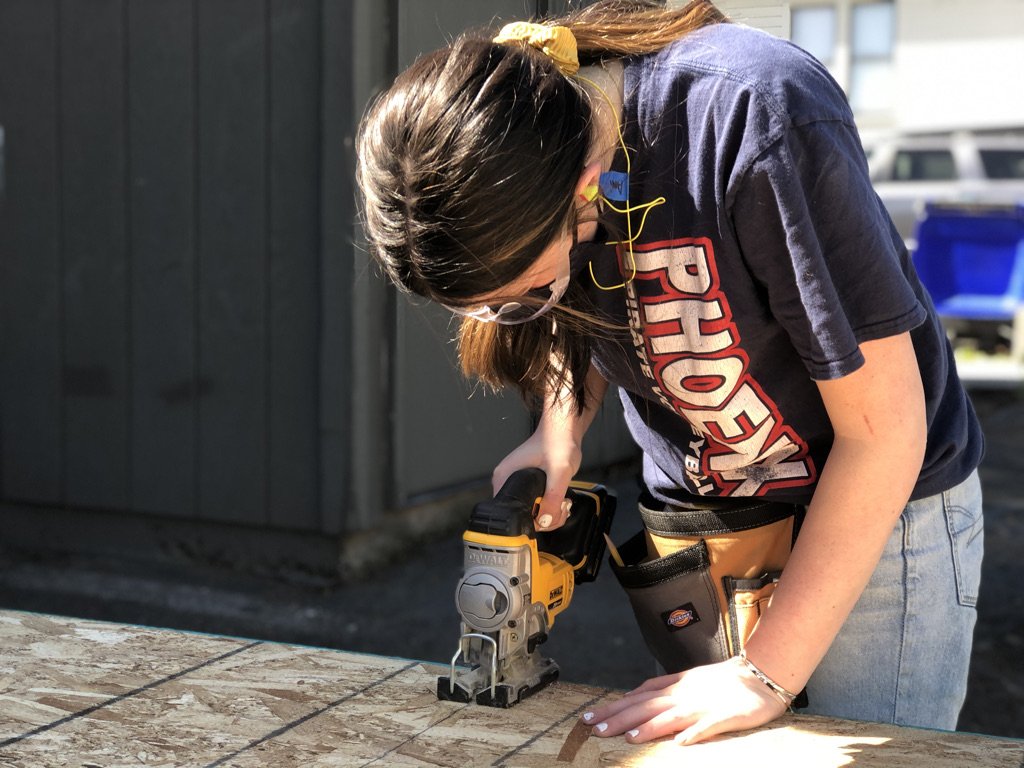
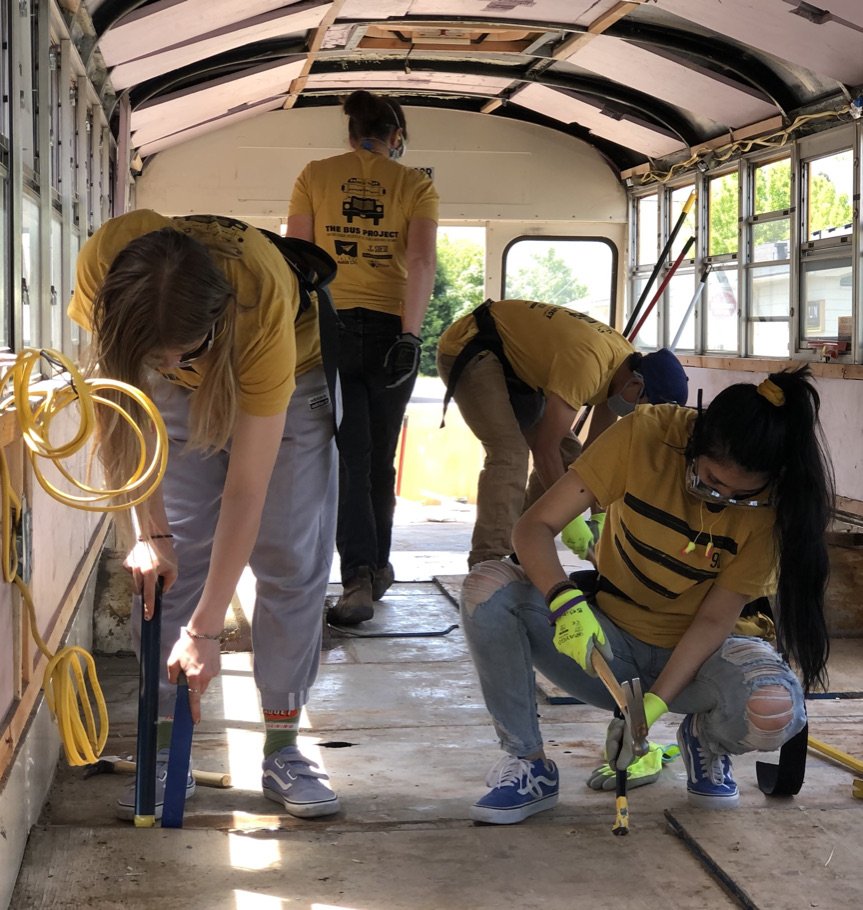
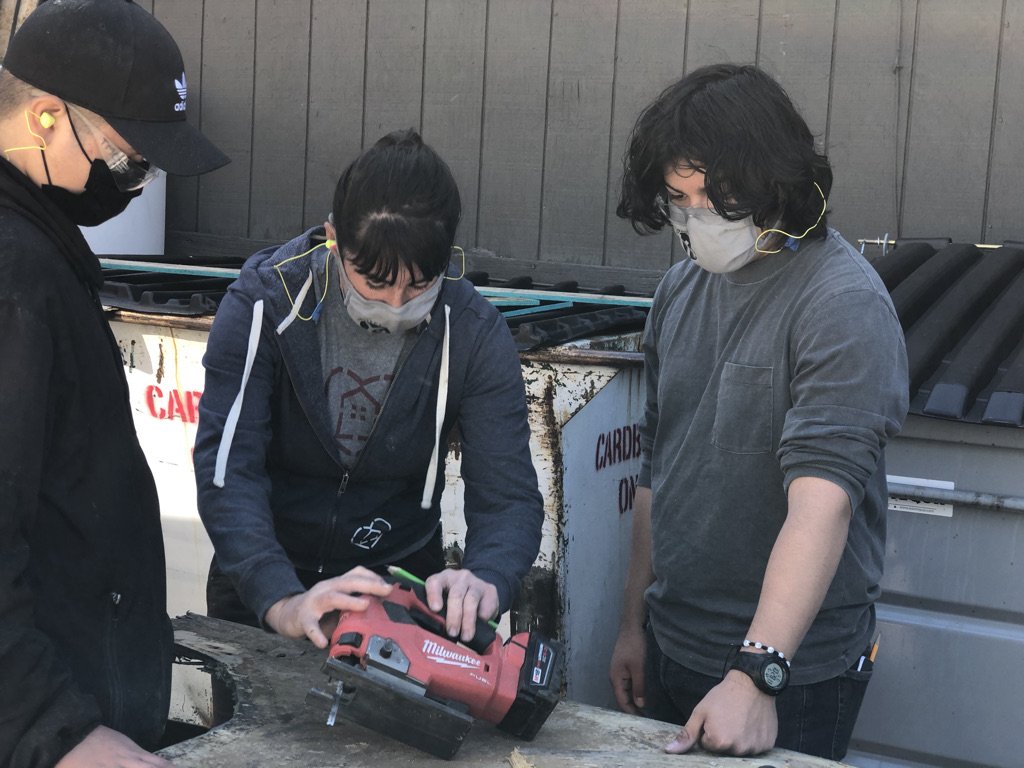
*Cutting the furring strips and subfloor is an excellent low-stakes introduction to the chop saw, jigsaw, circular saw, and track saw, and a good lesson inscribing and transferring measurements. Insulation is easy and satisfying to do with students.