Finishing
Finish Strong!
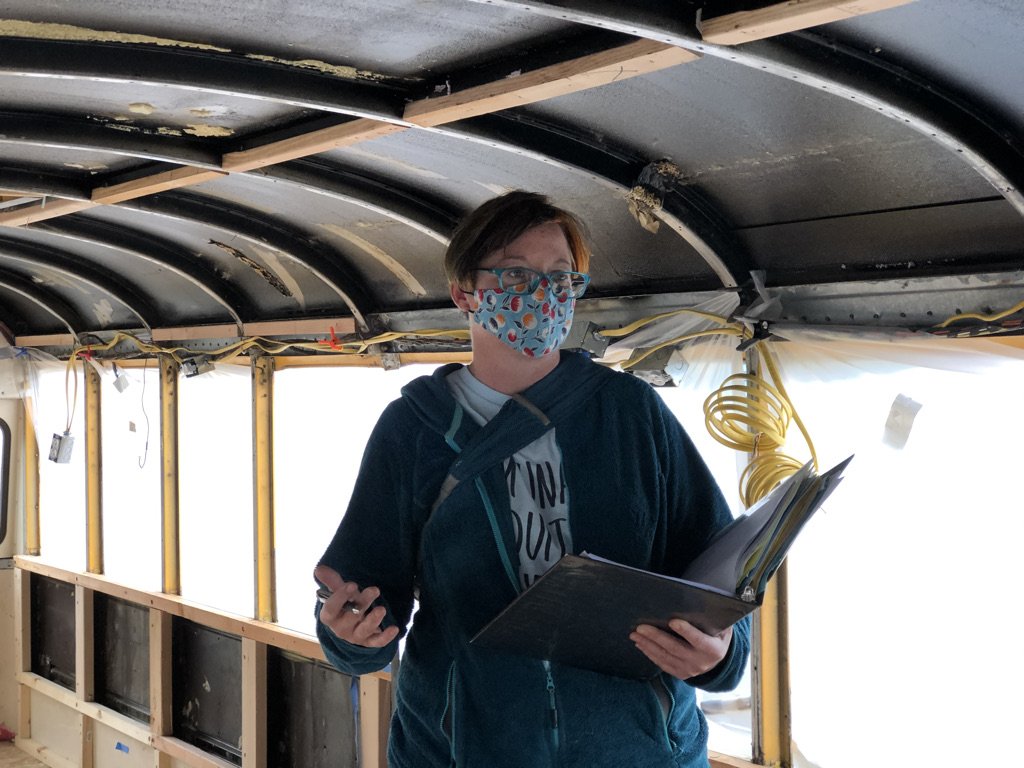
Ceiling trim spans seam between accordion pieces and ceiling pieces from front to back. 2 ½” x ¾” (?) hickory door casing.
Installed directly over panhead ceiling screws, attached with Construction Adhesive and 1 ½” brad nails, sealed along edges with paintable caulk
Install after all floor-to-ceiling built-ins are installed.
Careful to avoid hitting wiring that crosses the ceiling
Window Trim - make on CNC? Should match the curve of windows
Wall Trim - as needed. In sills where upper and lower walls meet, on wall seams, interior wall seams/corners, etc
Paint
Bench cushion - custom made to fit
Mattresses - trundle bed mattresses will need to be custom cut out of foam to fit the unique frame size.
Curtain hangers?
Closet rod in parents’ bedroom?
Builders Notes
Much of the finishing work was outside our scope and will be completed in the next phase, but we are prepared to say that trim and paint will be the builders’ friend. We did install trim lengthwise along the seams of the ceiling, and it mitigates gaps and warping nicely. While aesthetics and personal touches can be left to the family, adding details like hooks, rods, cushions, and mattresses will allow for an easier move-in. This step can feel endless, but it is also the final feel-good flair!
*Finish work is an excellent place for students interested in interior design to shine. We recommend asking for their opinion on colors and aesthetic detail (within reason) and giving them the joy of putting their ideas into action.