Drying in Walls & Installing Windows
Windows and walls….walls and windows!
Recommend replacing emergency exit vents with skylights or HVAC units if within scope (we sealed ours into the ceiling)
Window bays
We removed all school bus windows and replaced them with RV windows installed into sheet metal.
Depending on the budget, design, and quality of bus windows, leaving some well-functioning, well-placed windows might be appropriate.
Window removal requires a phillips bit and paint scraper or equivalent - pretty easy to detach.
Clean up gunk left behind
We installed five operable medium-sized RV windows (parents’ bedroom, kids bedroom, bathroom, two in kitchen) and three inoperable small RV windows (all in kitchen)
Bays with bigger windows - cut metal ribs with grinder and sawzall at top and bottom of bays
Be cautious of bus wiring - there are a few wires that are fed through bays.
Careful to not cut into metal “awning” over the bay - will affect waterproofing.
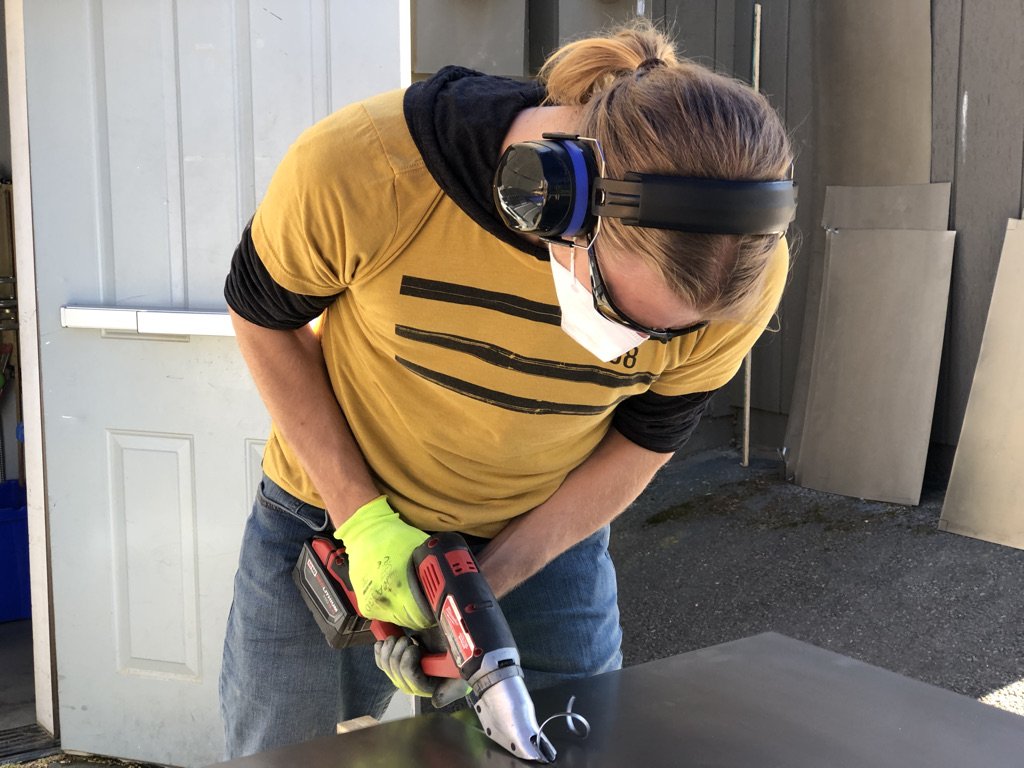
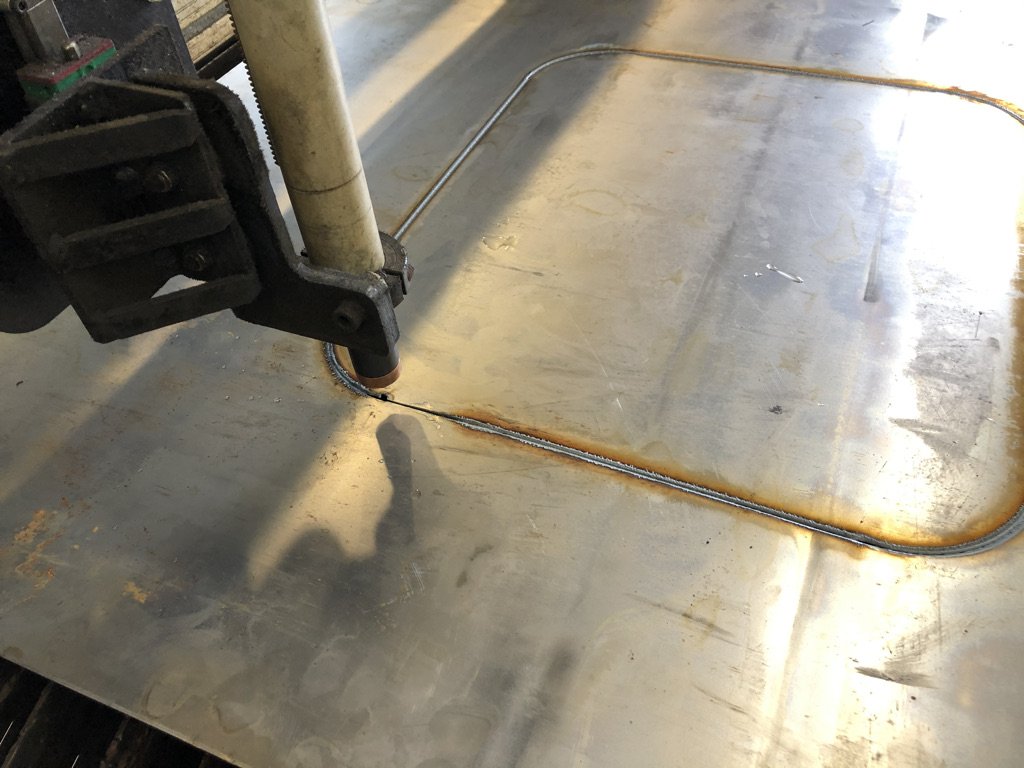
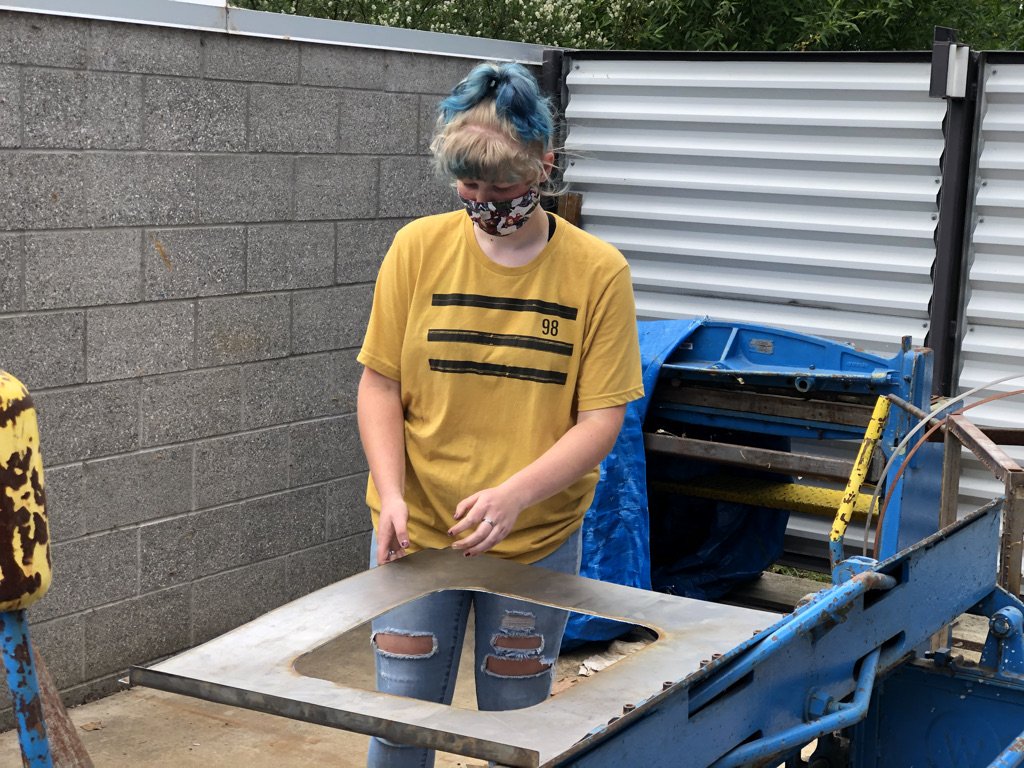
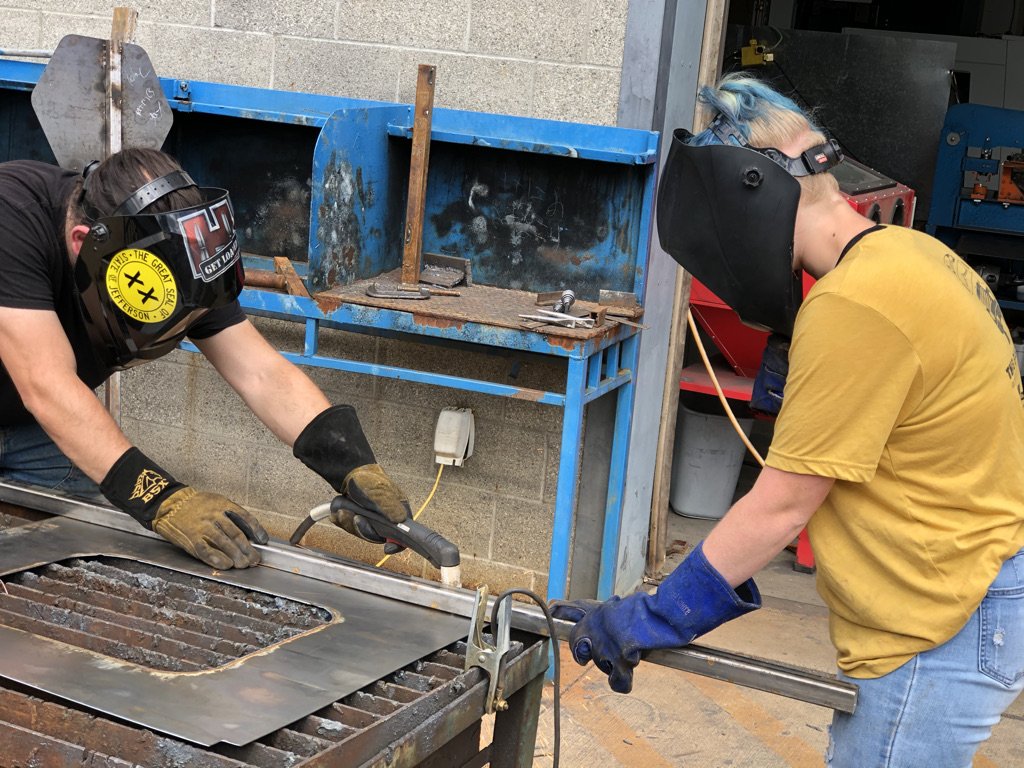
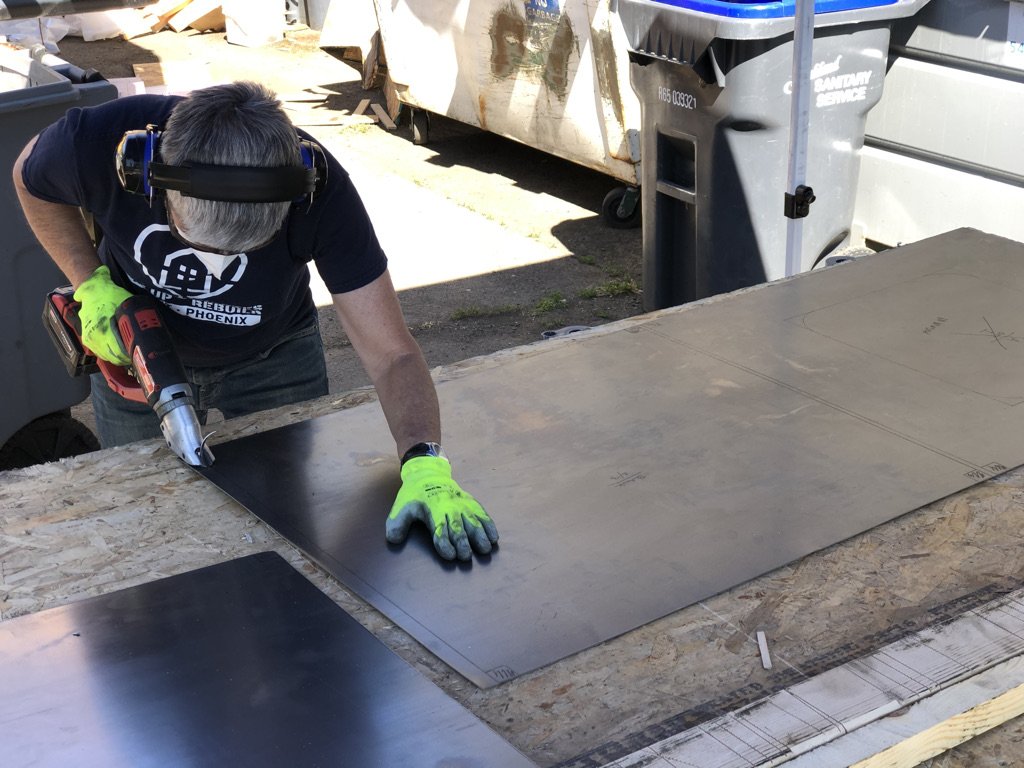
Had sheet metal custom cut and bent to fit into window bays - flush with exterior framing leaving approximately a 1 ½” cavity (measured to the interior of metal ribs)
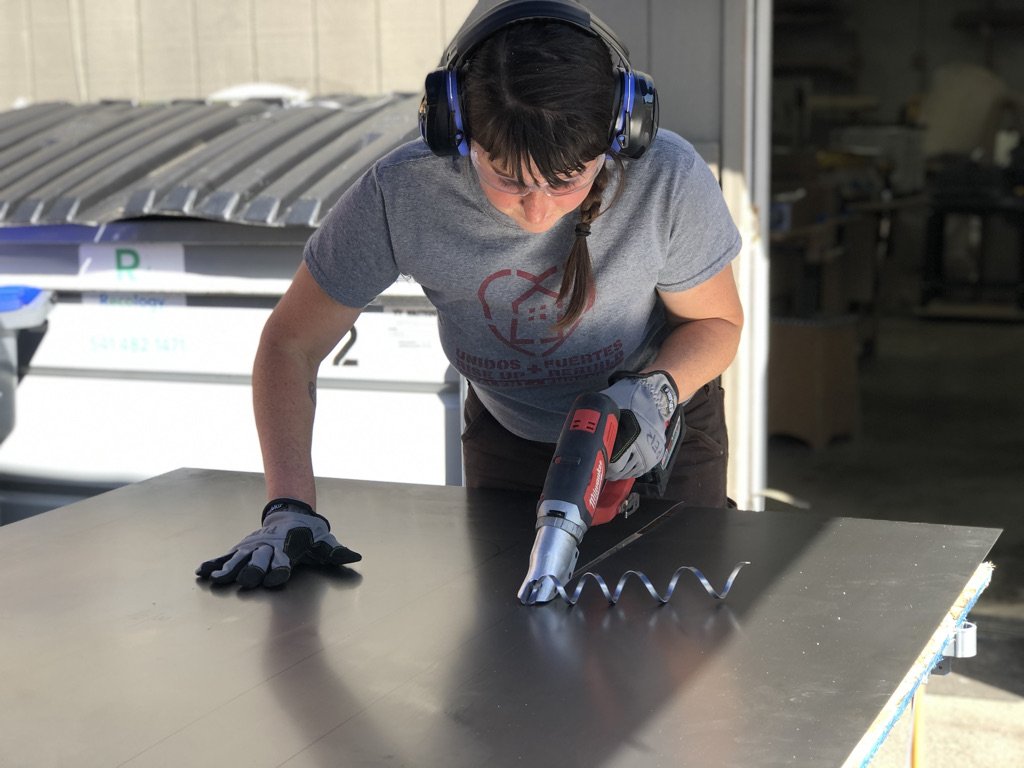
Scribed window cavities into sheet metal and cut with a grinder
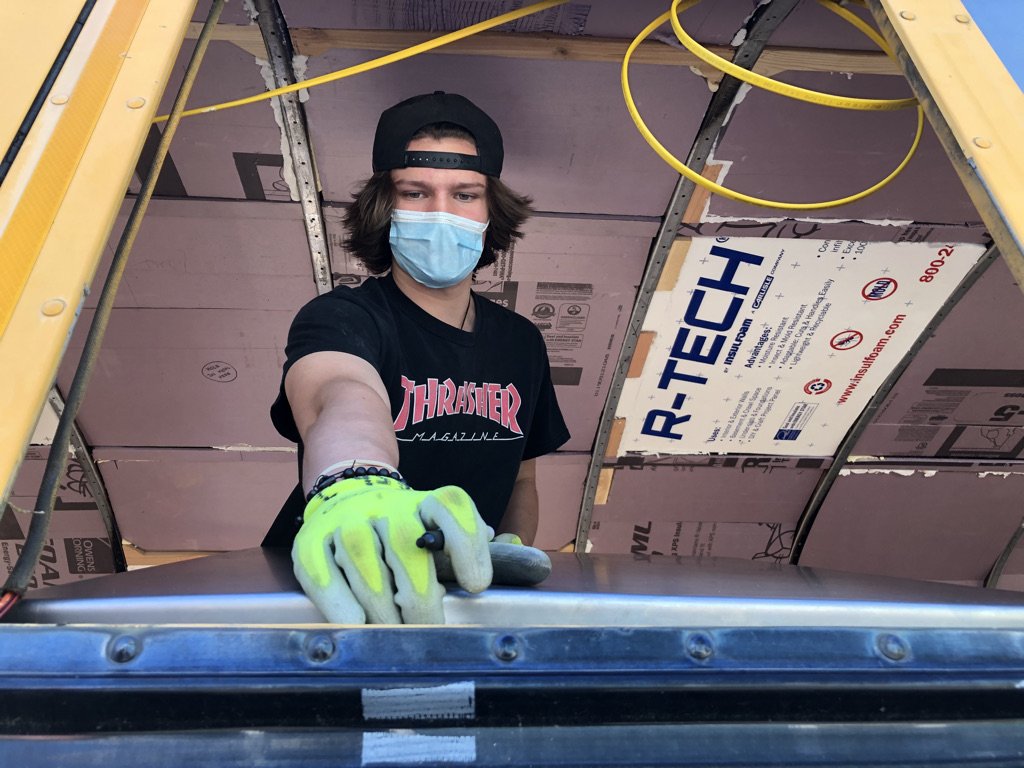
Inserted sheet metal from inside
Some pieces (most pieces? Big pieces) were a very tight fit and had to be reformed with mallets and blocks. Recommend having metal bent on the loose-fitting side -- easier to turn out than in
Attached sheet metal to top, bottom, and sides of bays with ¾” self-tapping metal screws (pre-drill first)
Applied silicon around all edges of sheet metal on exterior
Where ribs were cut along bottom edge of sheet metal-capped hole with a piece of sheet metal and sealed with silicon
Installing windows
RV windows we used are installed with a compression flange - the window is installed from outside and flange from inside
Lined window cavity from the exterior with butyl tape, installed window, cut excess butyl tape. Cut excess immediately, or it will be pretty sticky and hard to remove
Installed furring strips around window cavities on the inside for the compression flange to attach to - different windows have different depths, so measure each style.
Furring strips do not need to be independently attached; secure them between the flange and window using the ¾” self-tapping metal screws driven into the channel in the flange
Operable windows stuck a little closing completely - used a metal ball-peen hammer to bang the frame into shape a little bit.
Builders Notes
Because we removed all of the school bus windows, we created cavities in the entire upper half of our bus walls, dividing the walls into a lower section and an upper section. It’s ideal to remove the windows, replace them with higher quality windows, and insulate around them. Depending on your budget, scope, and the shape of the original windows, you can selectively leave some of them be.
We installed pre-fabricated sheet metal shaped to the size of the wall cavities, with cut-outs for windows. These are easy enough to install if they are the correct size. We recommend having them shaped just a bit loose (a ¼” shy would do it) so they are an easy fit. These pieces will need to be sealed for moisture and painted on the exterior to prevent rust.
Windows should be sized to fit within the sheet metal so there is enough lip on all sides to support the window flange. We installed five operable windows and three inoperable windows…the more ventilation options, the better! Windows can be installed as per the manufacturer’s instructions.
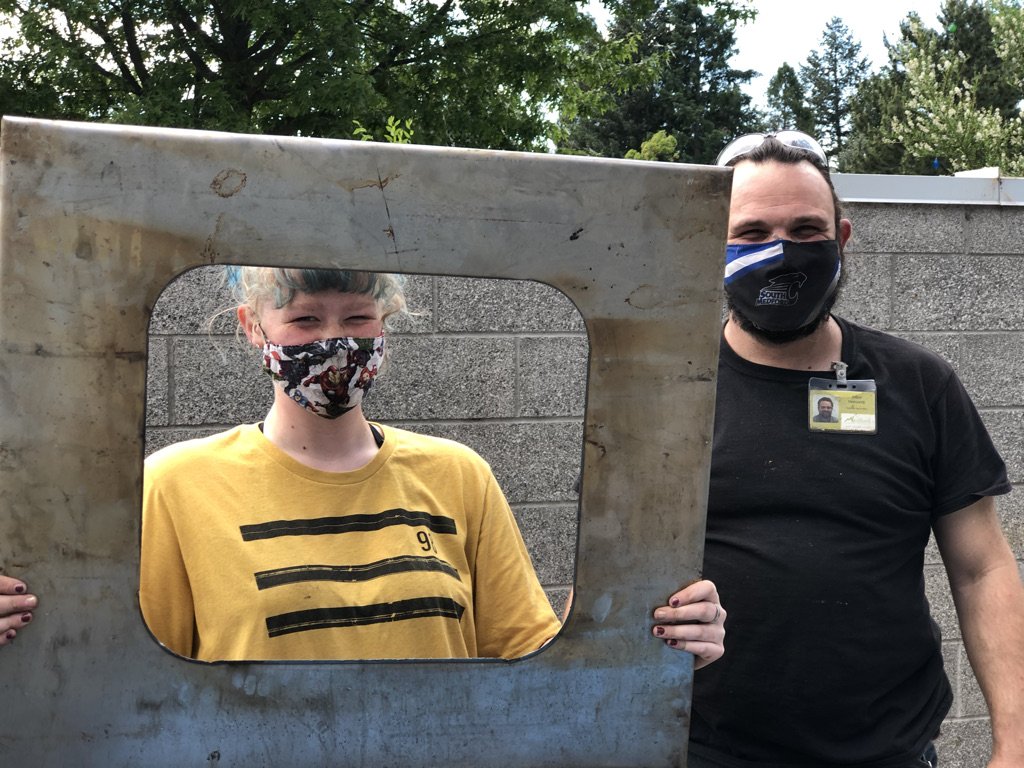
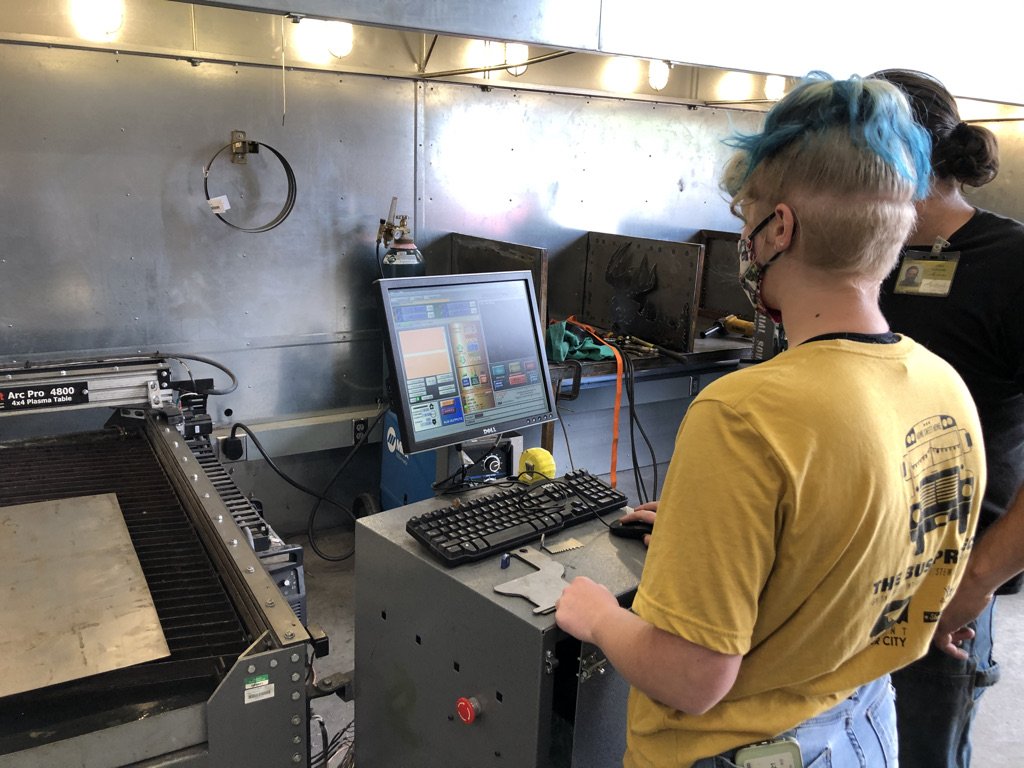
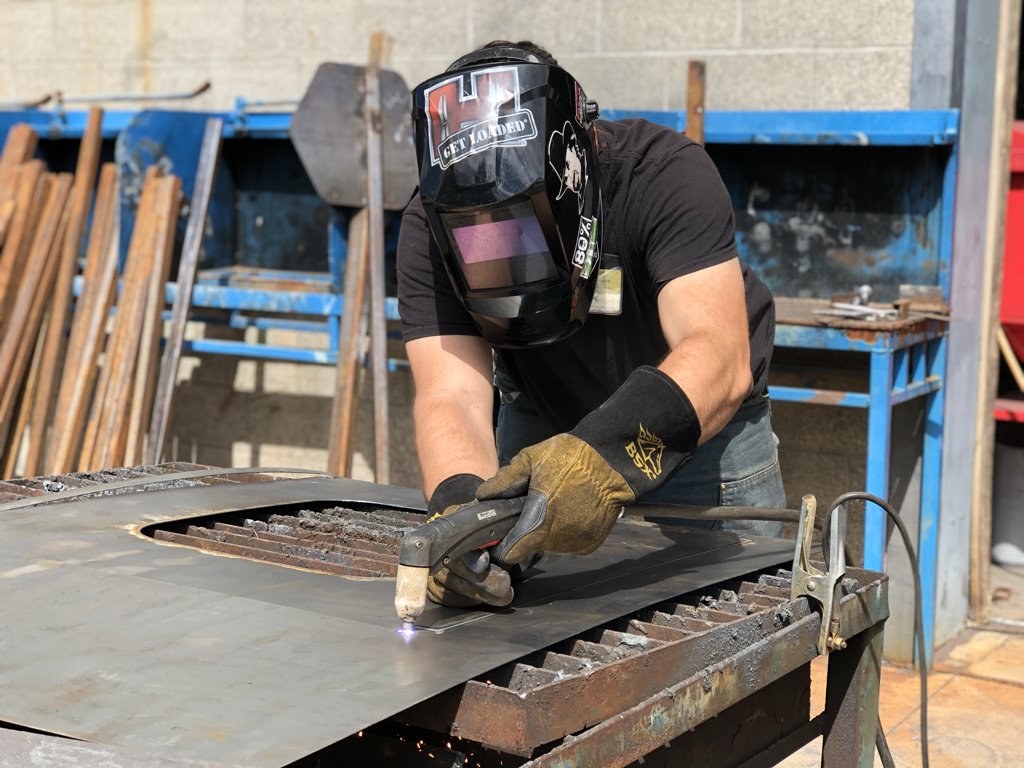
*If you have access to a metal shop and it’s within your scope, pre-fabricating the metal sheets can be a specialized activity done with students as intro/practice with metalworking. Alternatively, have the sheets fabricated off-site and have students install them - good practice with drill/driver and metal hardware. Window installation can be done by more advanced, detail-oriented students - double-check for square/operability and moisture vulnerability.
