Design
Makin’ it purdy! (and functional)

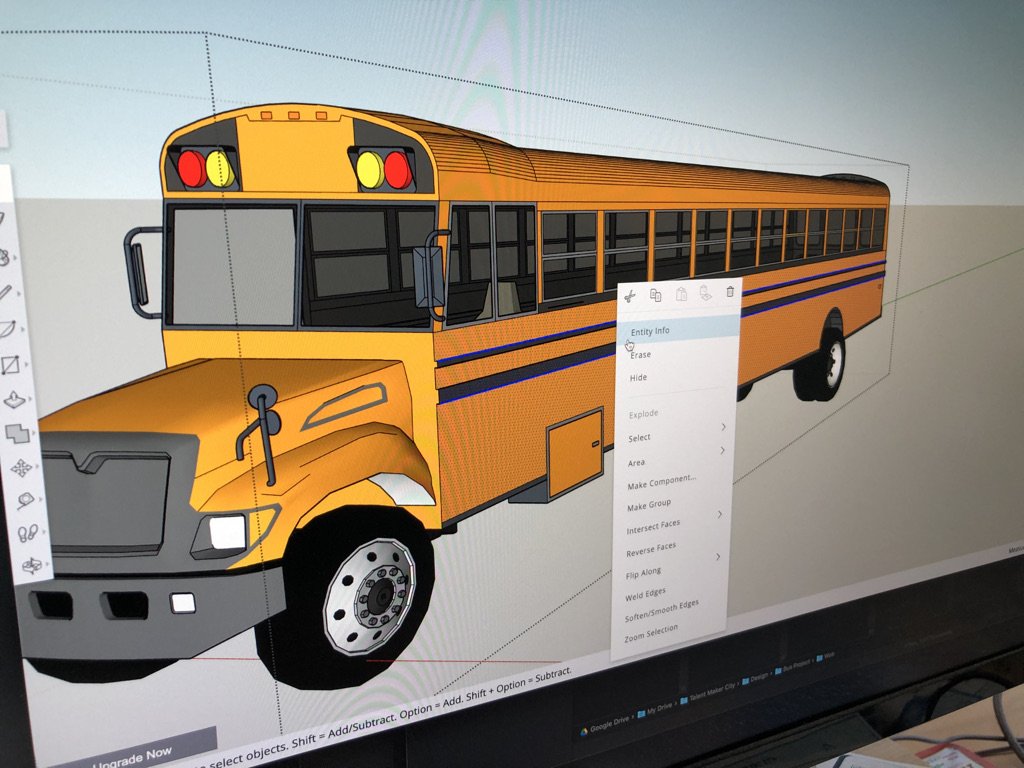
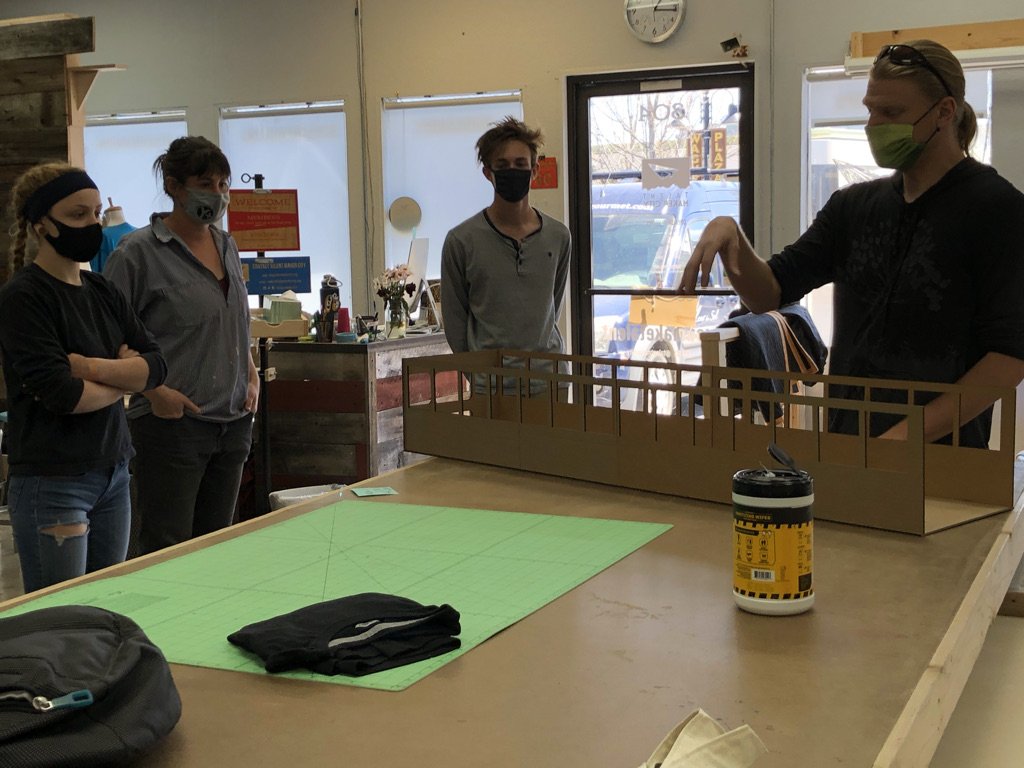
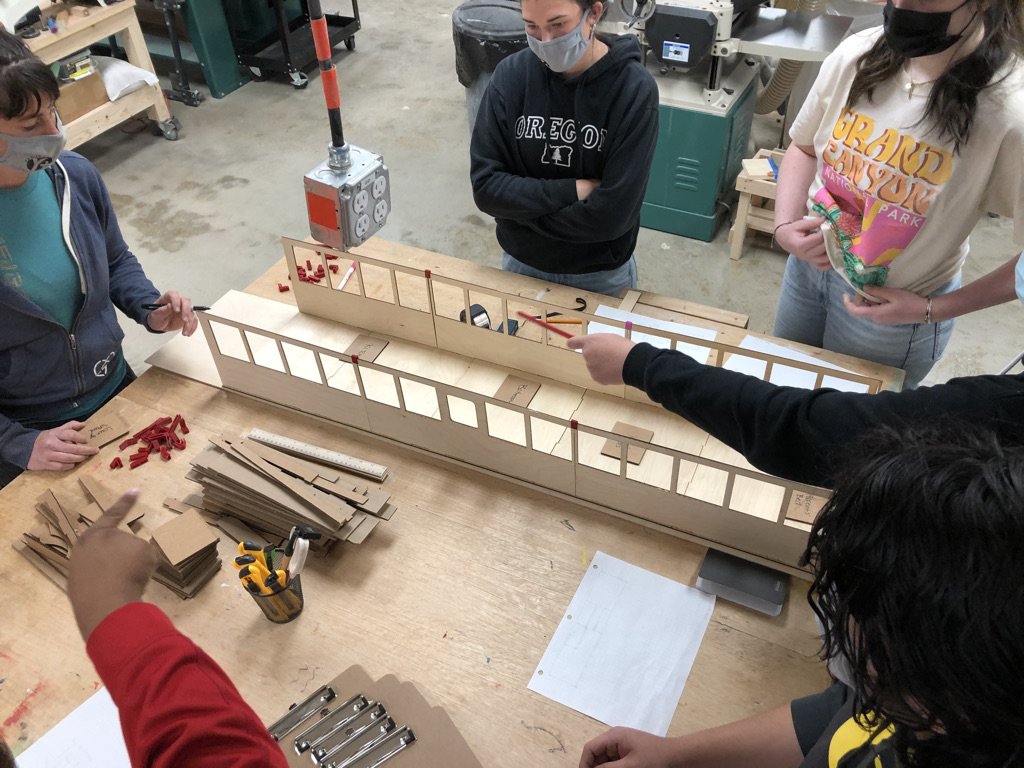
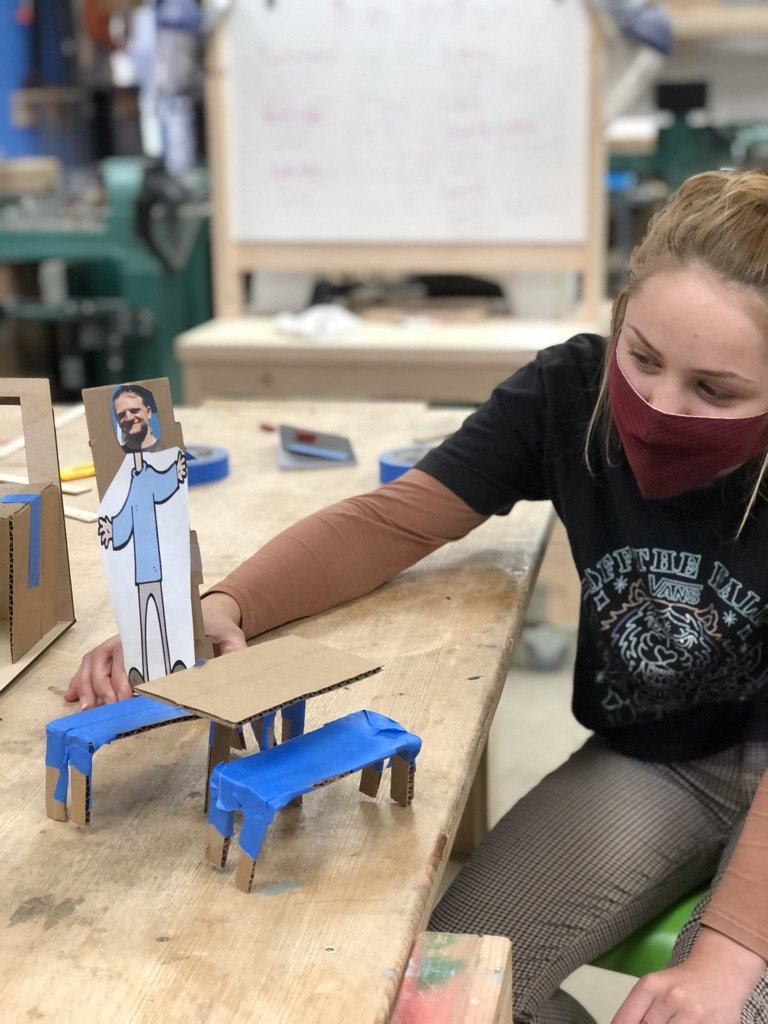
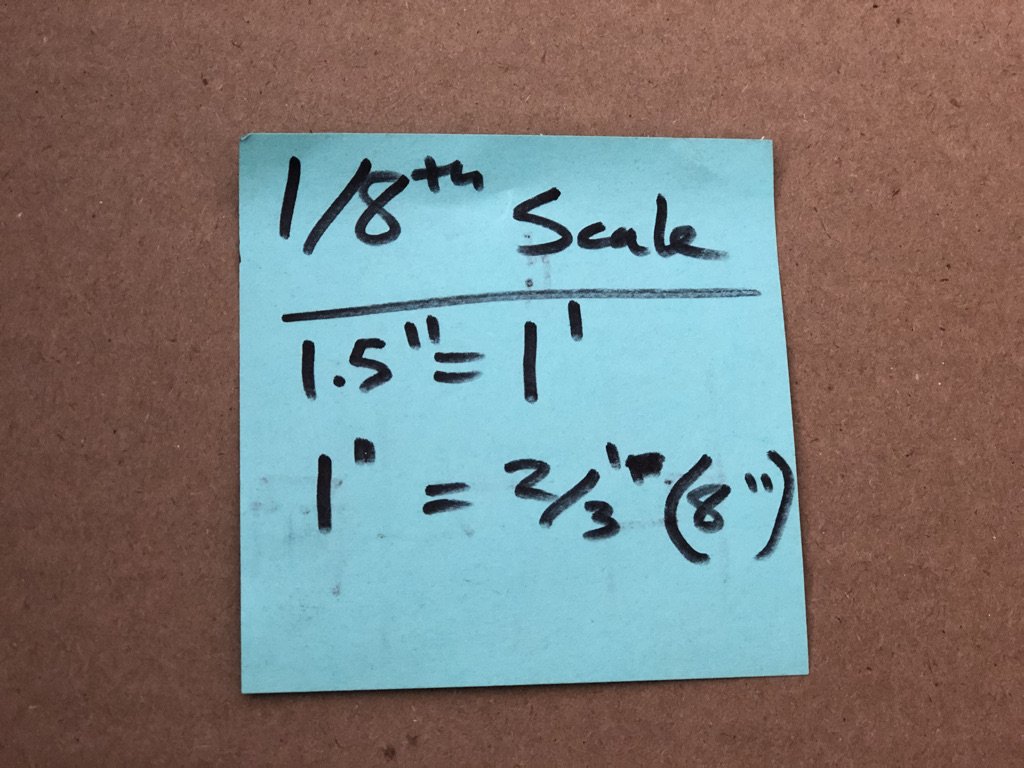
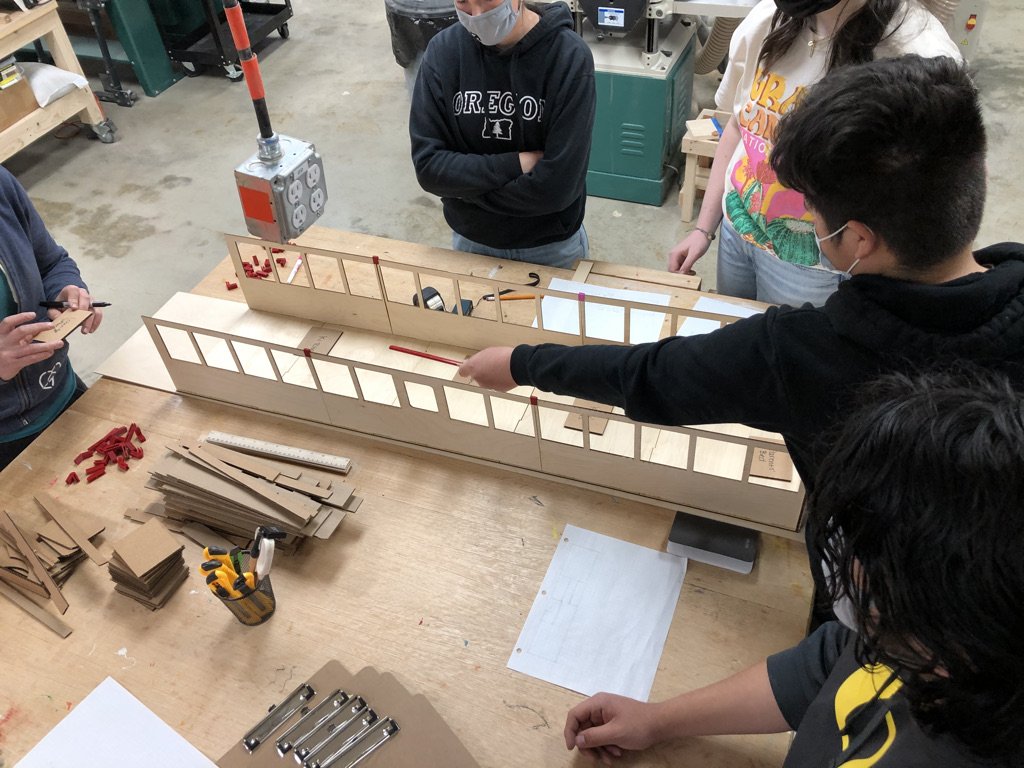
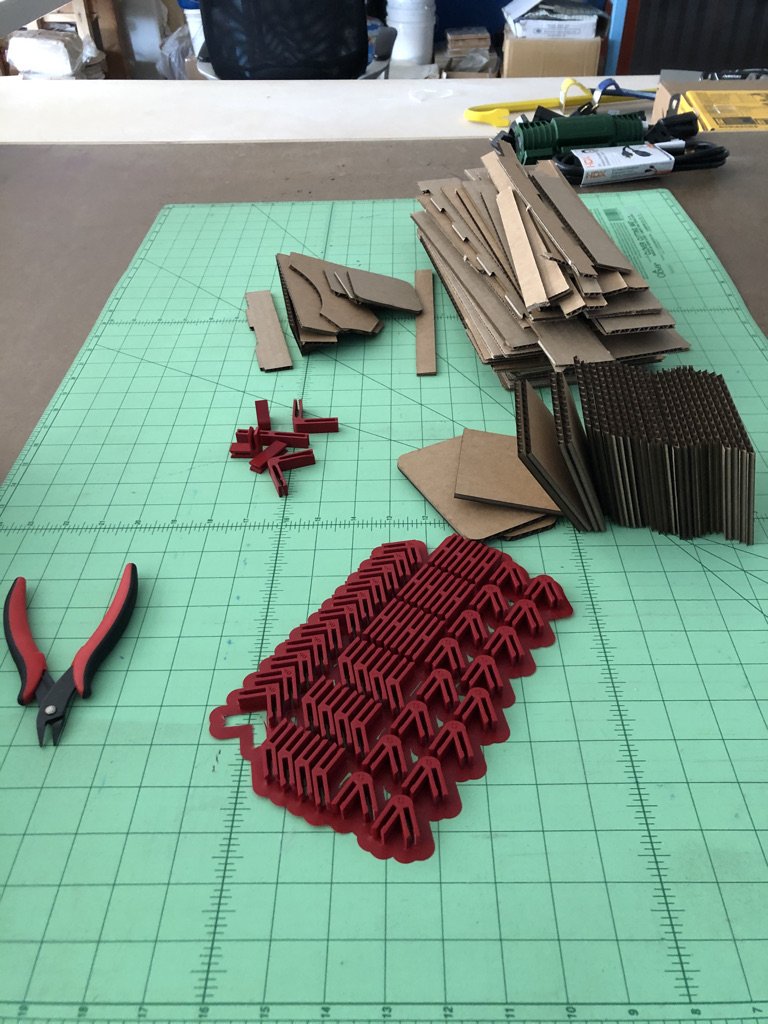
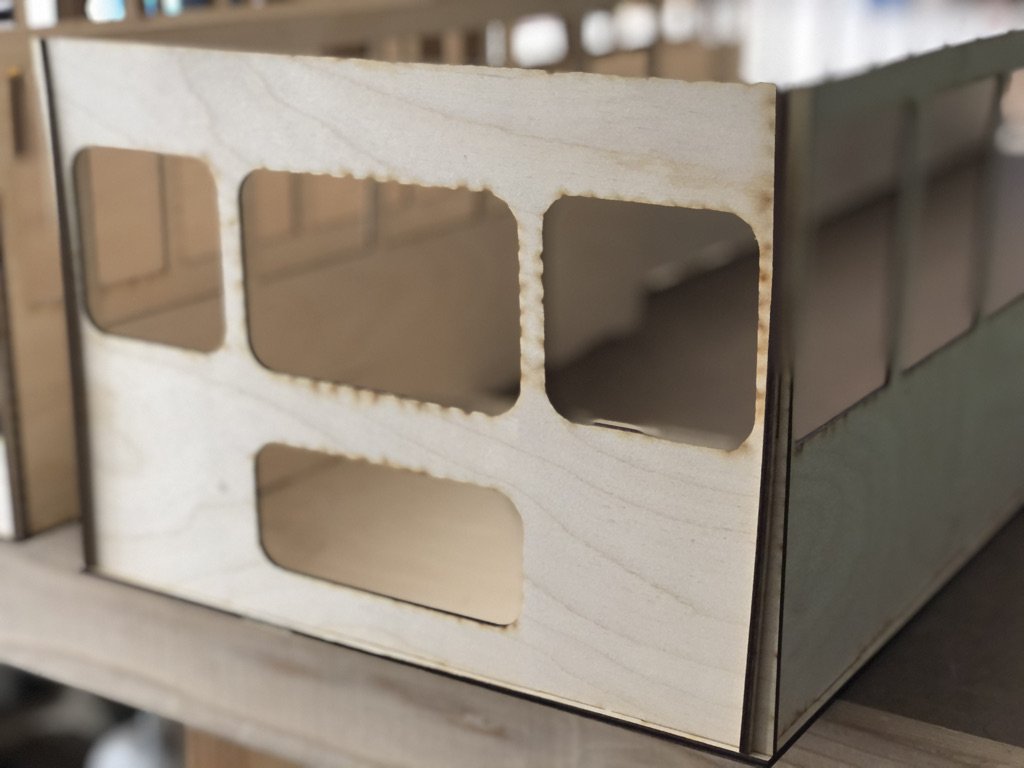
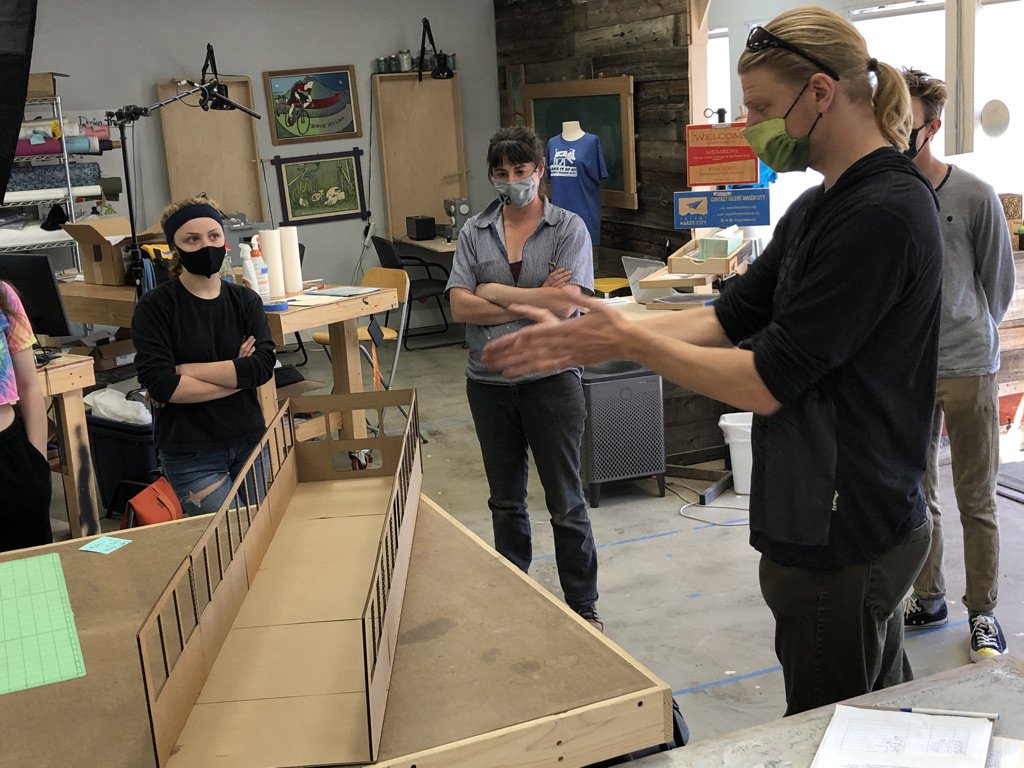
Made a to-scale physical 3D model of bus
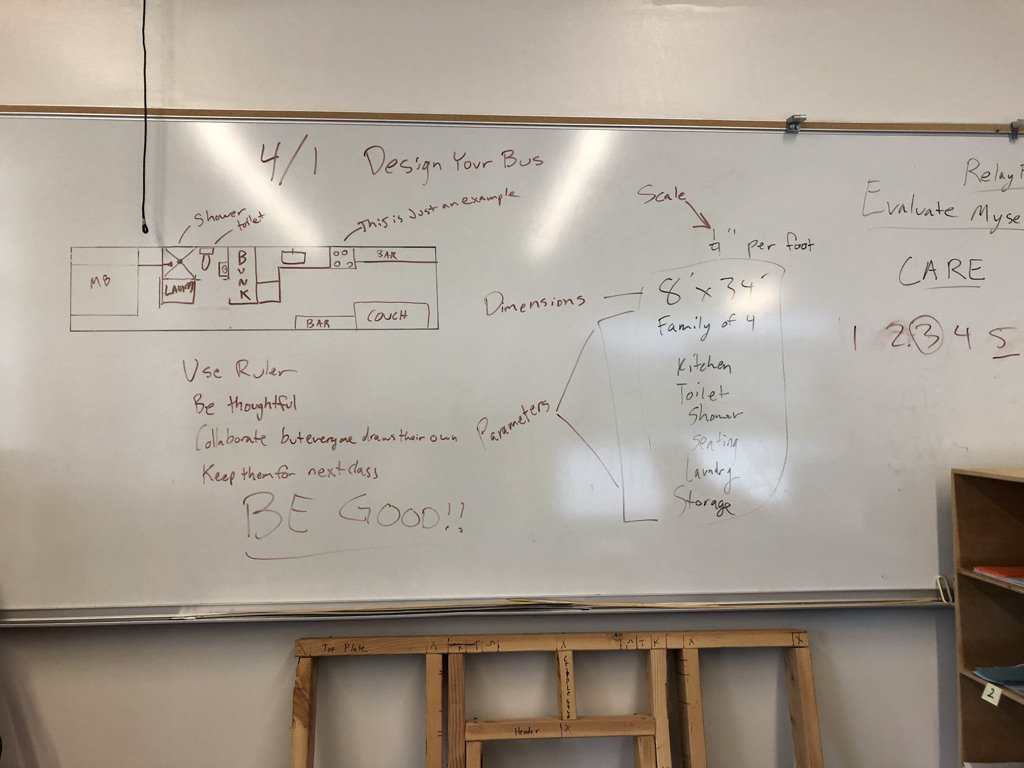
Key design elements:
Bench with hinged lid for storage, and hinged table that folds over it for eating
Trundle bed for kids to maximize head space
Bathroom between parent and kids beds for privacy/flow
Shower in center of bus to maximize head space
Bi-fold door on bathroom
Full sized bed in parents room with space for storage underneath accessible from back door
Builder Notes
Many constraints shaped the layout of our design. Since the bus recipients have not yet been selected, we wanted to make the space flexible for a family of up to four of unknown ages. The bus will go to a family who lost their home due to wildfire, and we want the space to be as homey and convenient as possible for them, so we wanted to include straightforward and self-contained utilities and appliances. We designed the bus understanding that it will be parked long-term, not moving around much, so it can hook up to power, water, and waste lines without much need for maintenance. We included as many options for storage as possible and ways to convert space for different purposes.
A few thoughts on tweaking this design for the future:
We chose to build a trundle bed for the kids because we were working with such a low ceiling and don’t know if the recipients will have one or two kids. The trundle bed is easy to tuck away, but it will take up the entire hallway when it’s pulled out. We placed the bathroom between the trundle bed and the parents’ bedroom for ease of nighttime access, but the front half of the bus is not accessible from the back when the trundle is out. If it is in your scope to raise the bus roof or if your bus is a few inches taller, bunk beds would be a good option.
The parents’ bedroom only allows for a full bed frame. Given the location of the rear wheel wells, pushing the bathroom further forward wasn’t an option for giving the bedroom more space. If you need to prioritize more space in the rear, think about a different location for the bathroom.
We placed the shower strategically in the middle of the bus to allow for the most possible headspace. It does place it directly above the fuel tank. We had access to a skilled plumber who could plumb the drain out safely above the tank. Be aware of the underside of the bus and shift fixtures around if you need to.
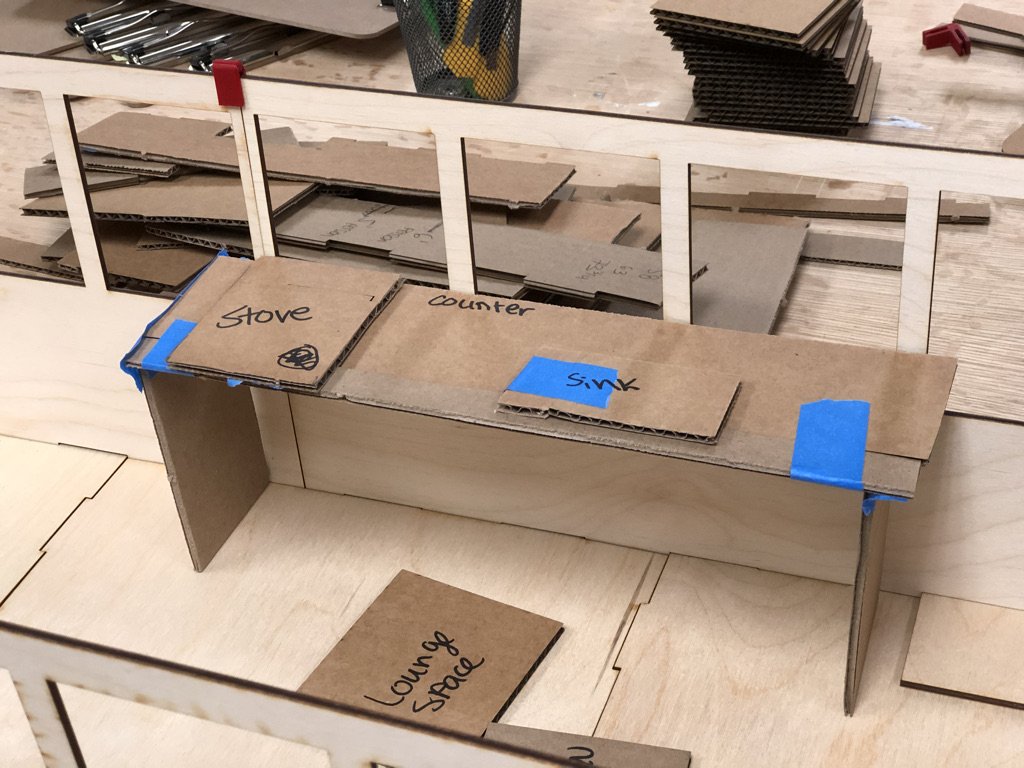
We designed our dining table to fold down over the only built-in seating area behind the driver’s seat so it won’t take up too much walking space when the kitchen is in use, primarily due to the size of the oven/stove range we acquired (the smallest full-sized range available). Occupants will then use stools/chairs for sitting around the table. Alternatively, you could choose an RV-style small range and install the table to utilize the bench as seating rather than fold over it.
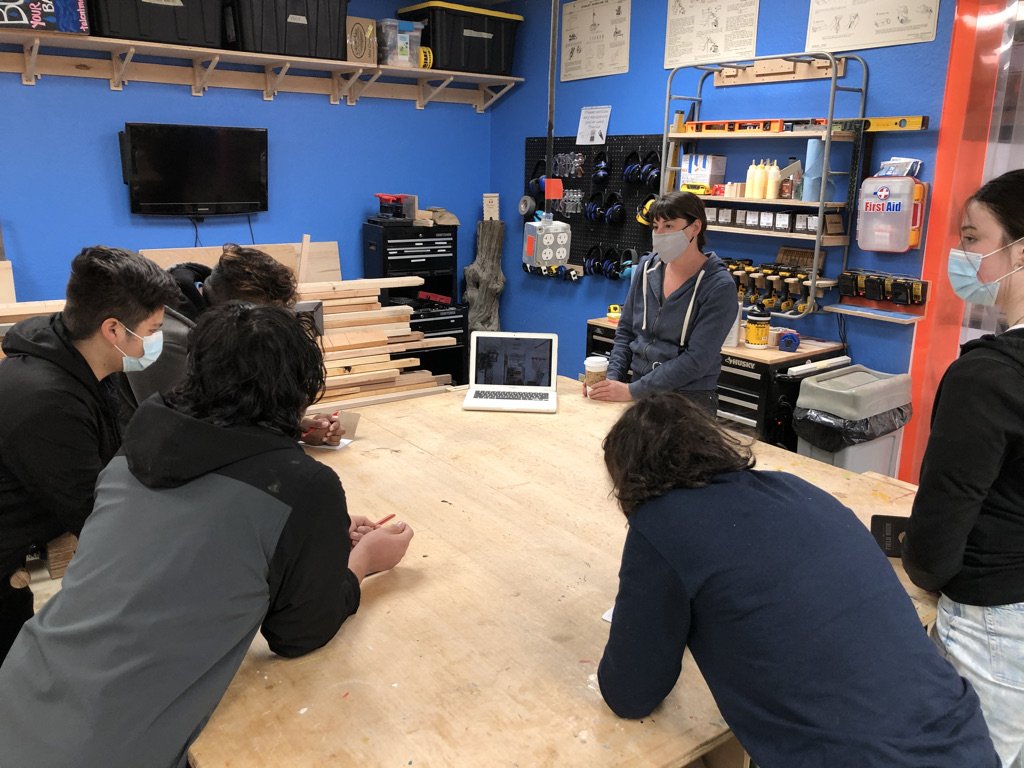
*Design work is a great way to involve students conceptually and give them ownership and a bigger-picture understanding of the entire process. We looked at the imagery of other bus builds and walked through design concepts. Our to-scale 3D model was a perfect tool for seeing how brainstormed ideas would work in the space. We recommend going through the entire design process with students and then incorporating their ideas into a final design based on constraints, budget, etc.