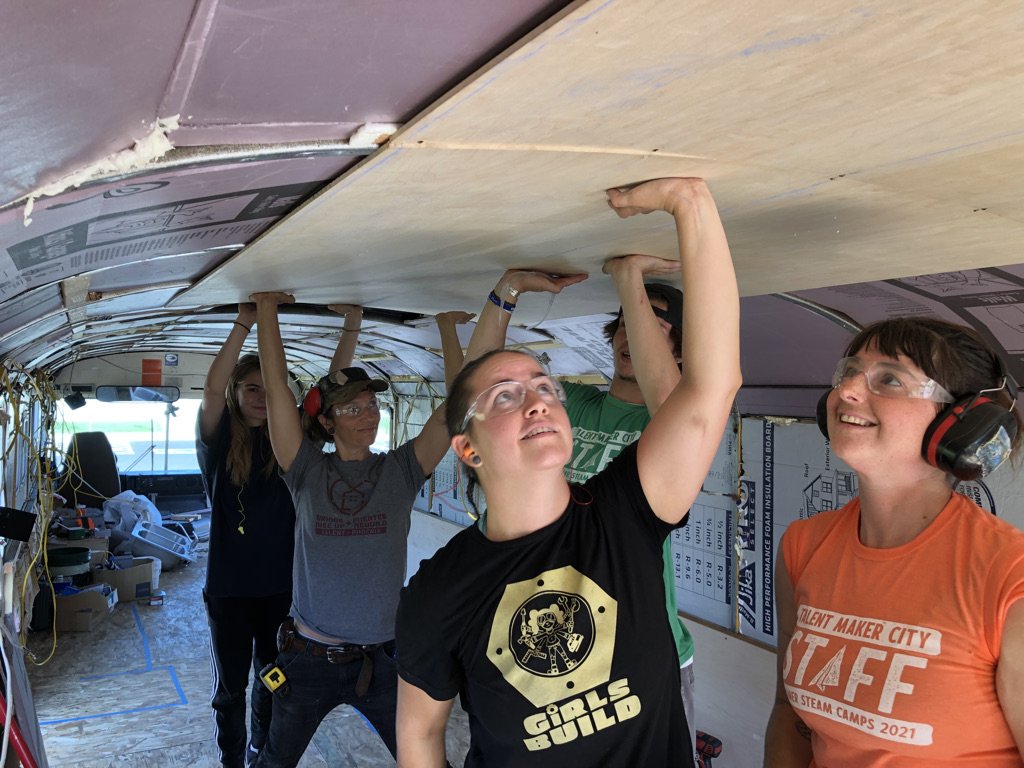
Installing Skin
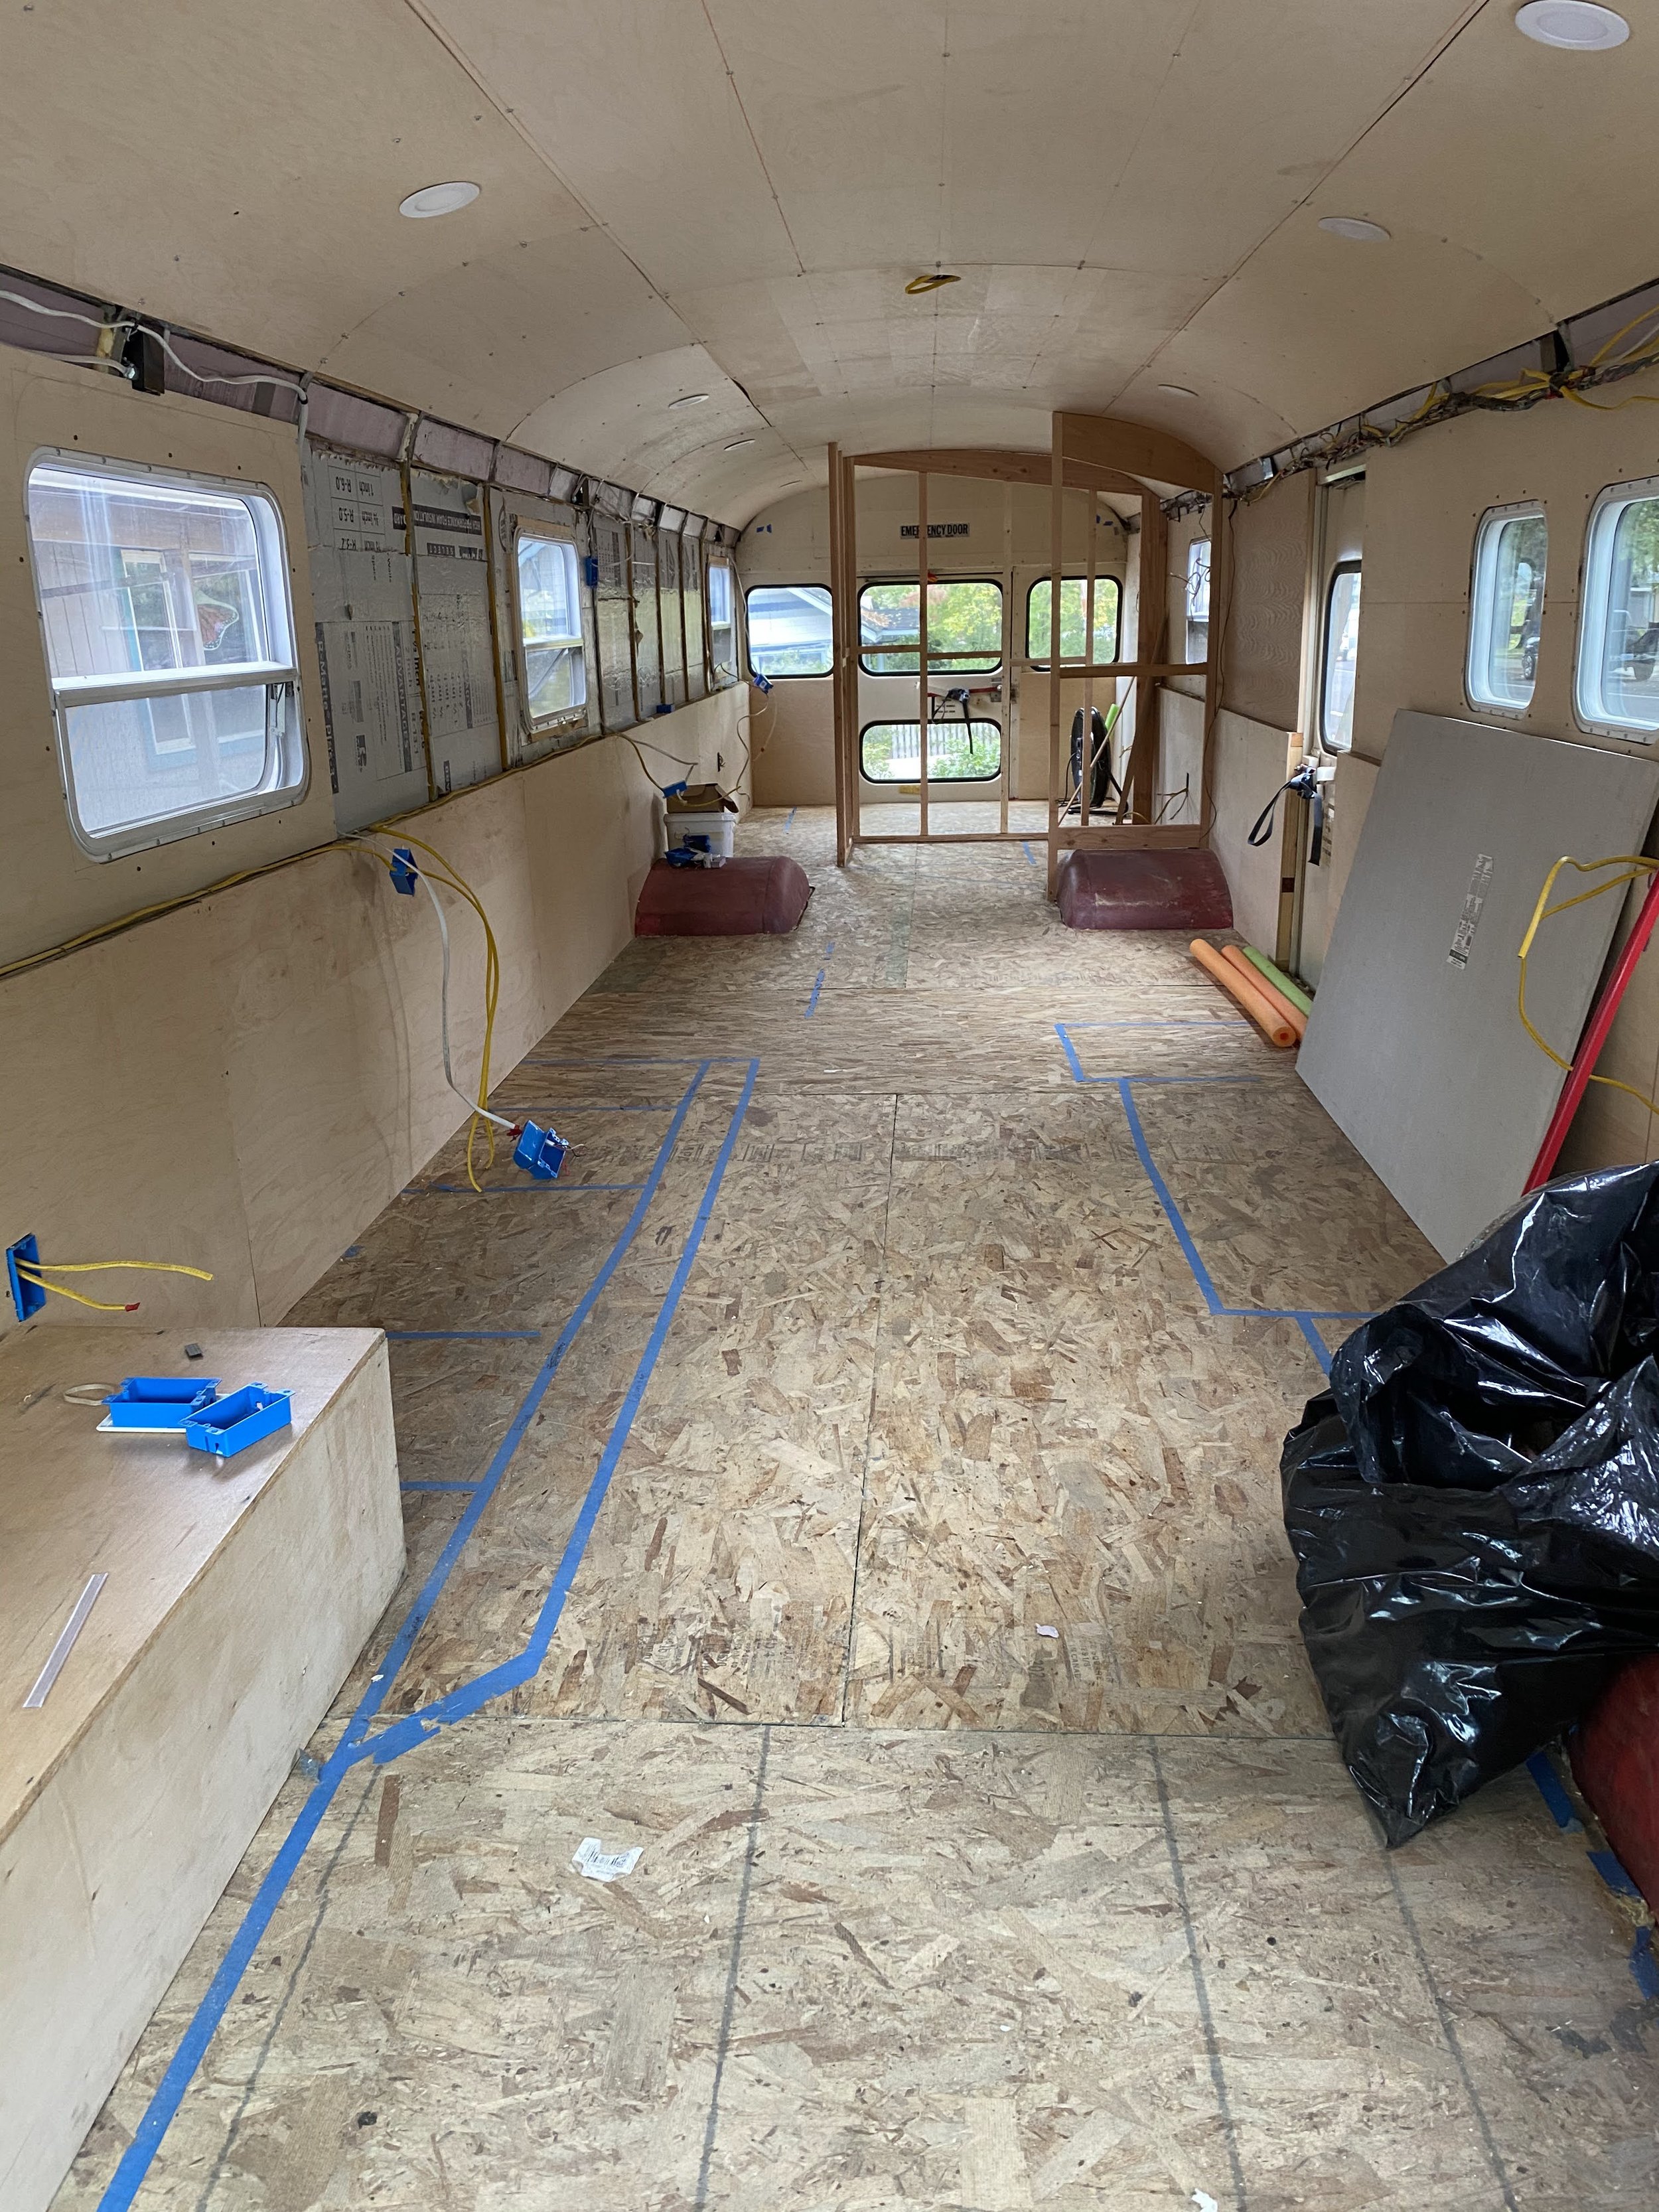
Skin = Plywood. PLYWOOD FOR DAYS!
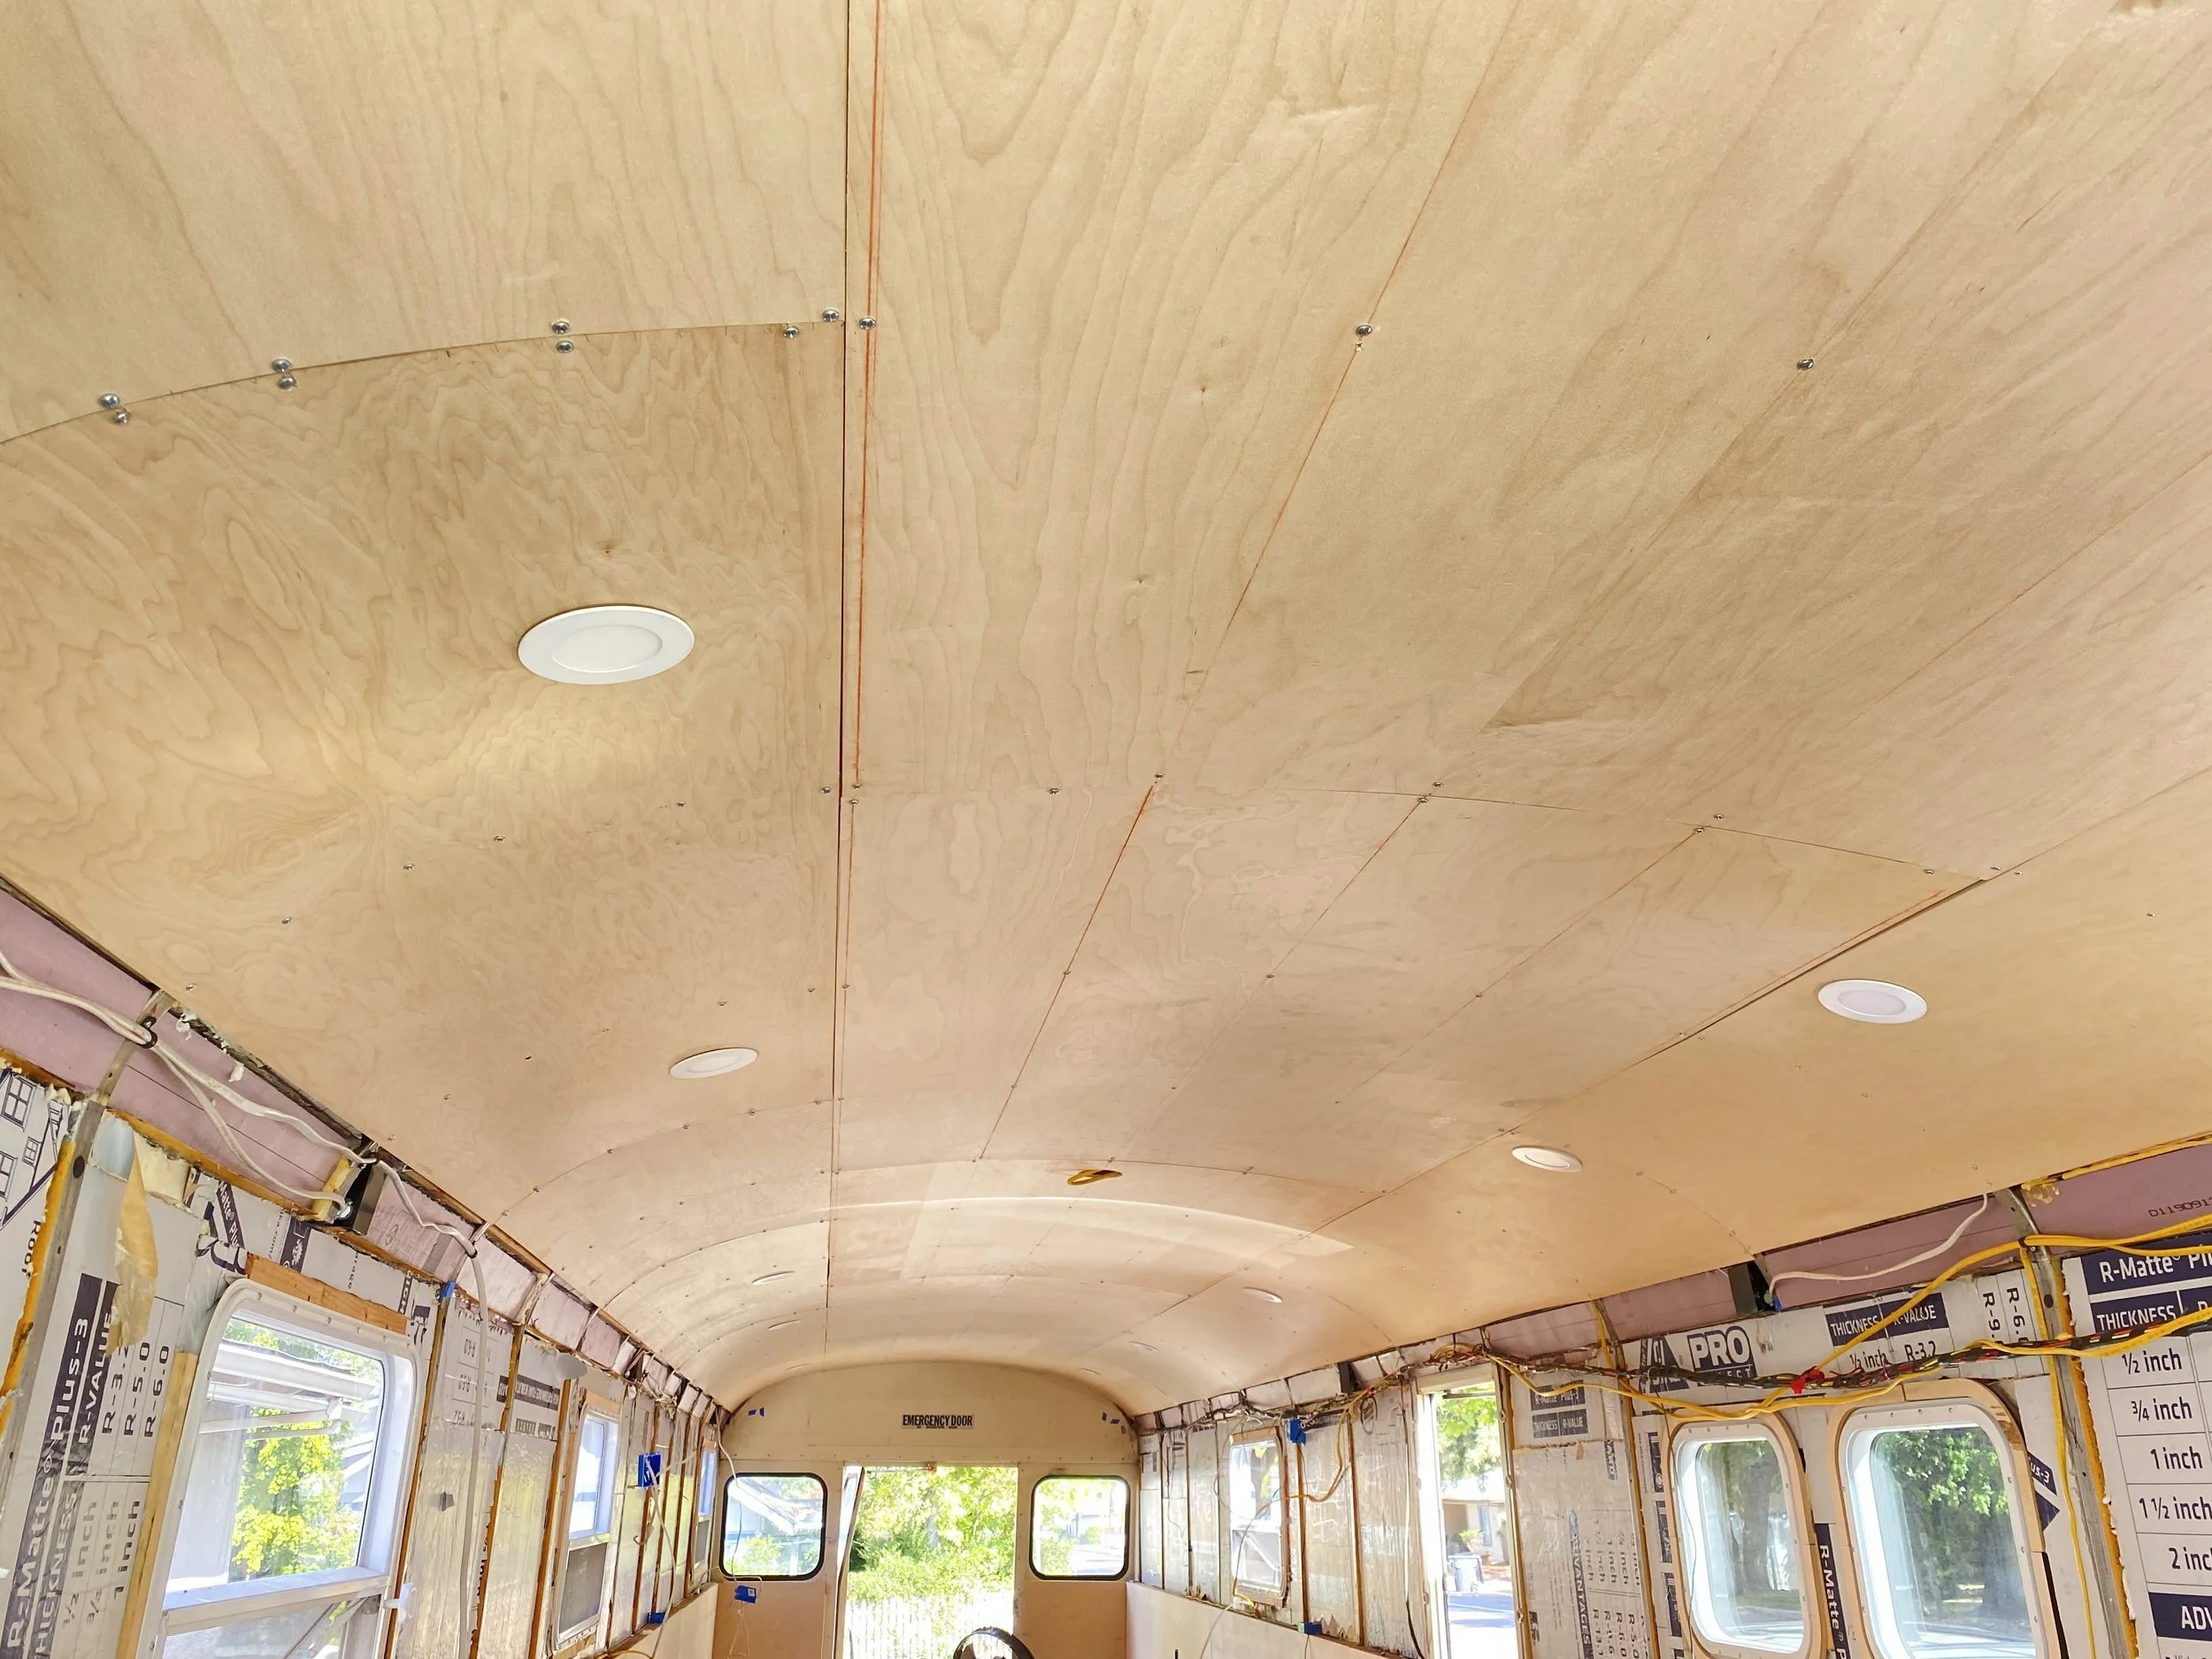
Ceiling - Leave metal ceiling if possible. If not:
Ran sheets of ¼” ply from back to the front of the bus
Find and stay on center as much as possible - easy to wander.
Attached with ¾” #10 panhead self-tapping metal screws directly to ribs
Screw pattern: careful to avoid holes already in ribs. On each rib: ½” and 12 ½” from each side and on center
Added additional wooden blocks at seams for easier attachment. I WOULD NOT RECOMMEND IT. Challenging to make sheets flush to each other. Attached with ¾” #10 panhead wood screws to match metal screws
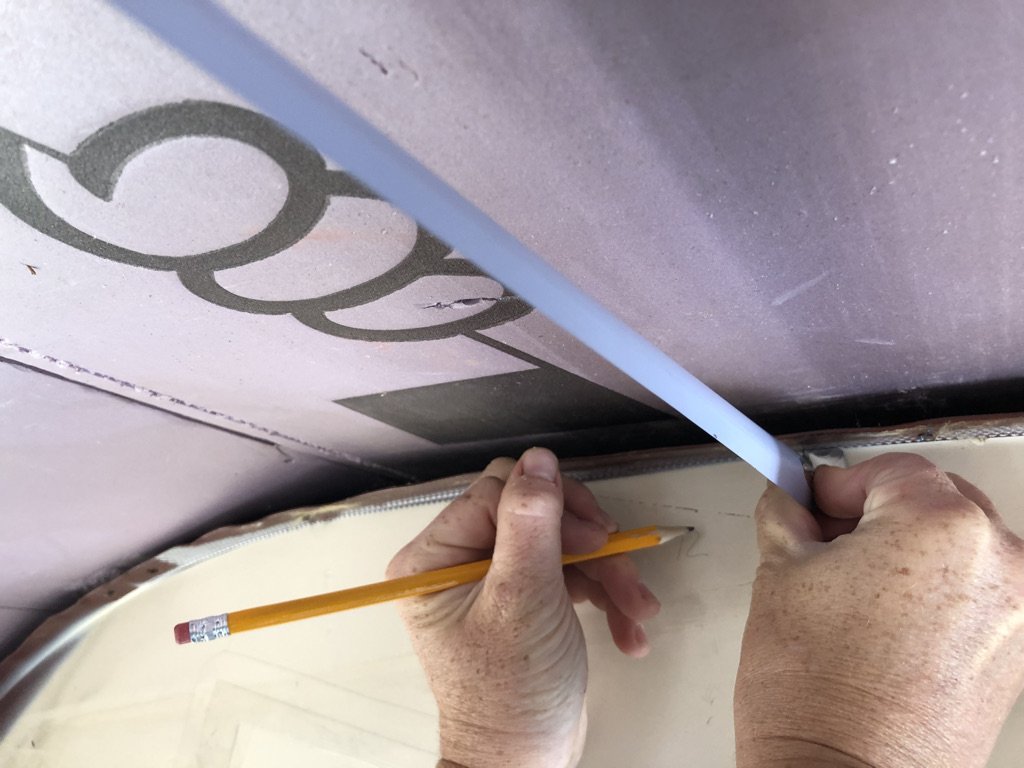
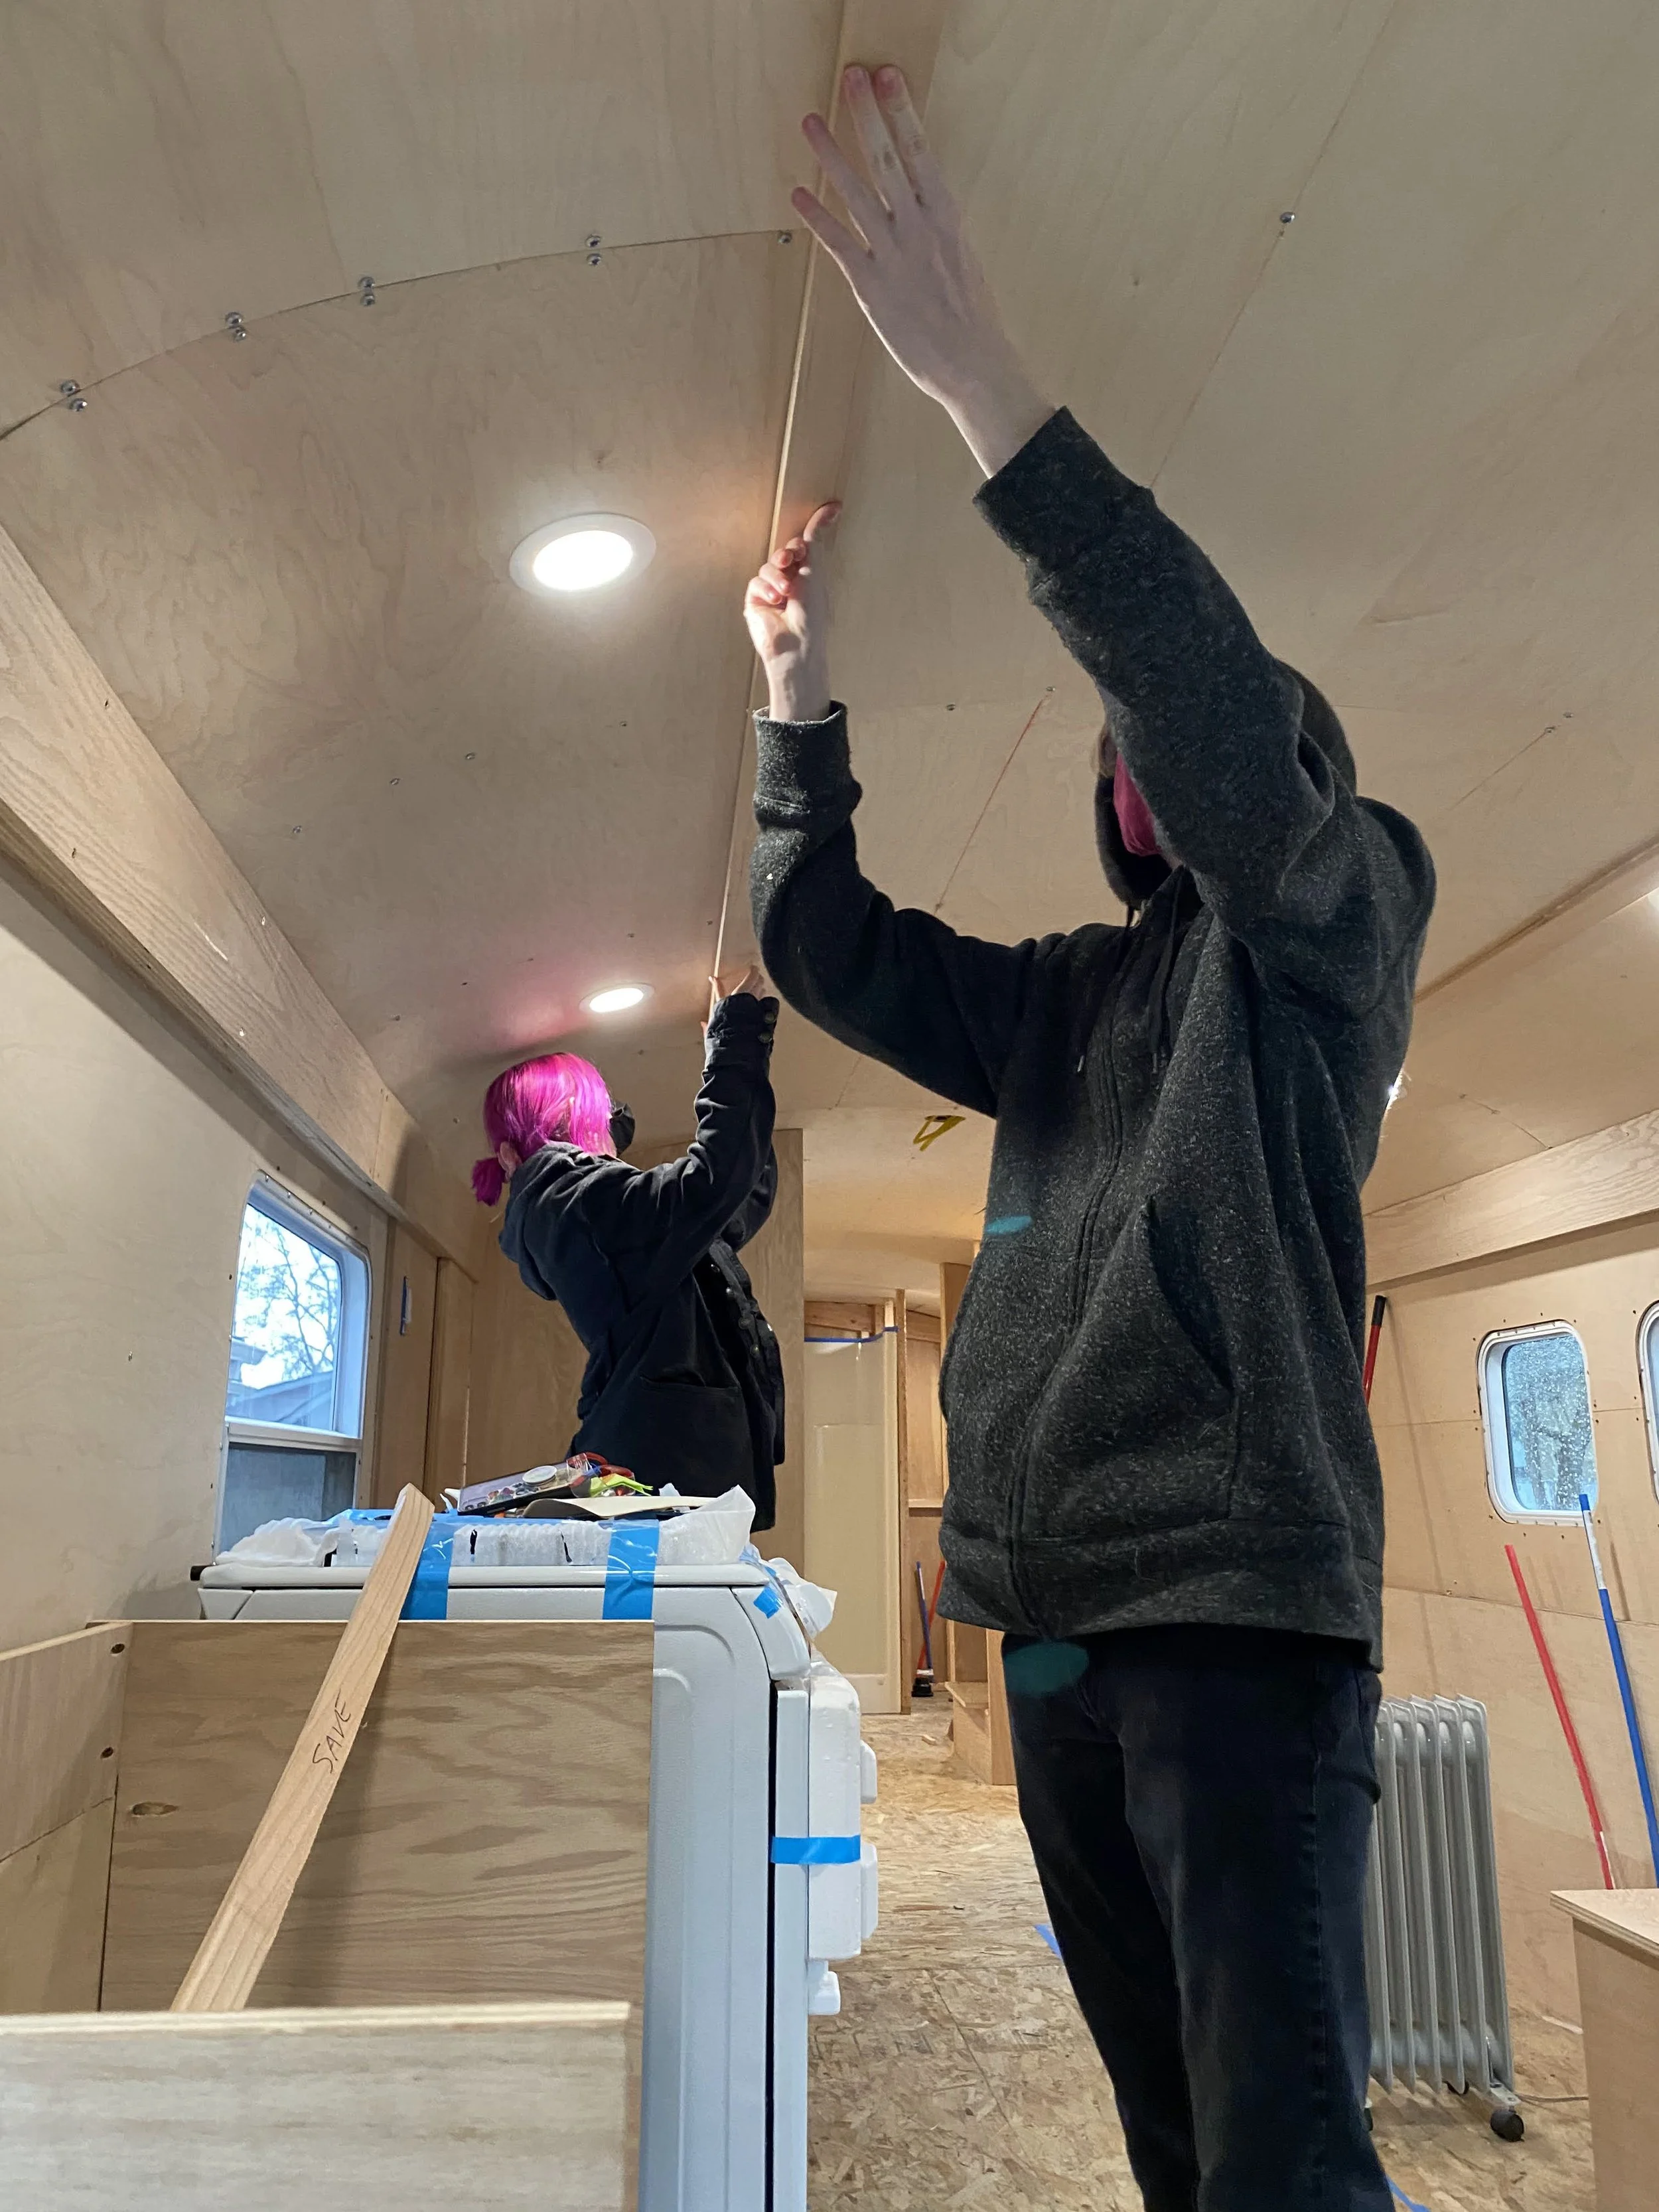
Ceiling to wall curve
Approximately 22” from ceiling pieces to electrical channel (will vary depending on how centered ceiling pieces are)
Accordion cuts are hidden behind to relieve for the curve.
Cut pattern from bottom:
Every ¼” between 1” and 10”
Every ½” between 10” and 16”
Every 1” between 16” and 20”
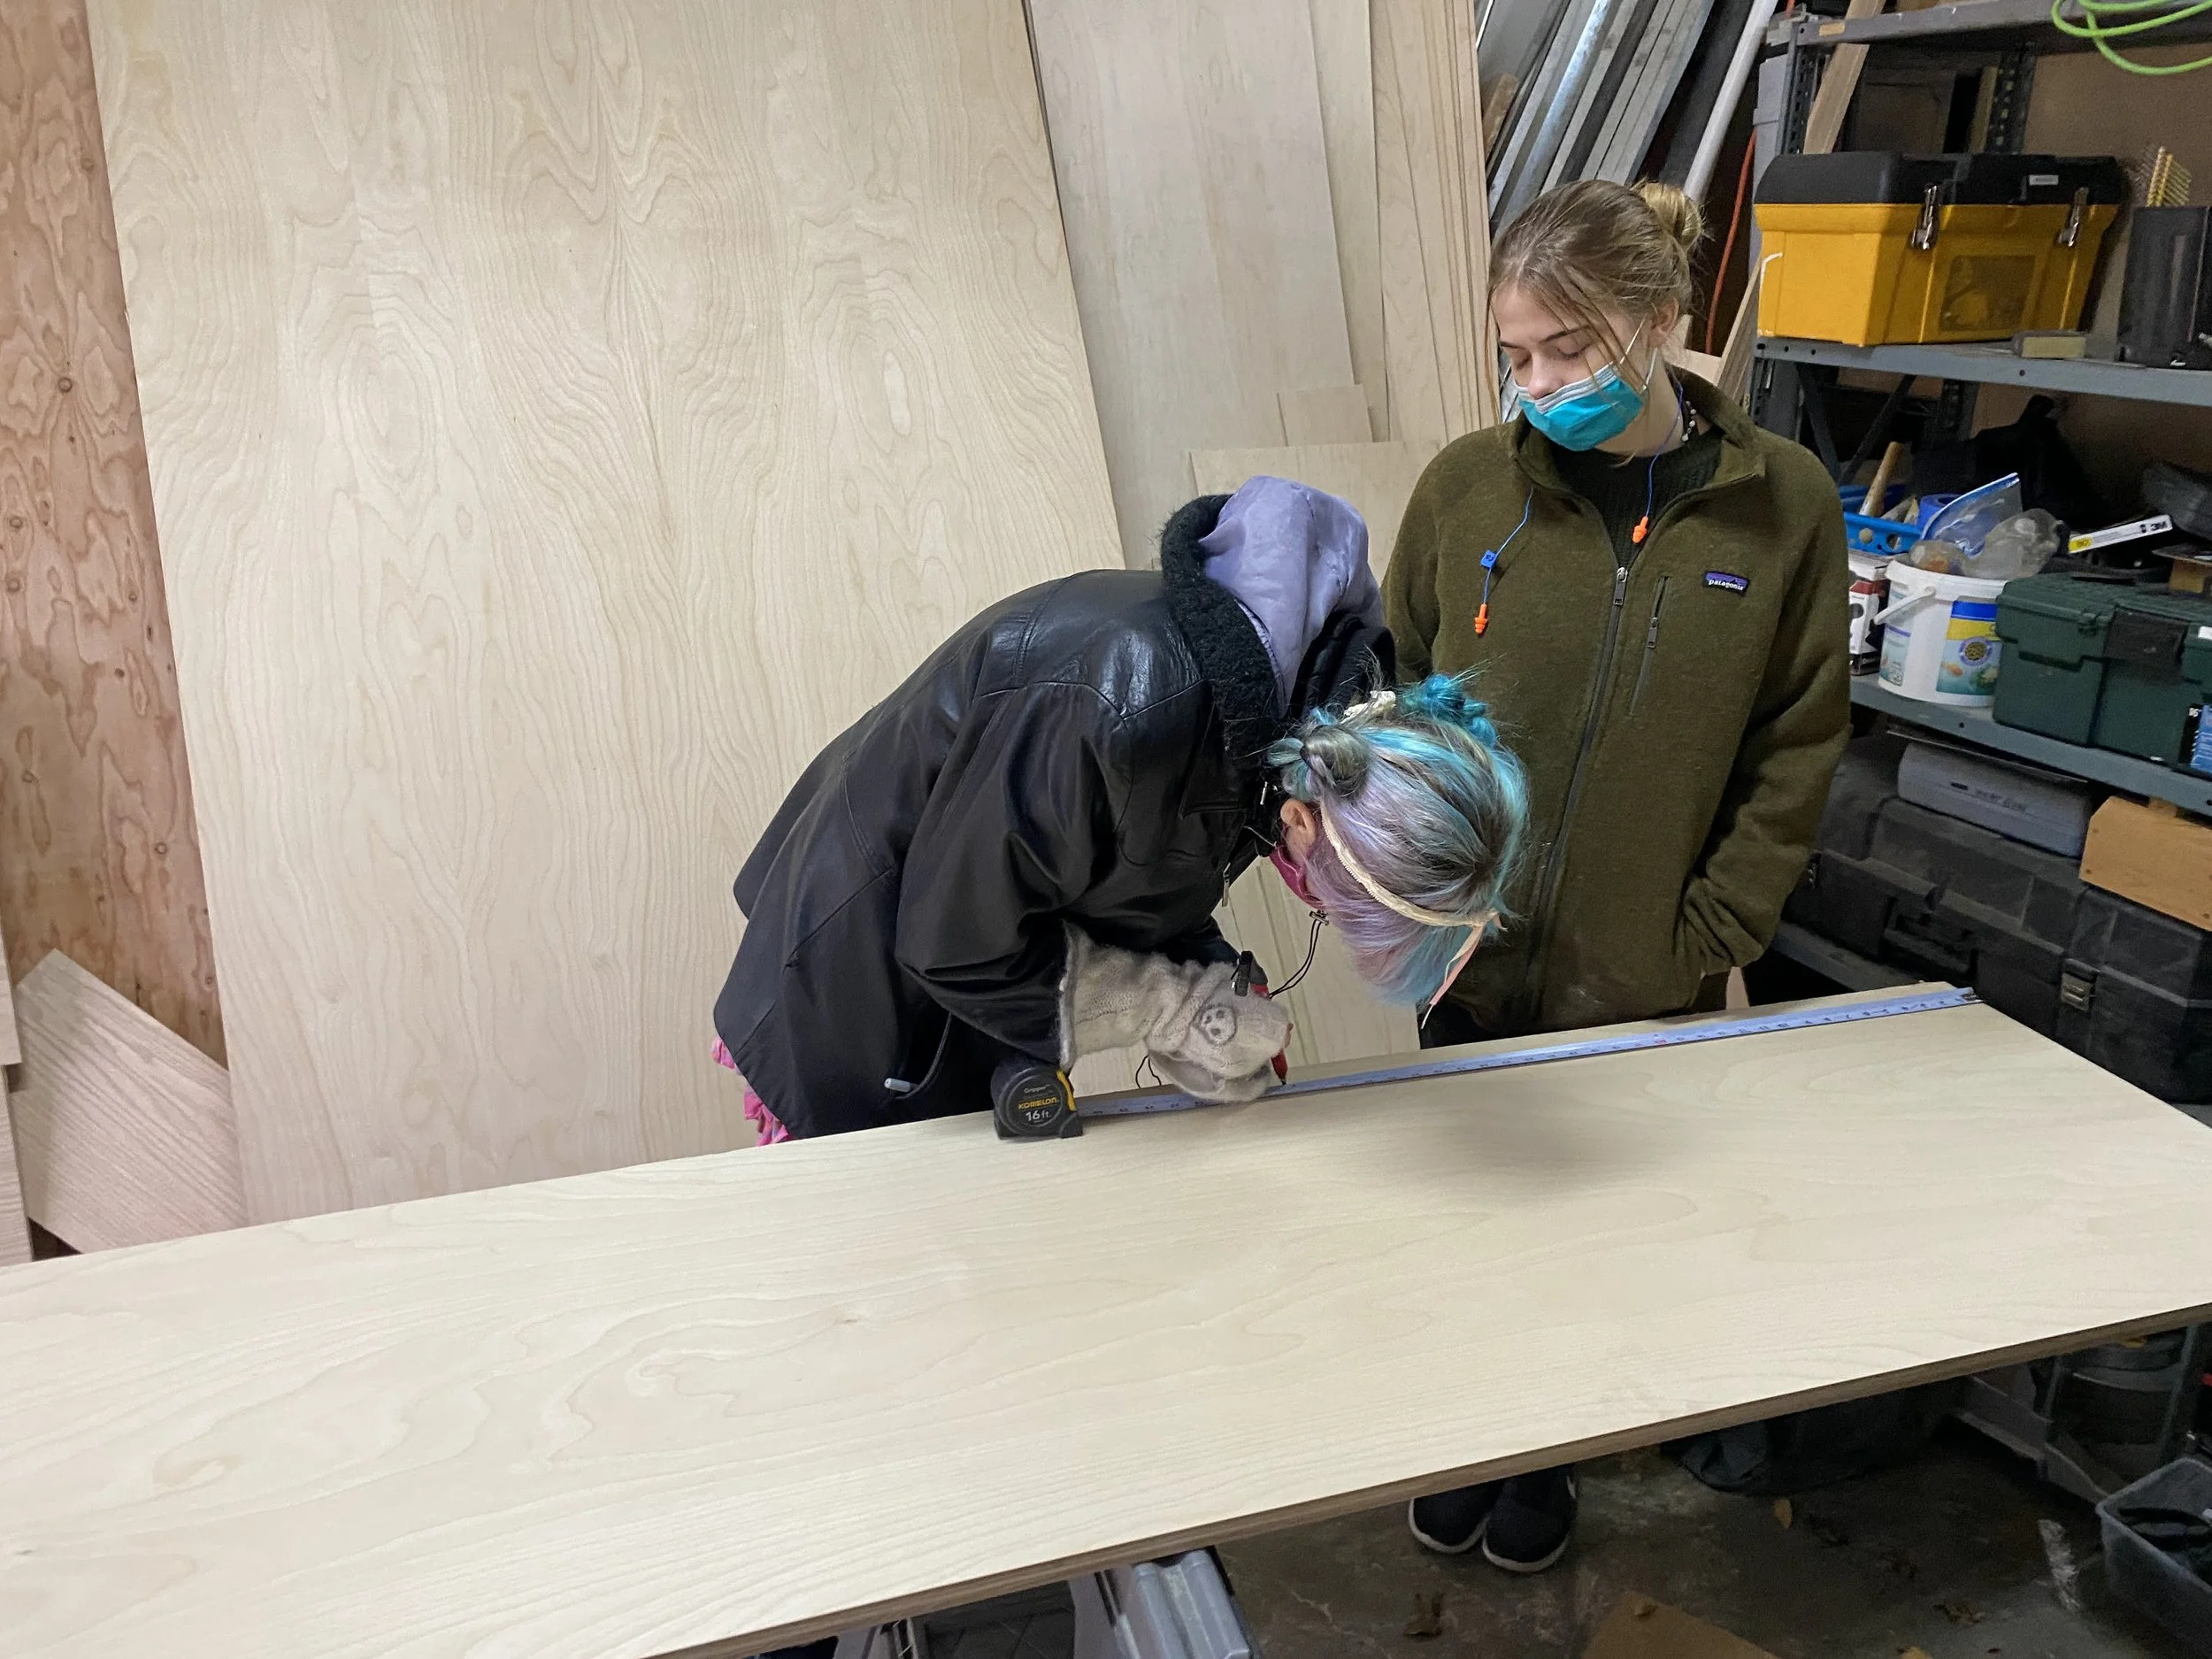
Cut slightly long in the shop and scribed in place.
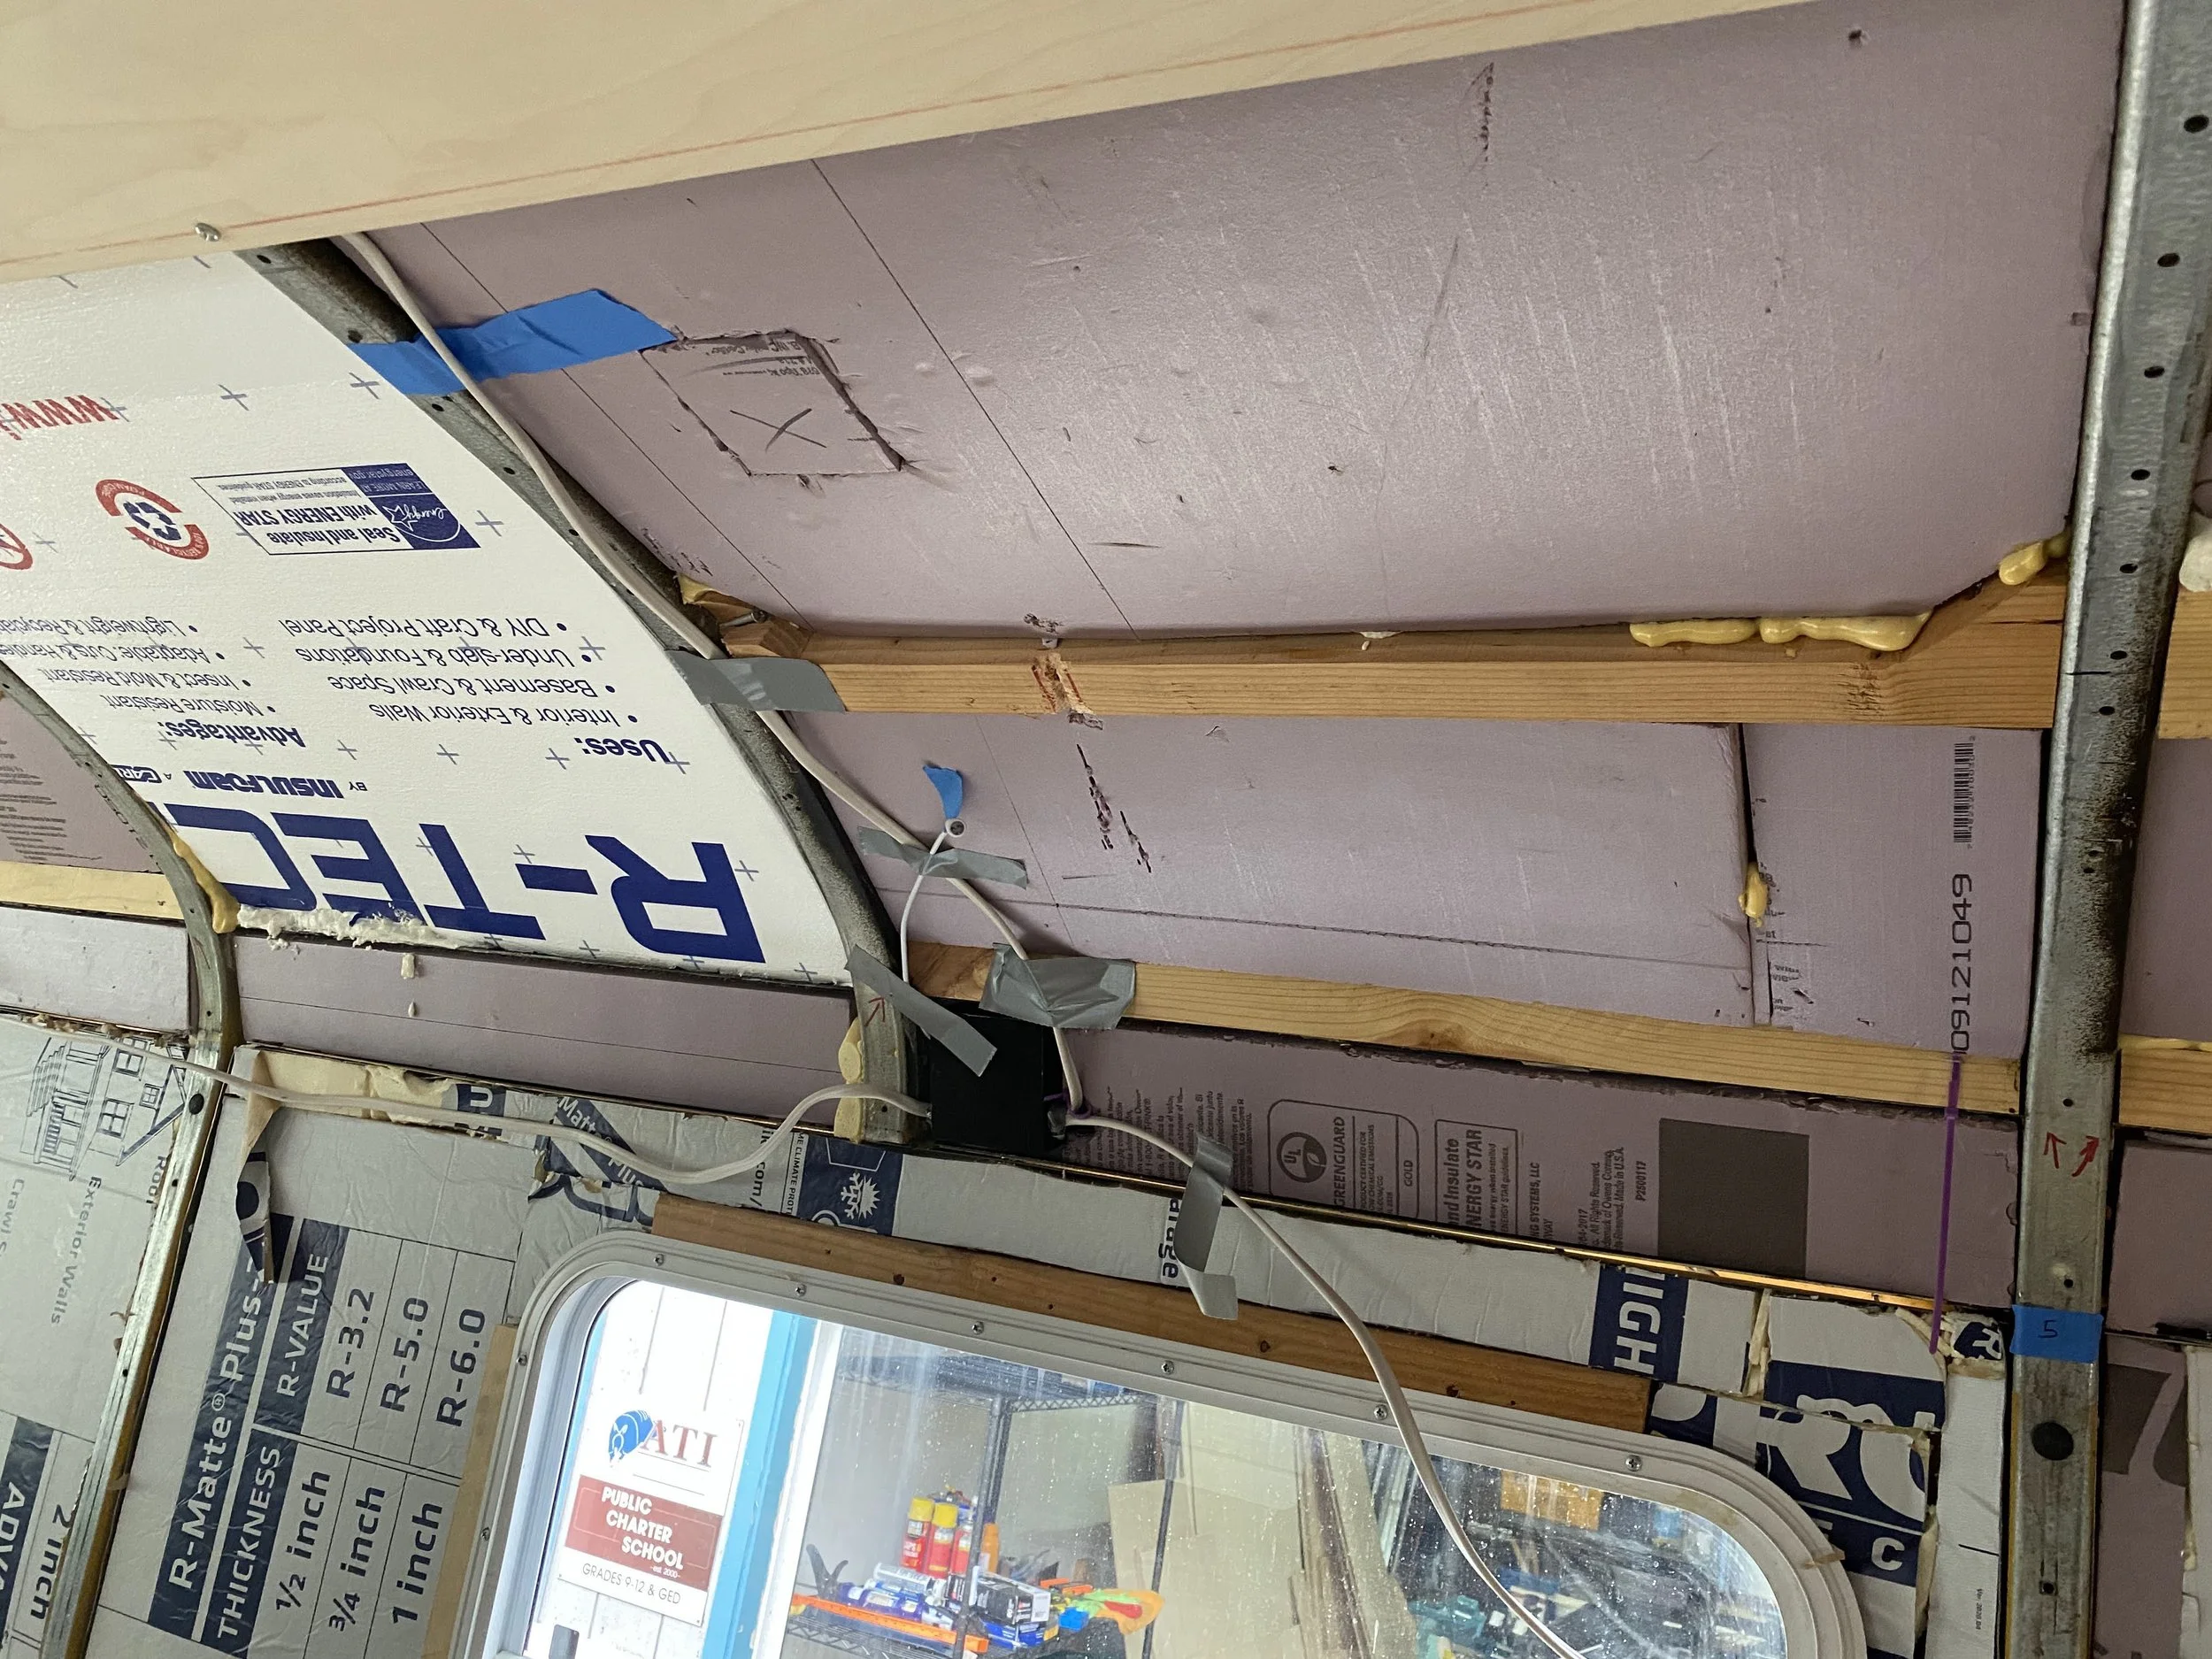
Low profile can lights work best - still have to cut a relief in insulation for them.
Set kitchen/hangout area to 4000k, bedrooms/bathroom to 3000k
Scribed in place, cut to length/width, measured for can lights, cut hole for lights with a jigsaw, attached lights through the hole, screwed sheet into place
Attached with ¾” #10 panhead self-tapping metal screws
It feels flimsy/doesn’t quite line up between bays. Recommend furring strips between bays?
Installed strips of ½” plywood underneath seams to give the trim a more solid attachment and help suck ceiling to trim, especially in bays that are dramatically warping
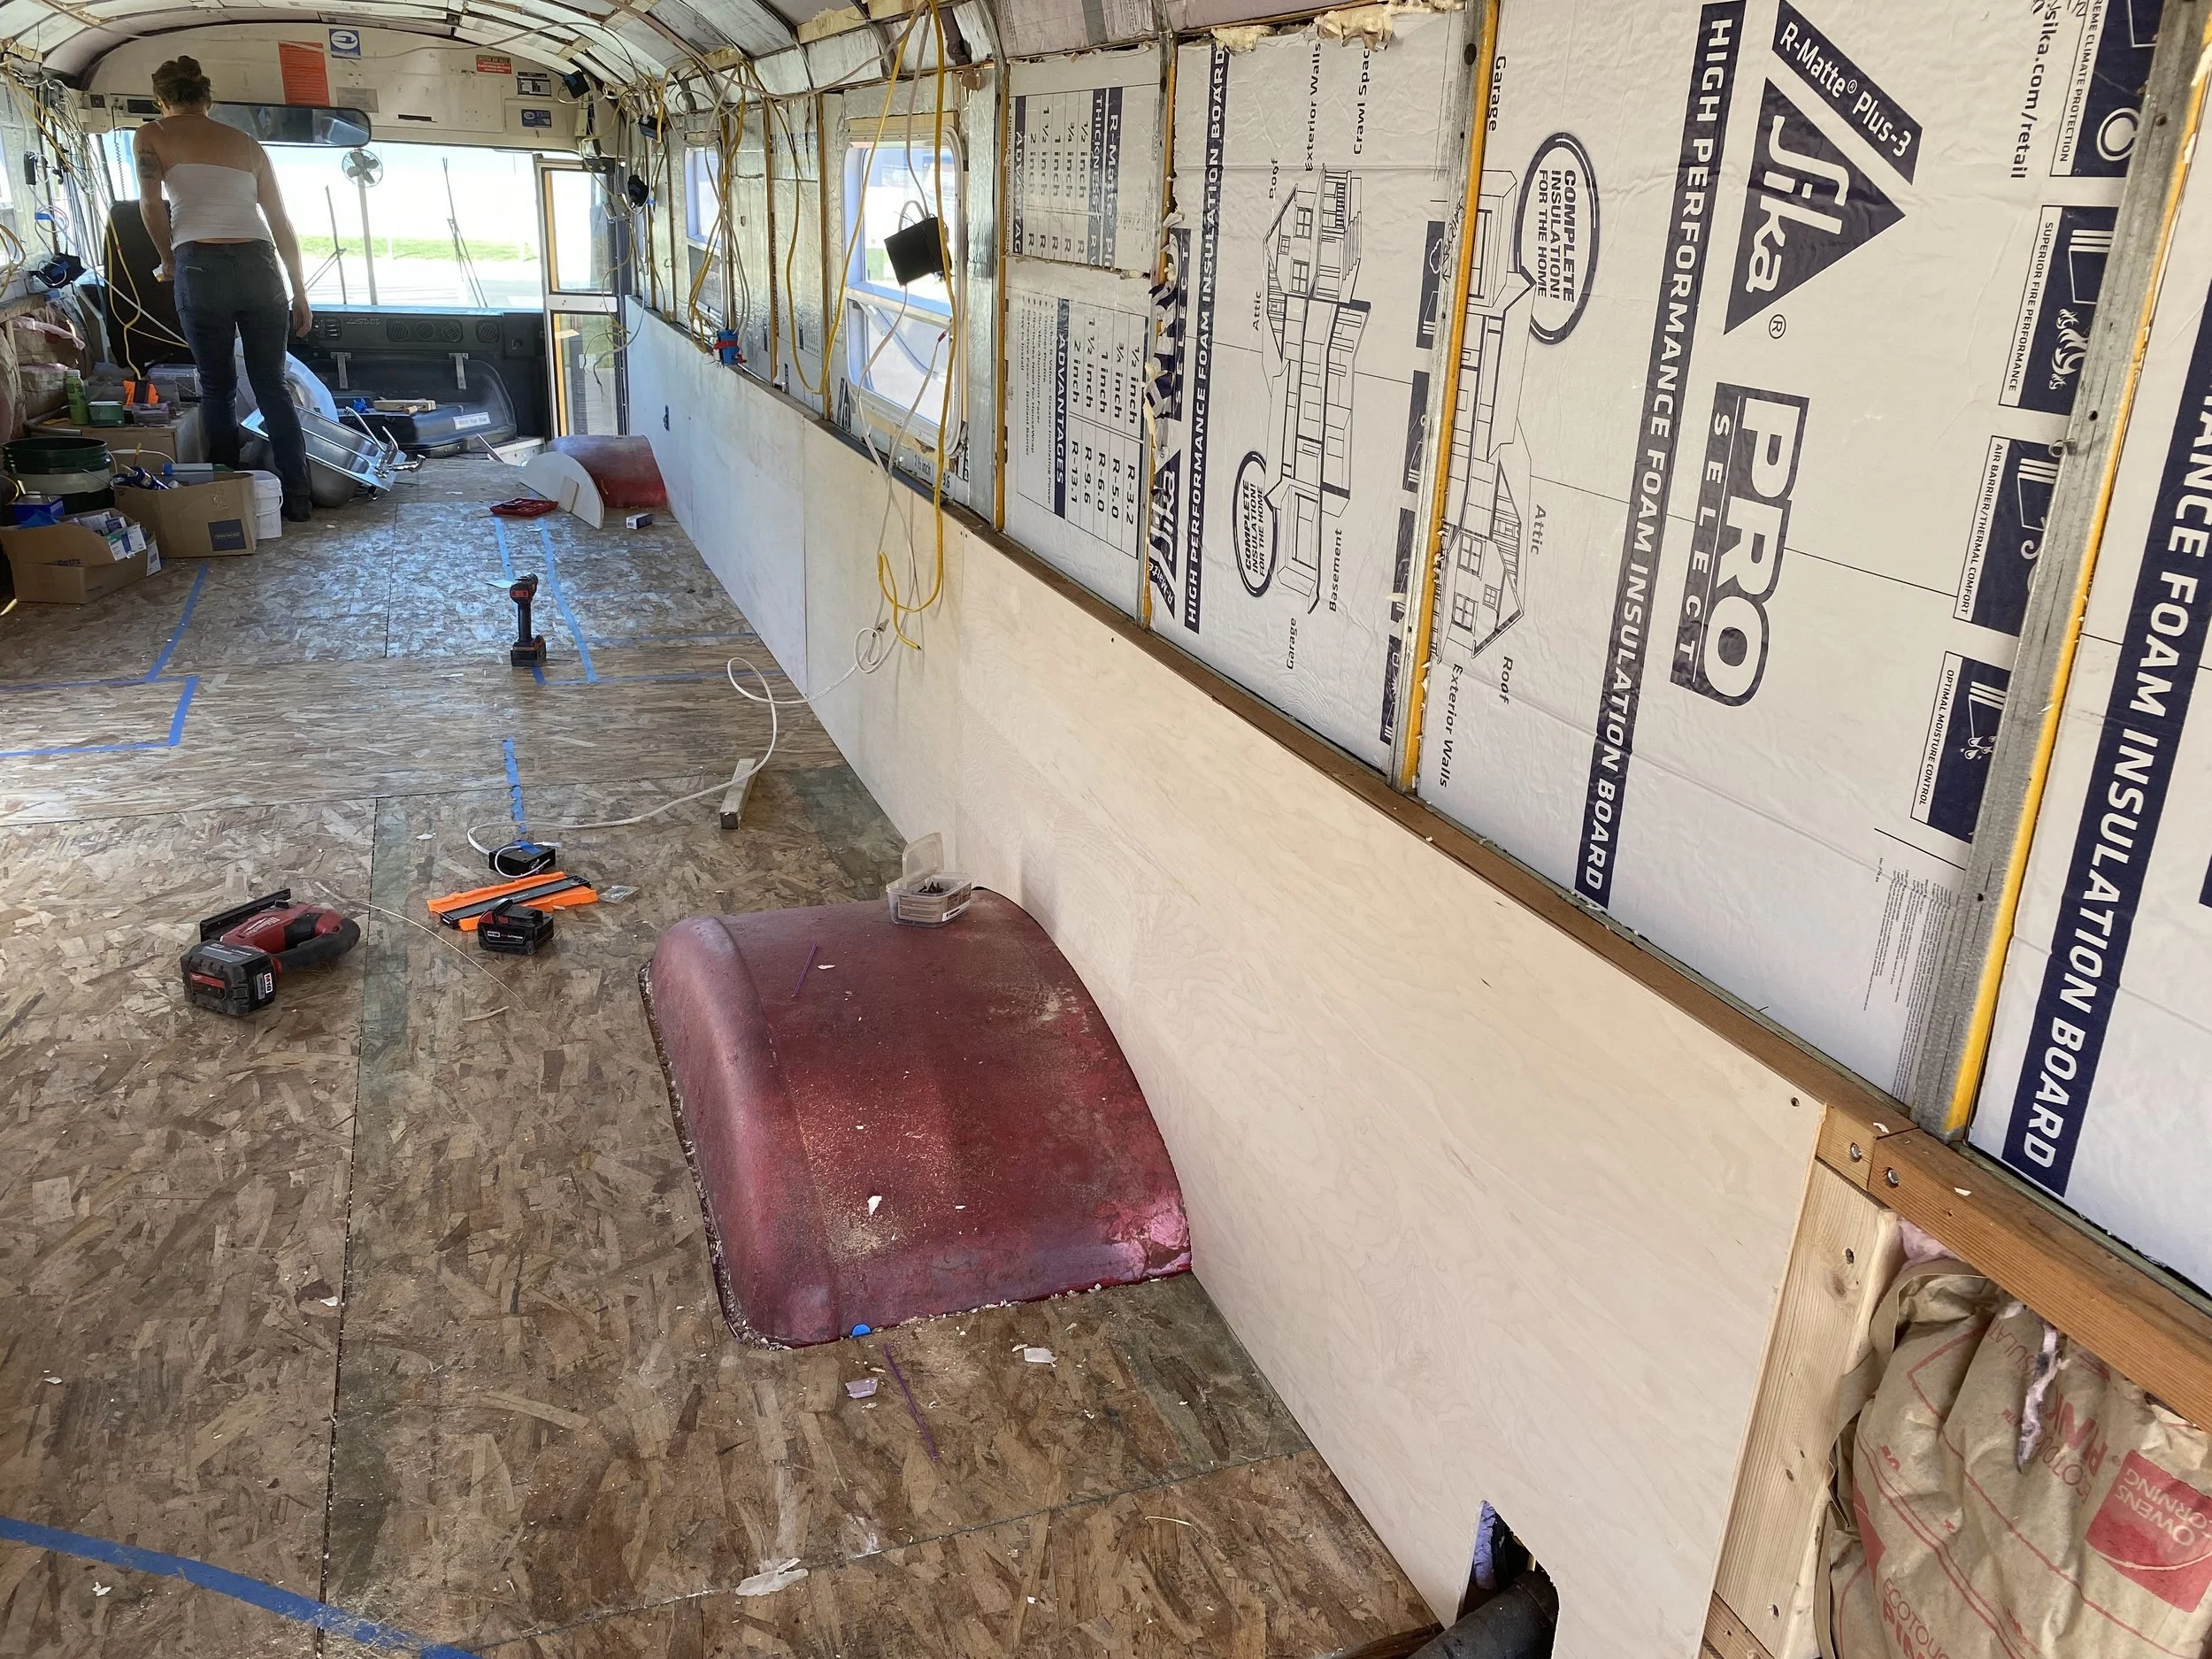
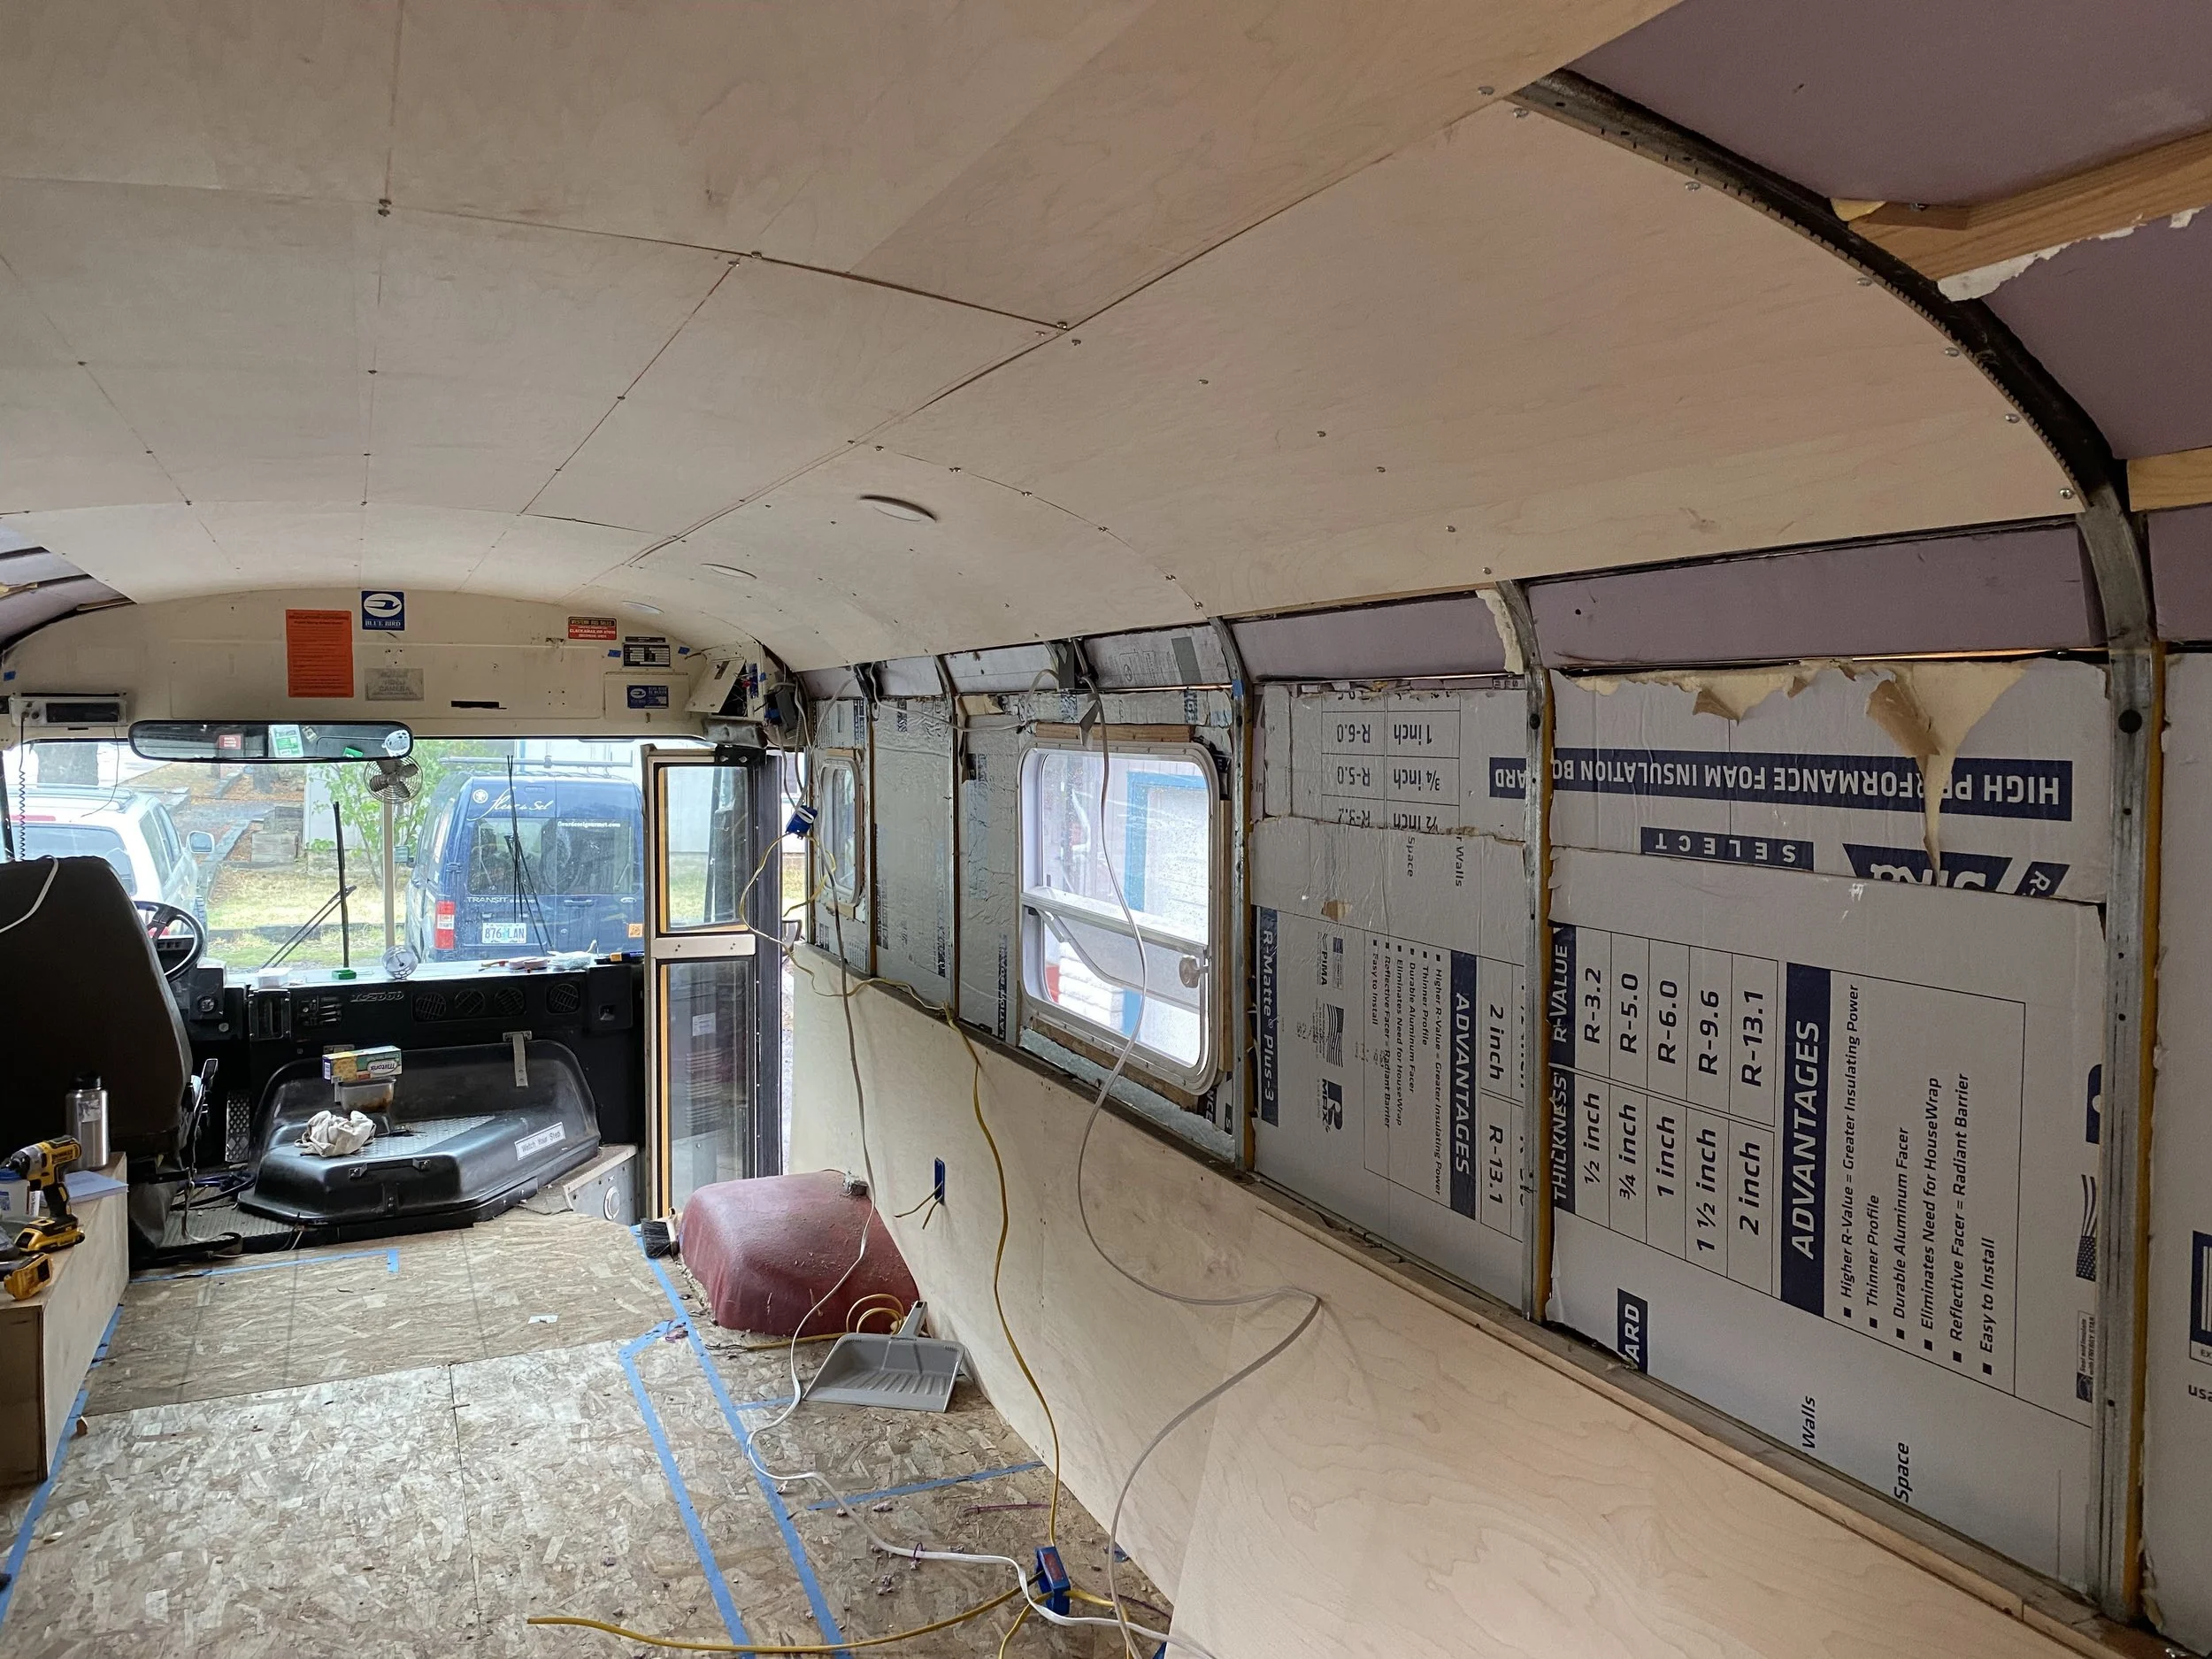
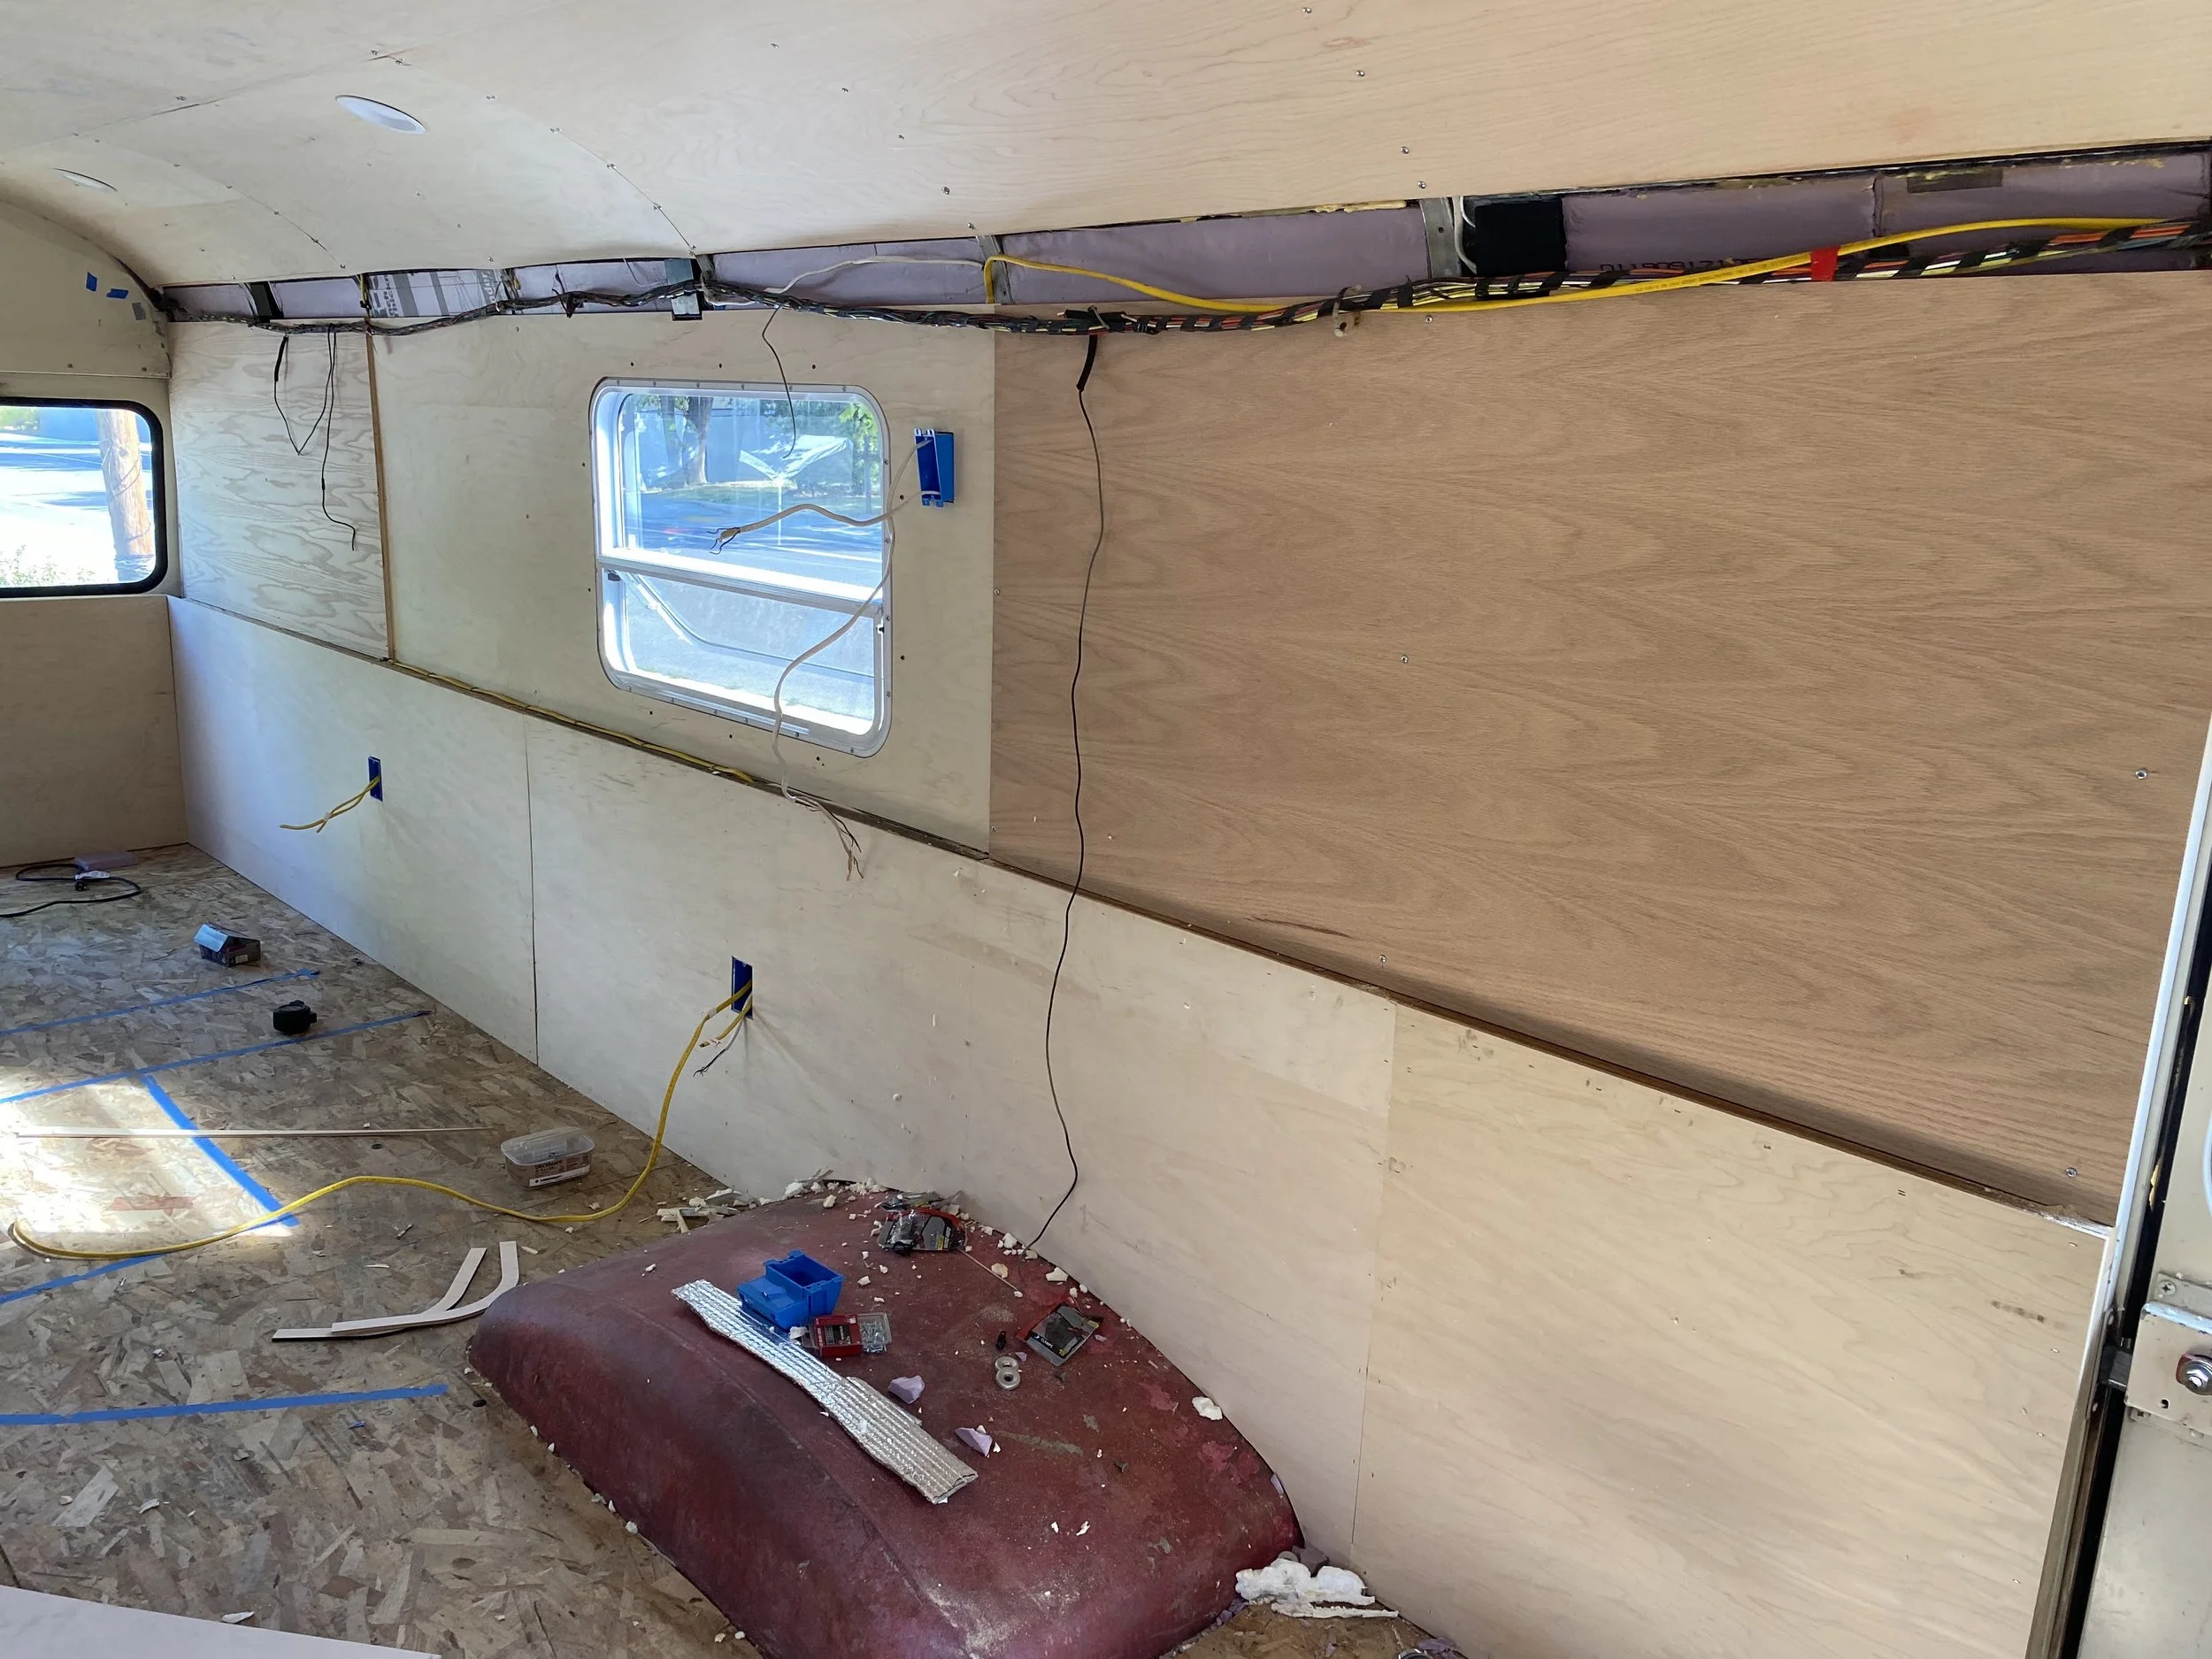
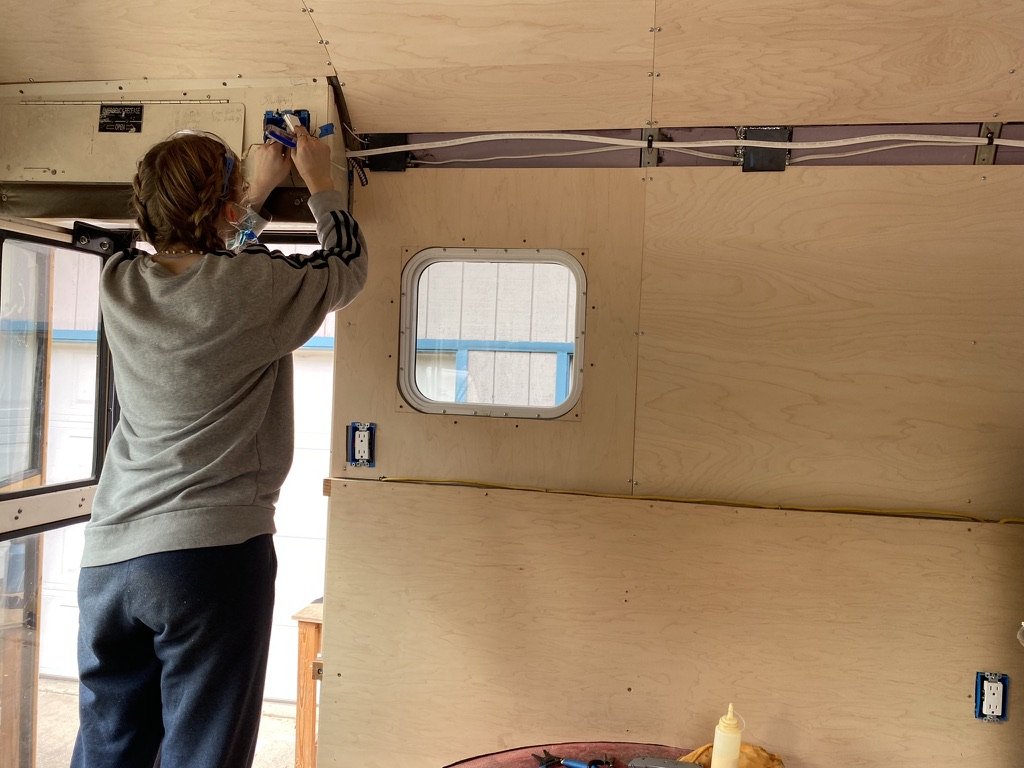
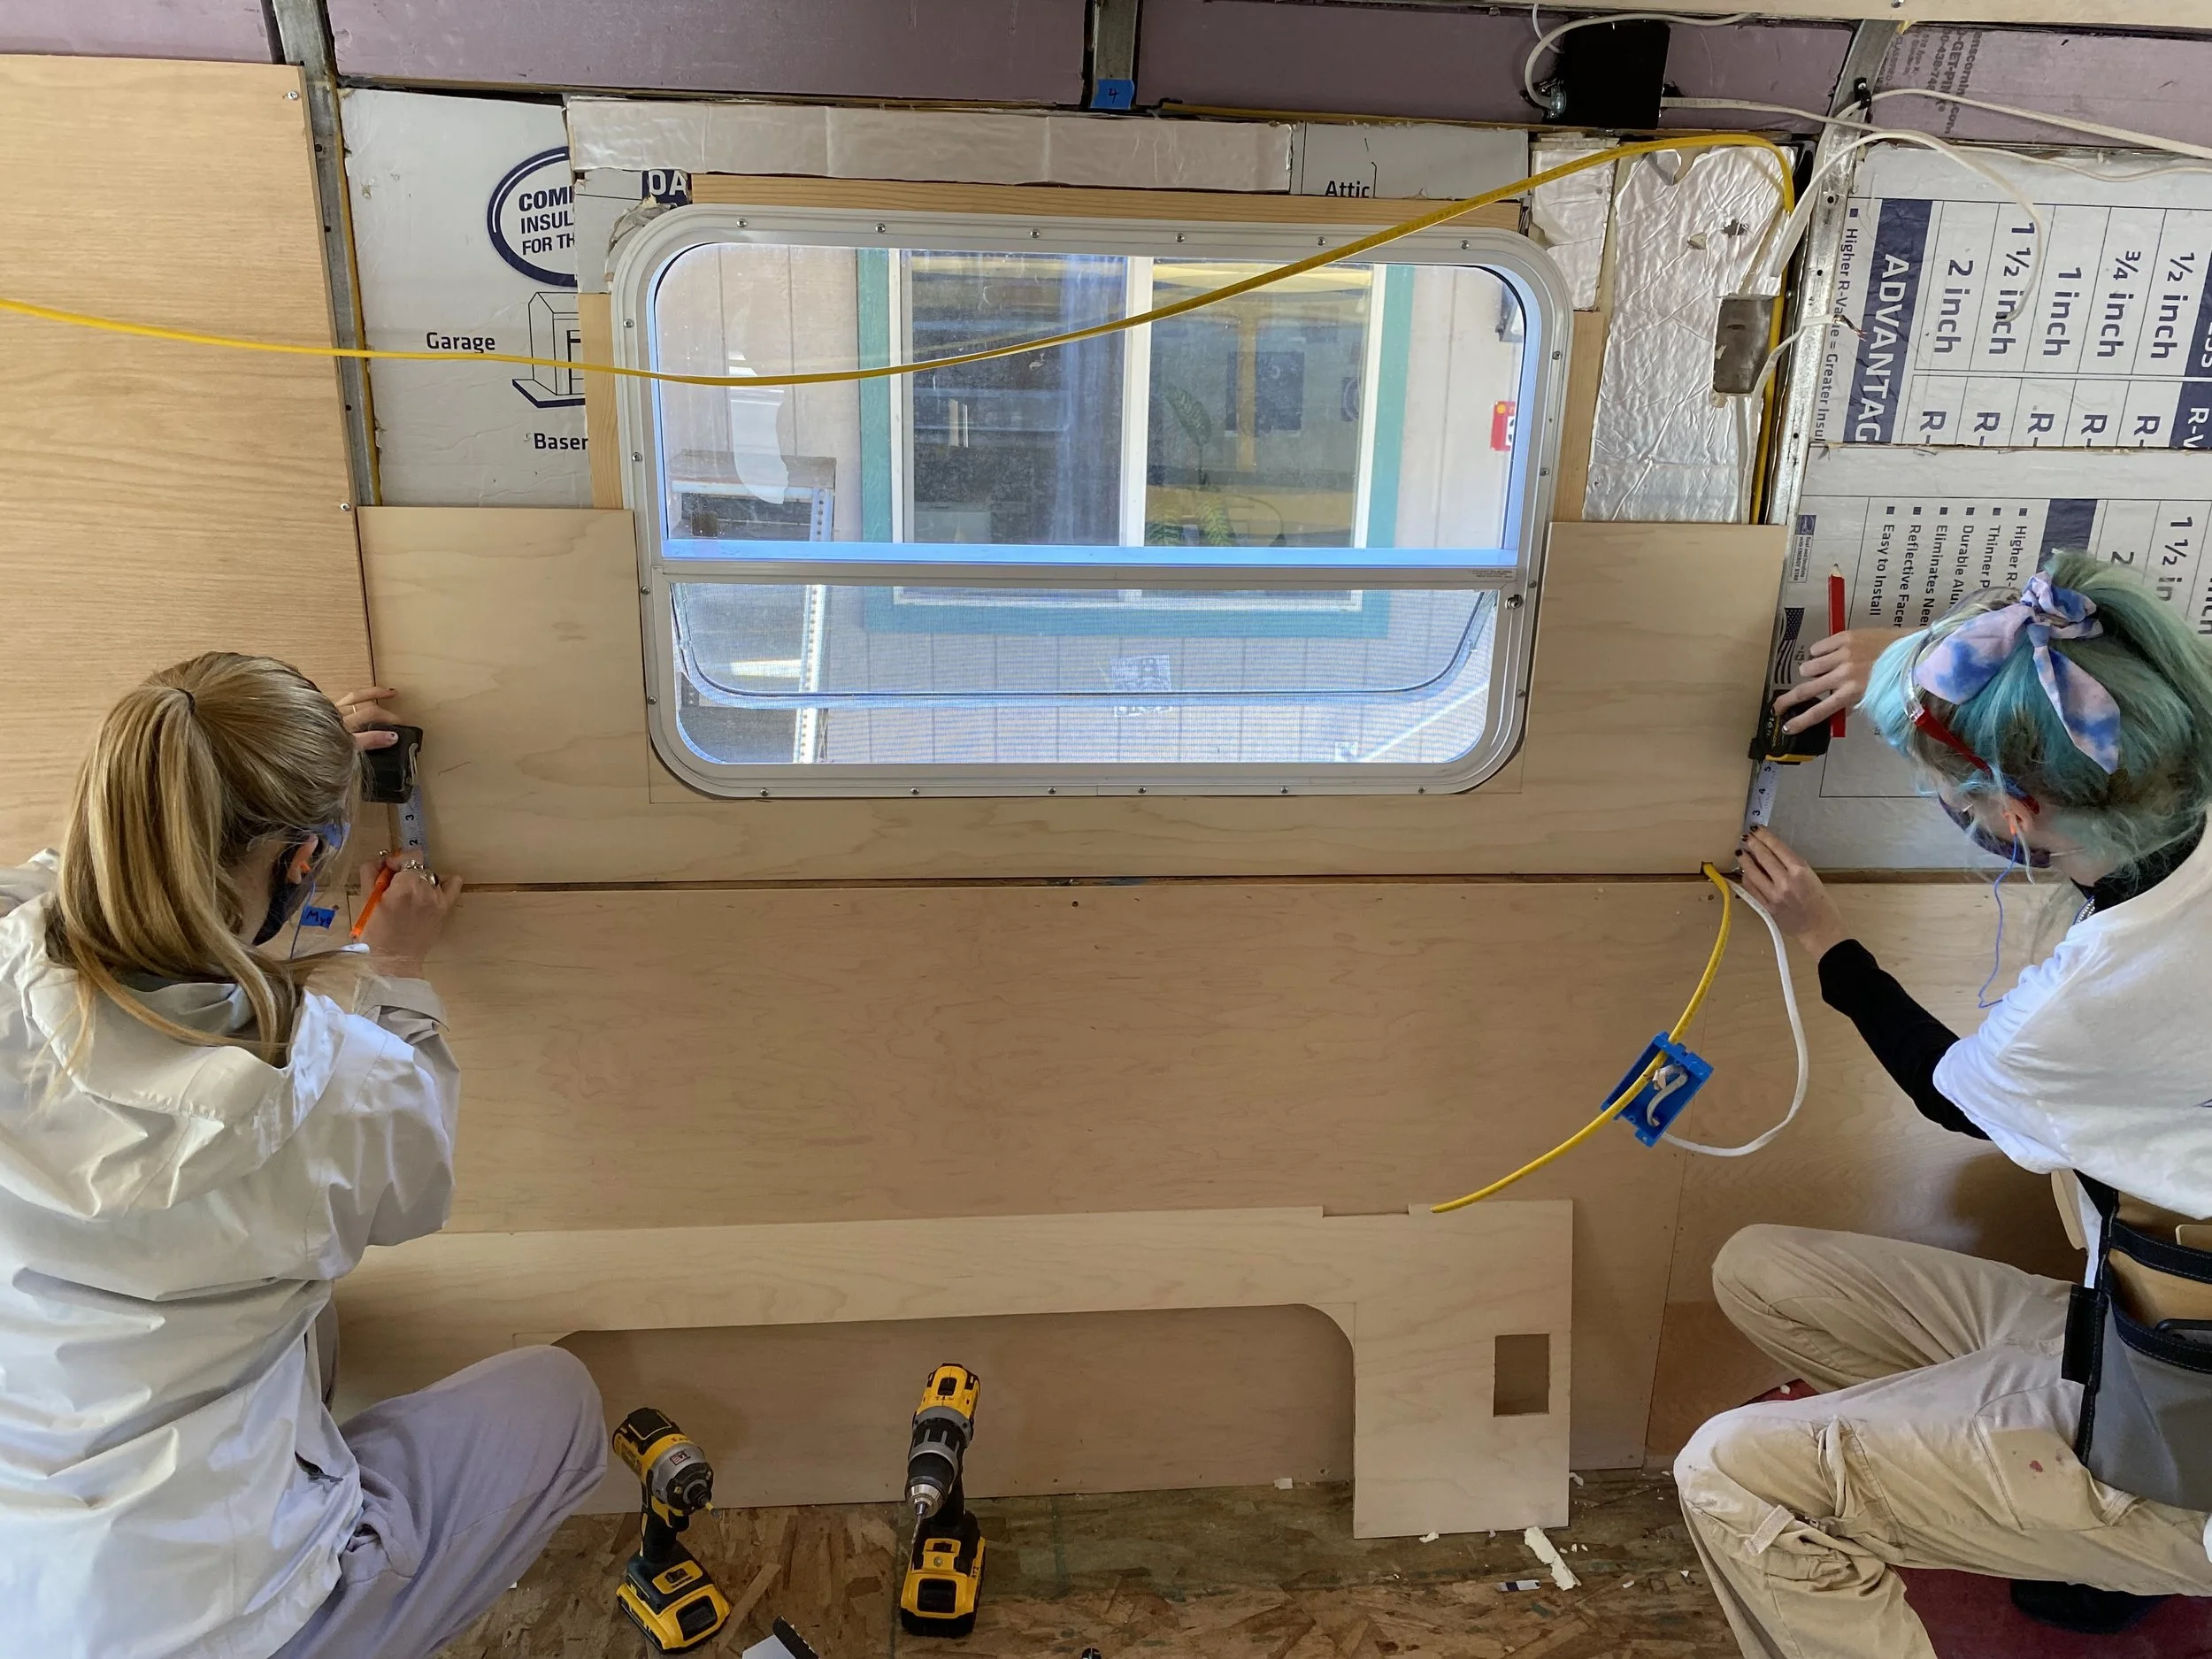
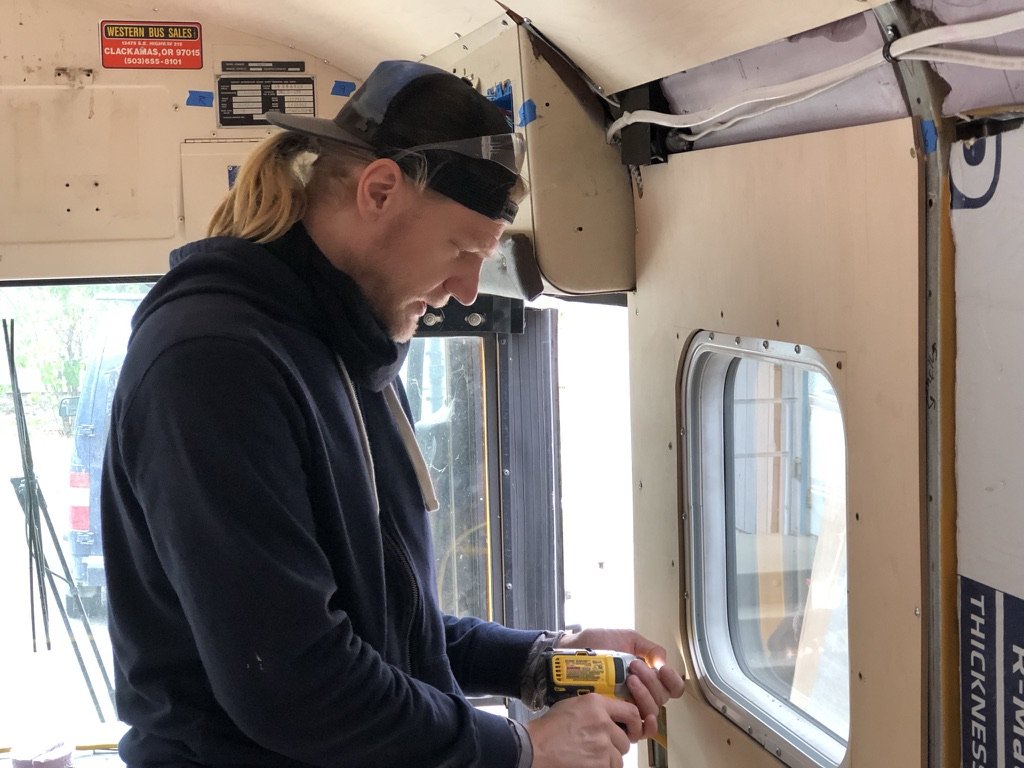
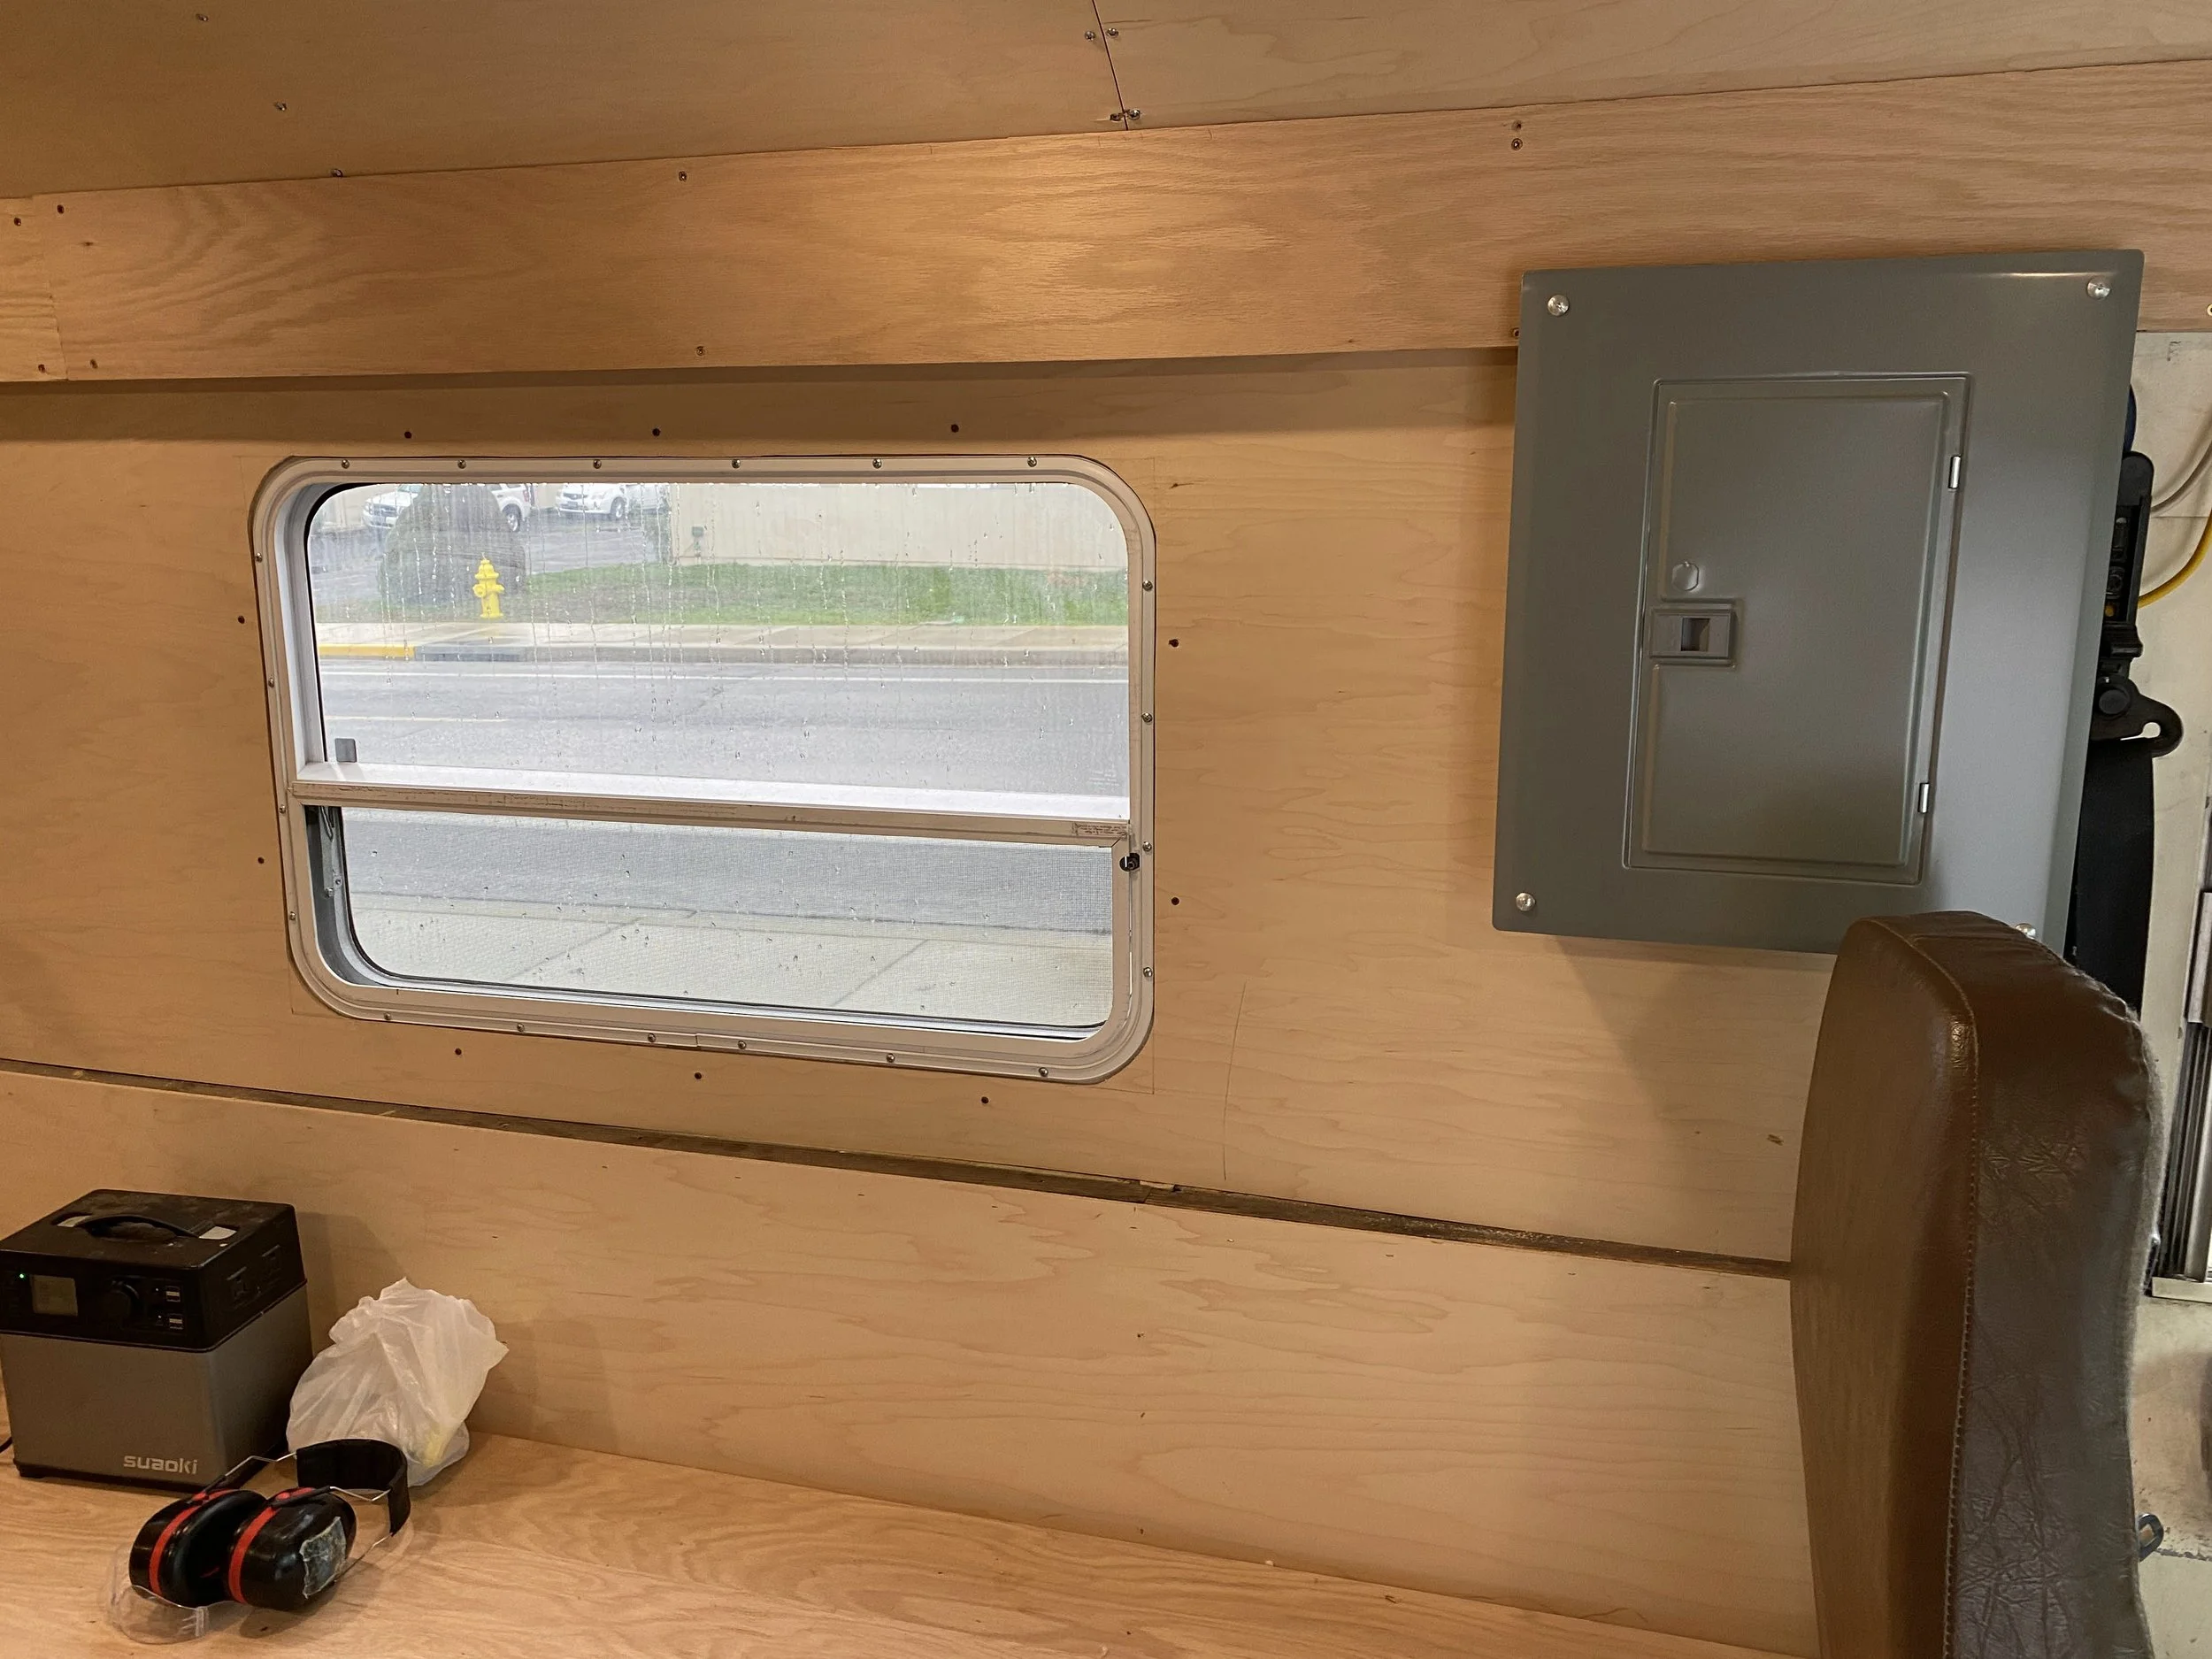
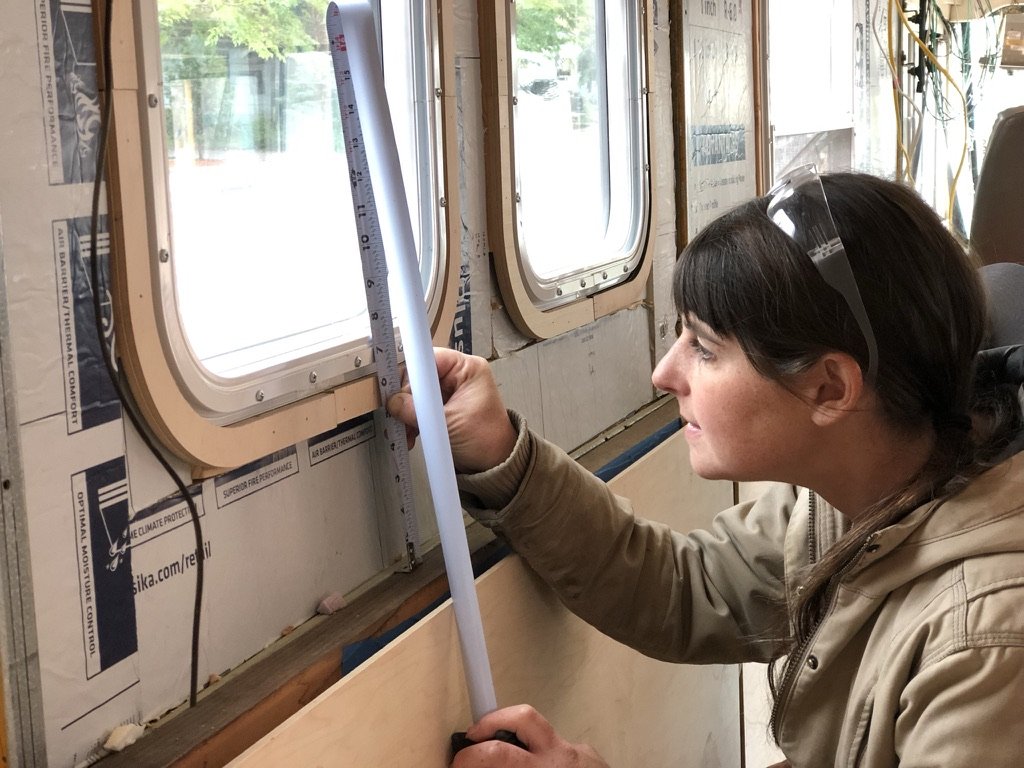
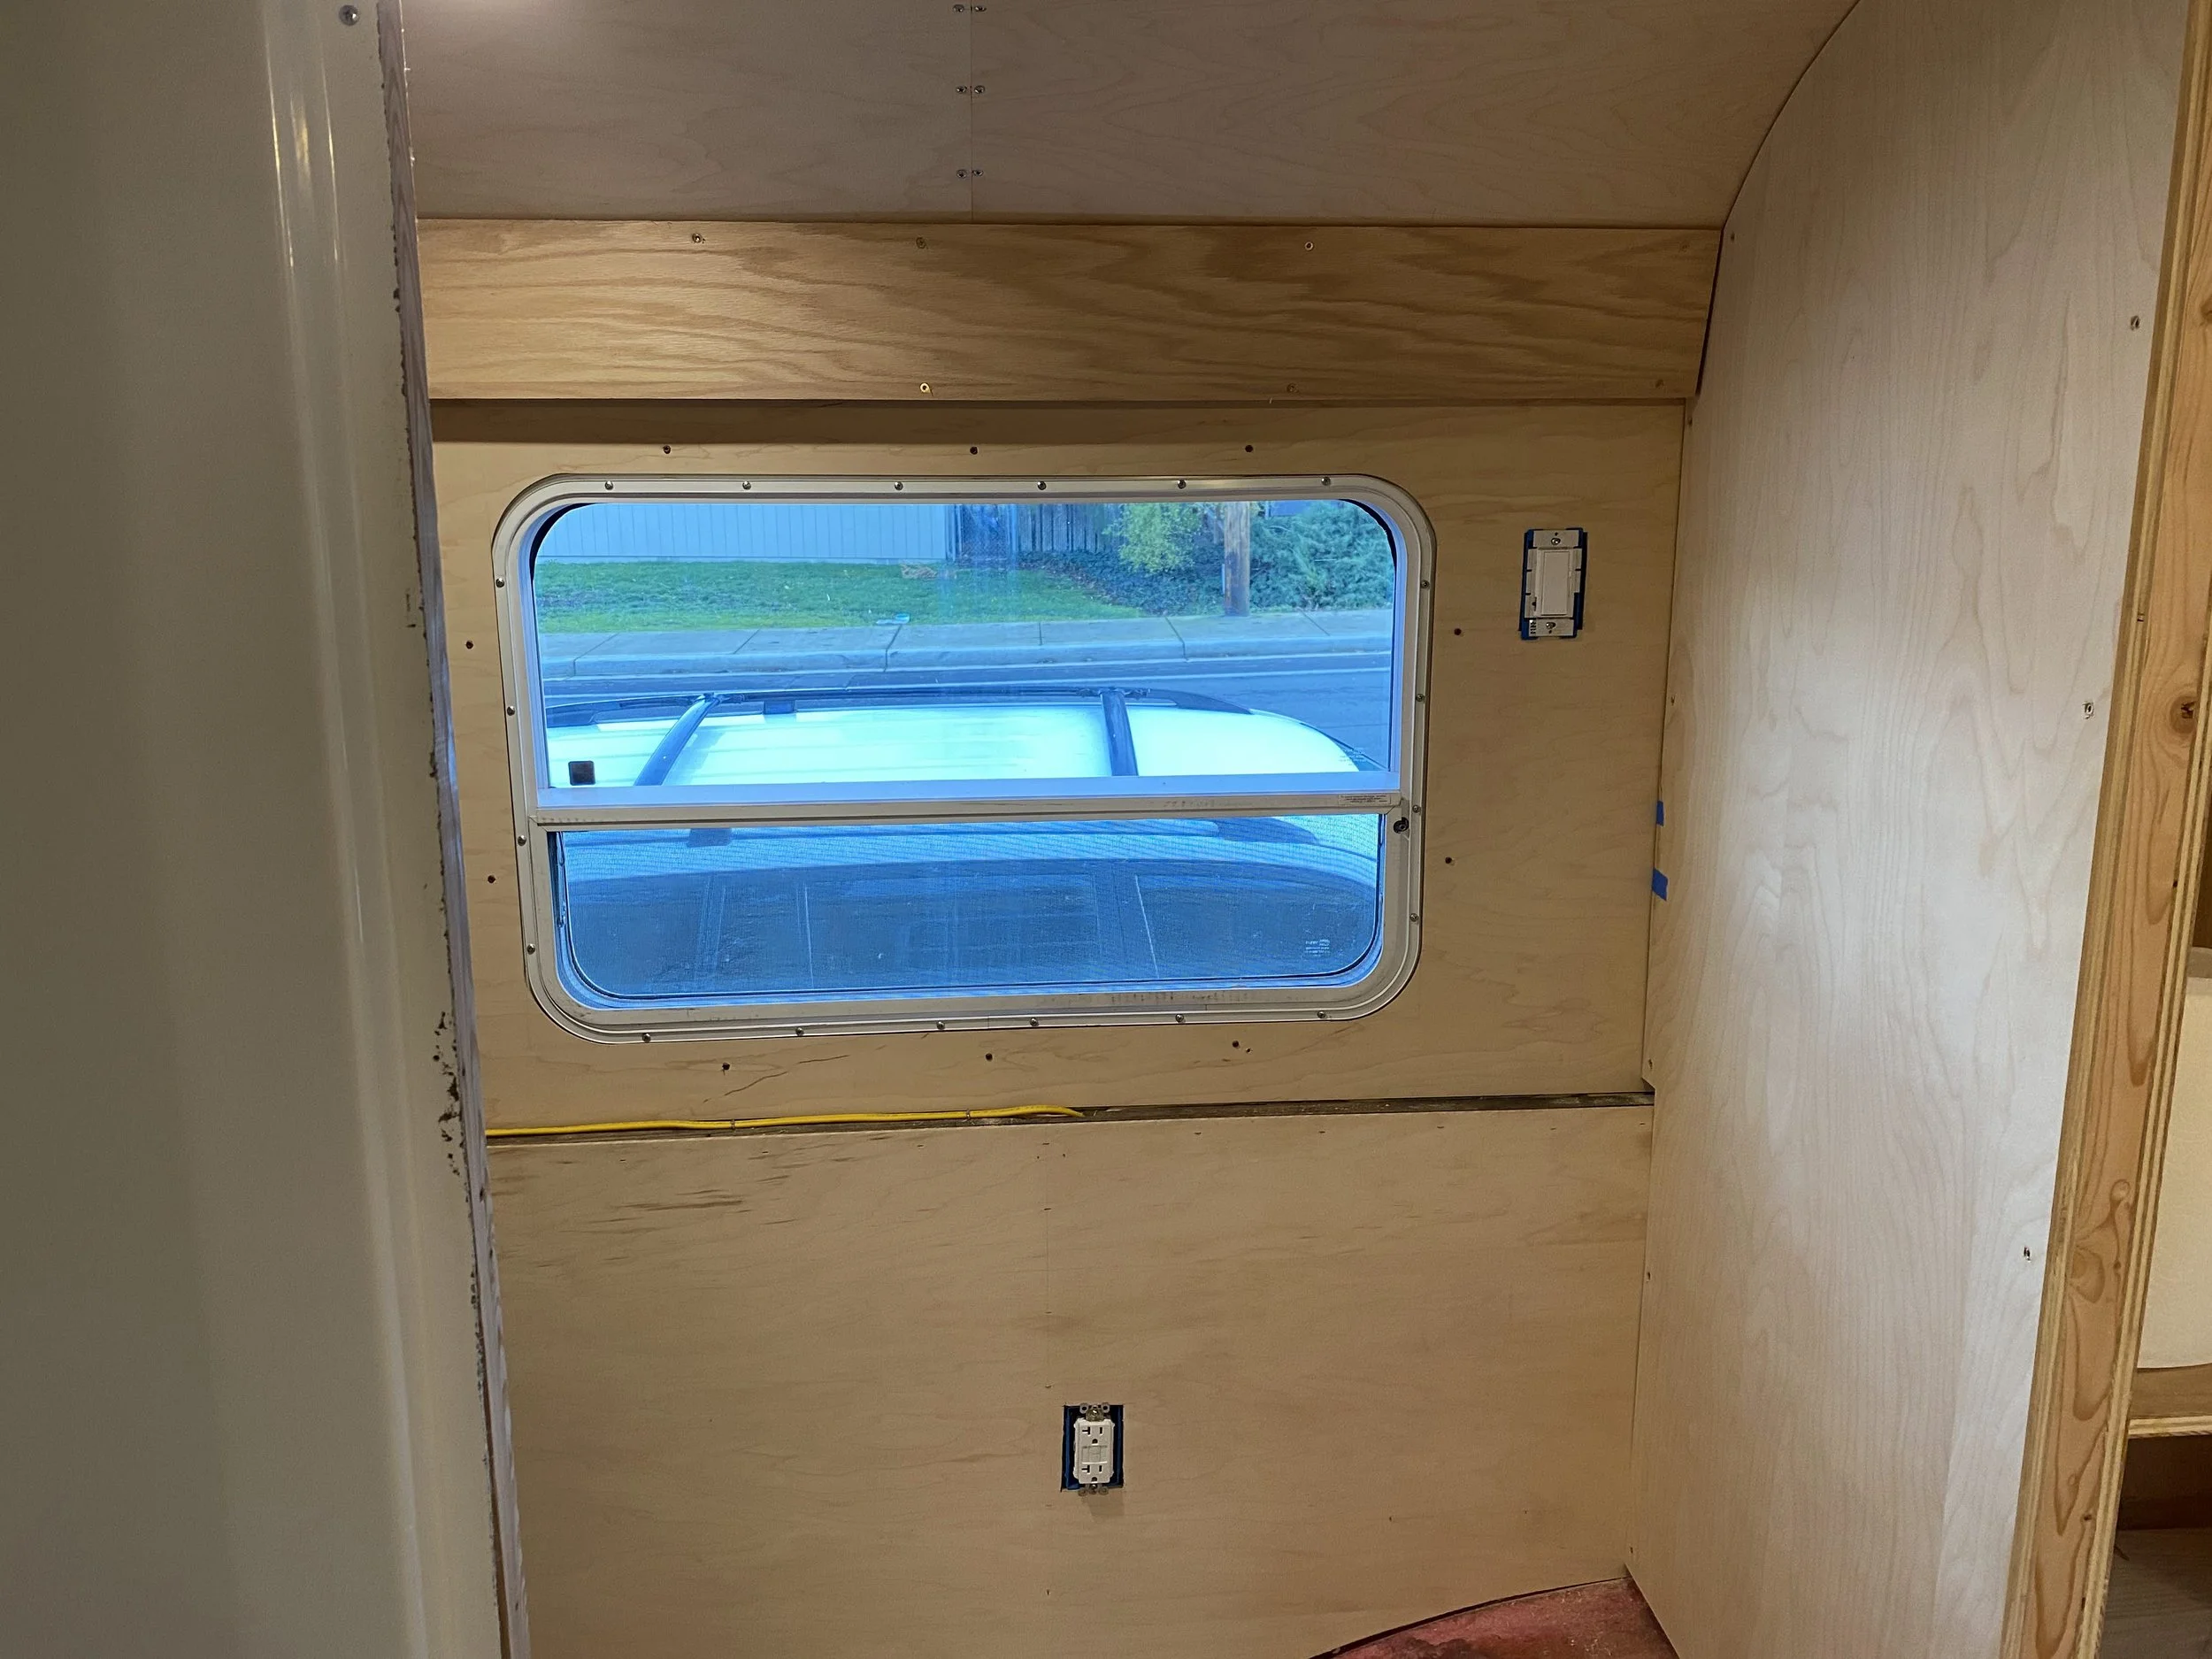
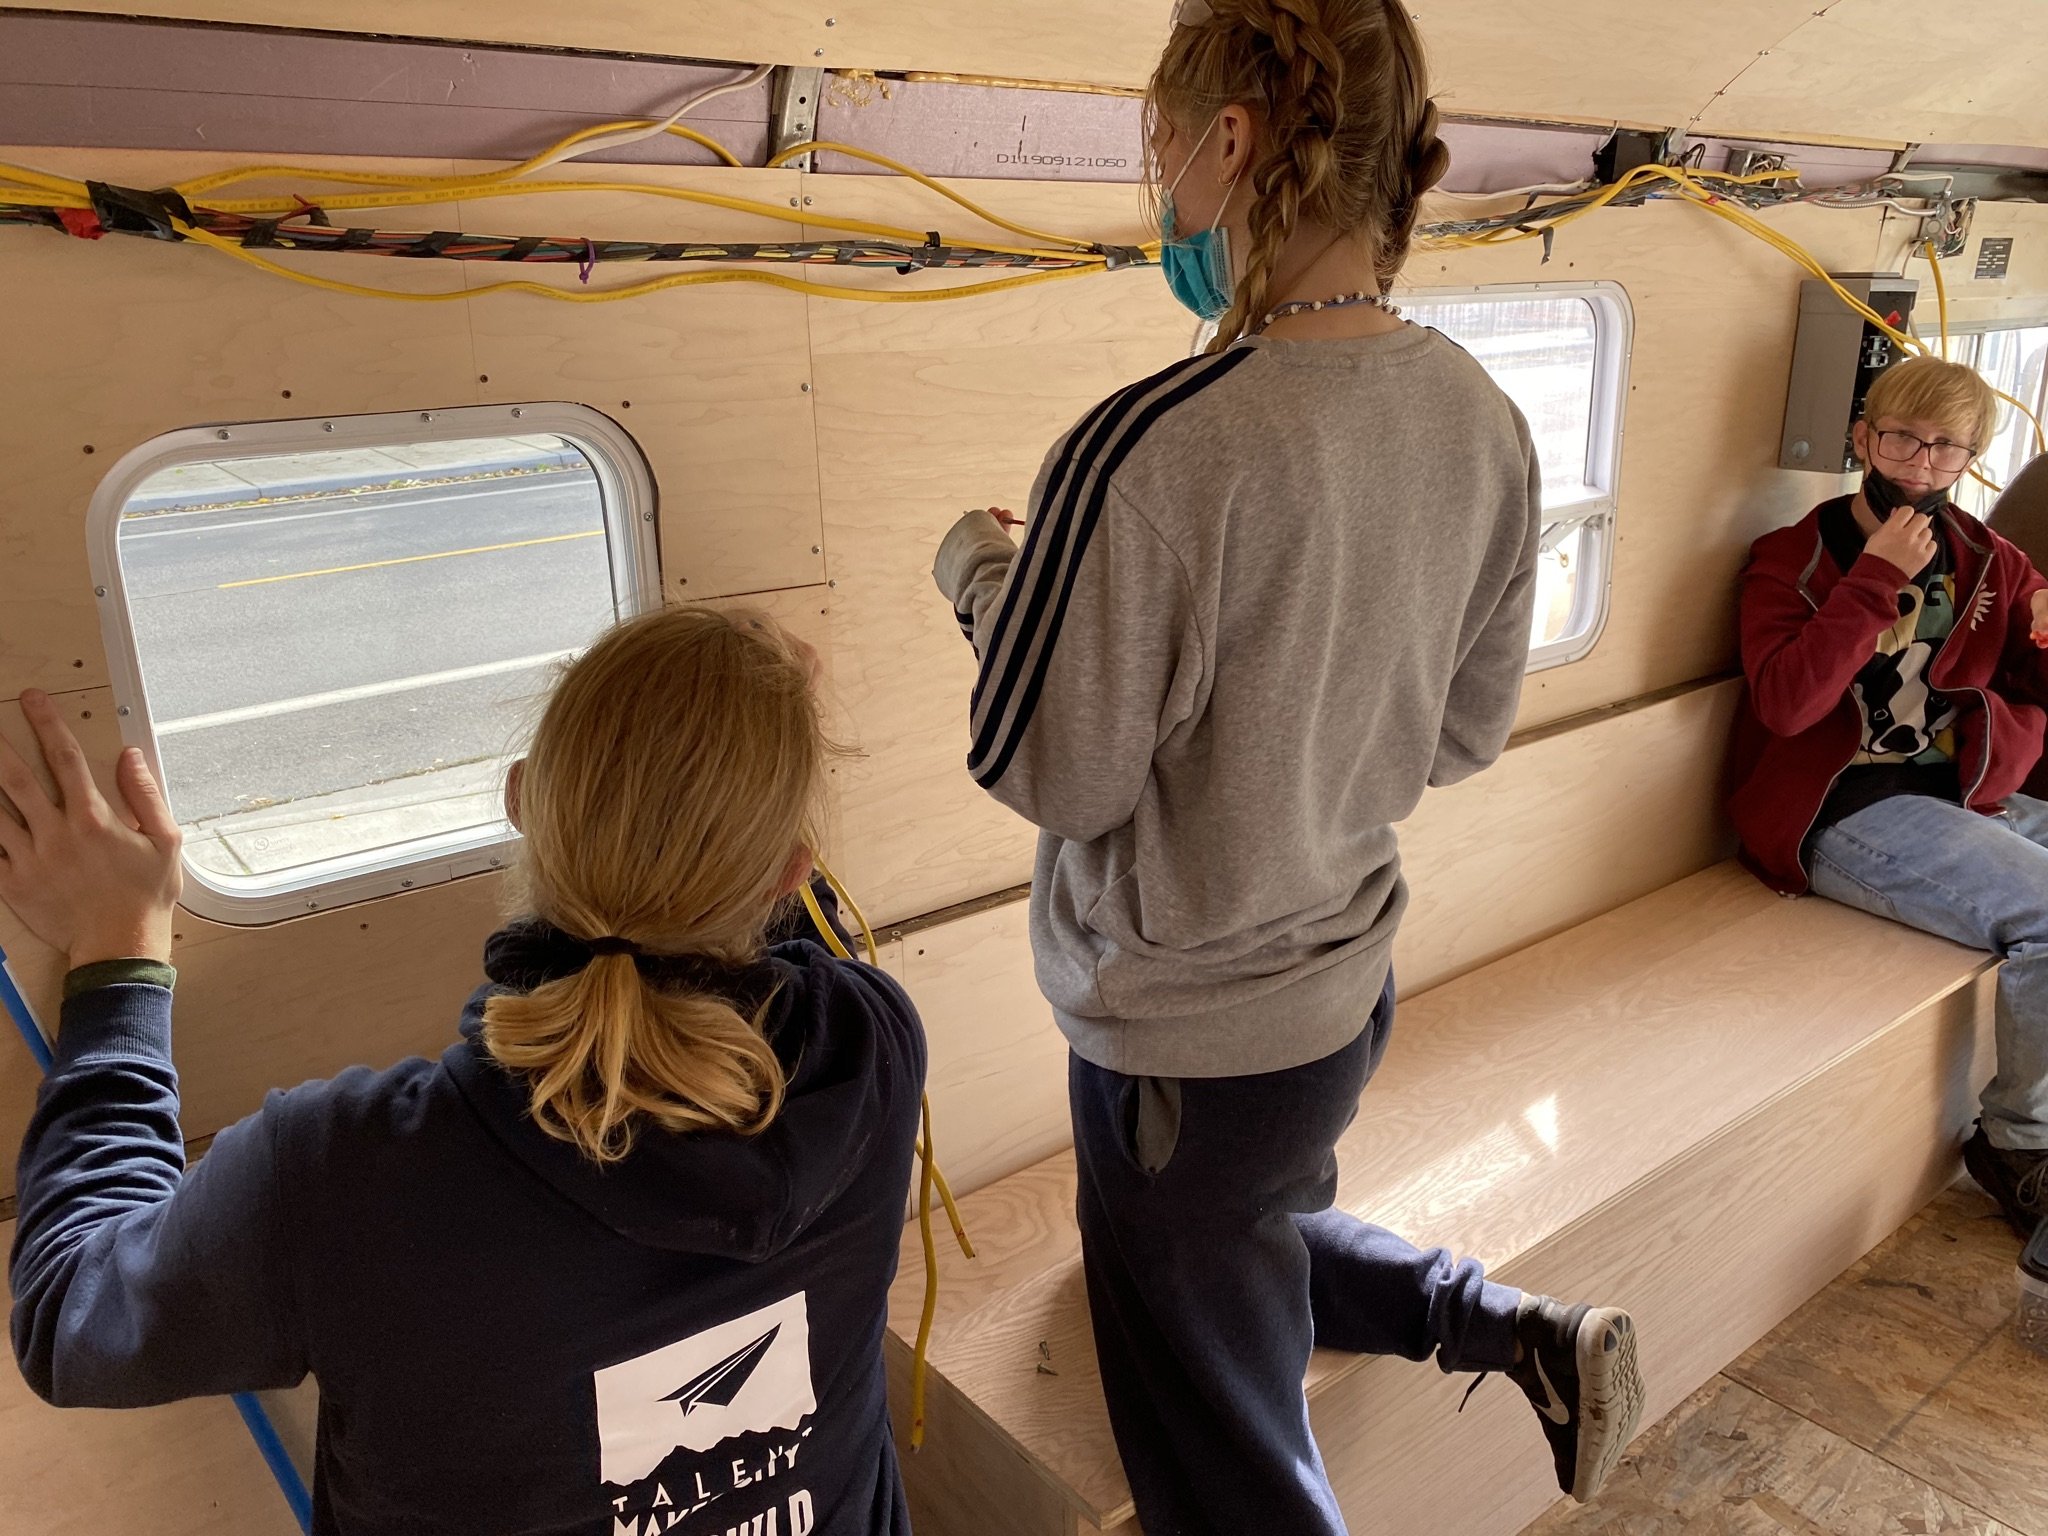
Upper sides (window bays)
Ran plywood sheets long ways from front to back
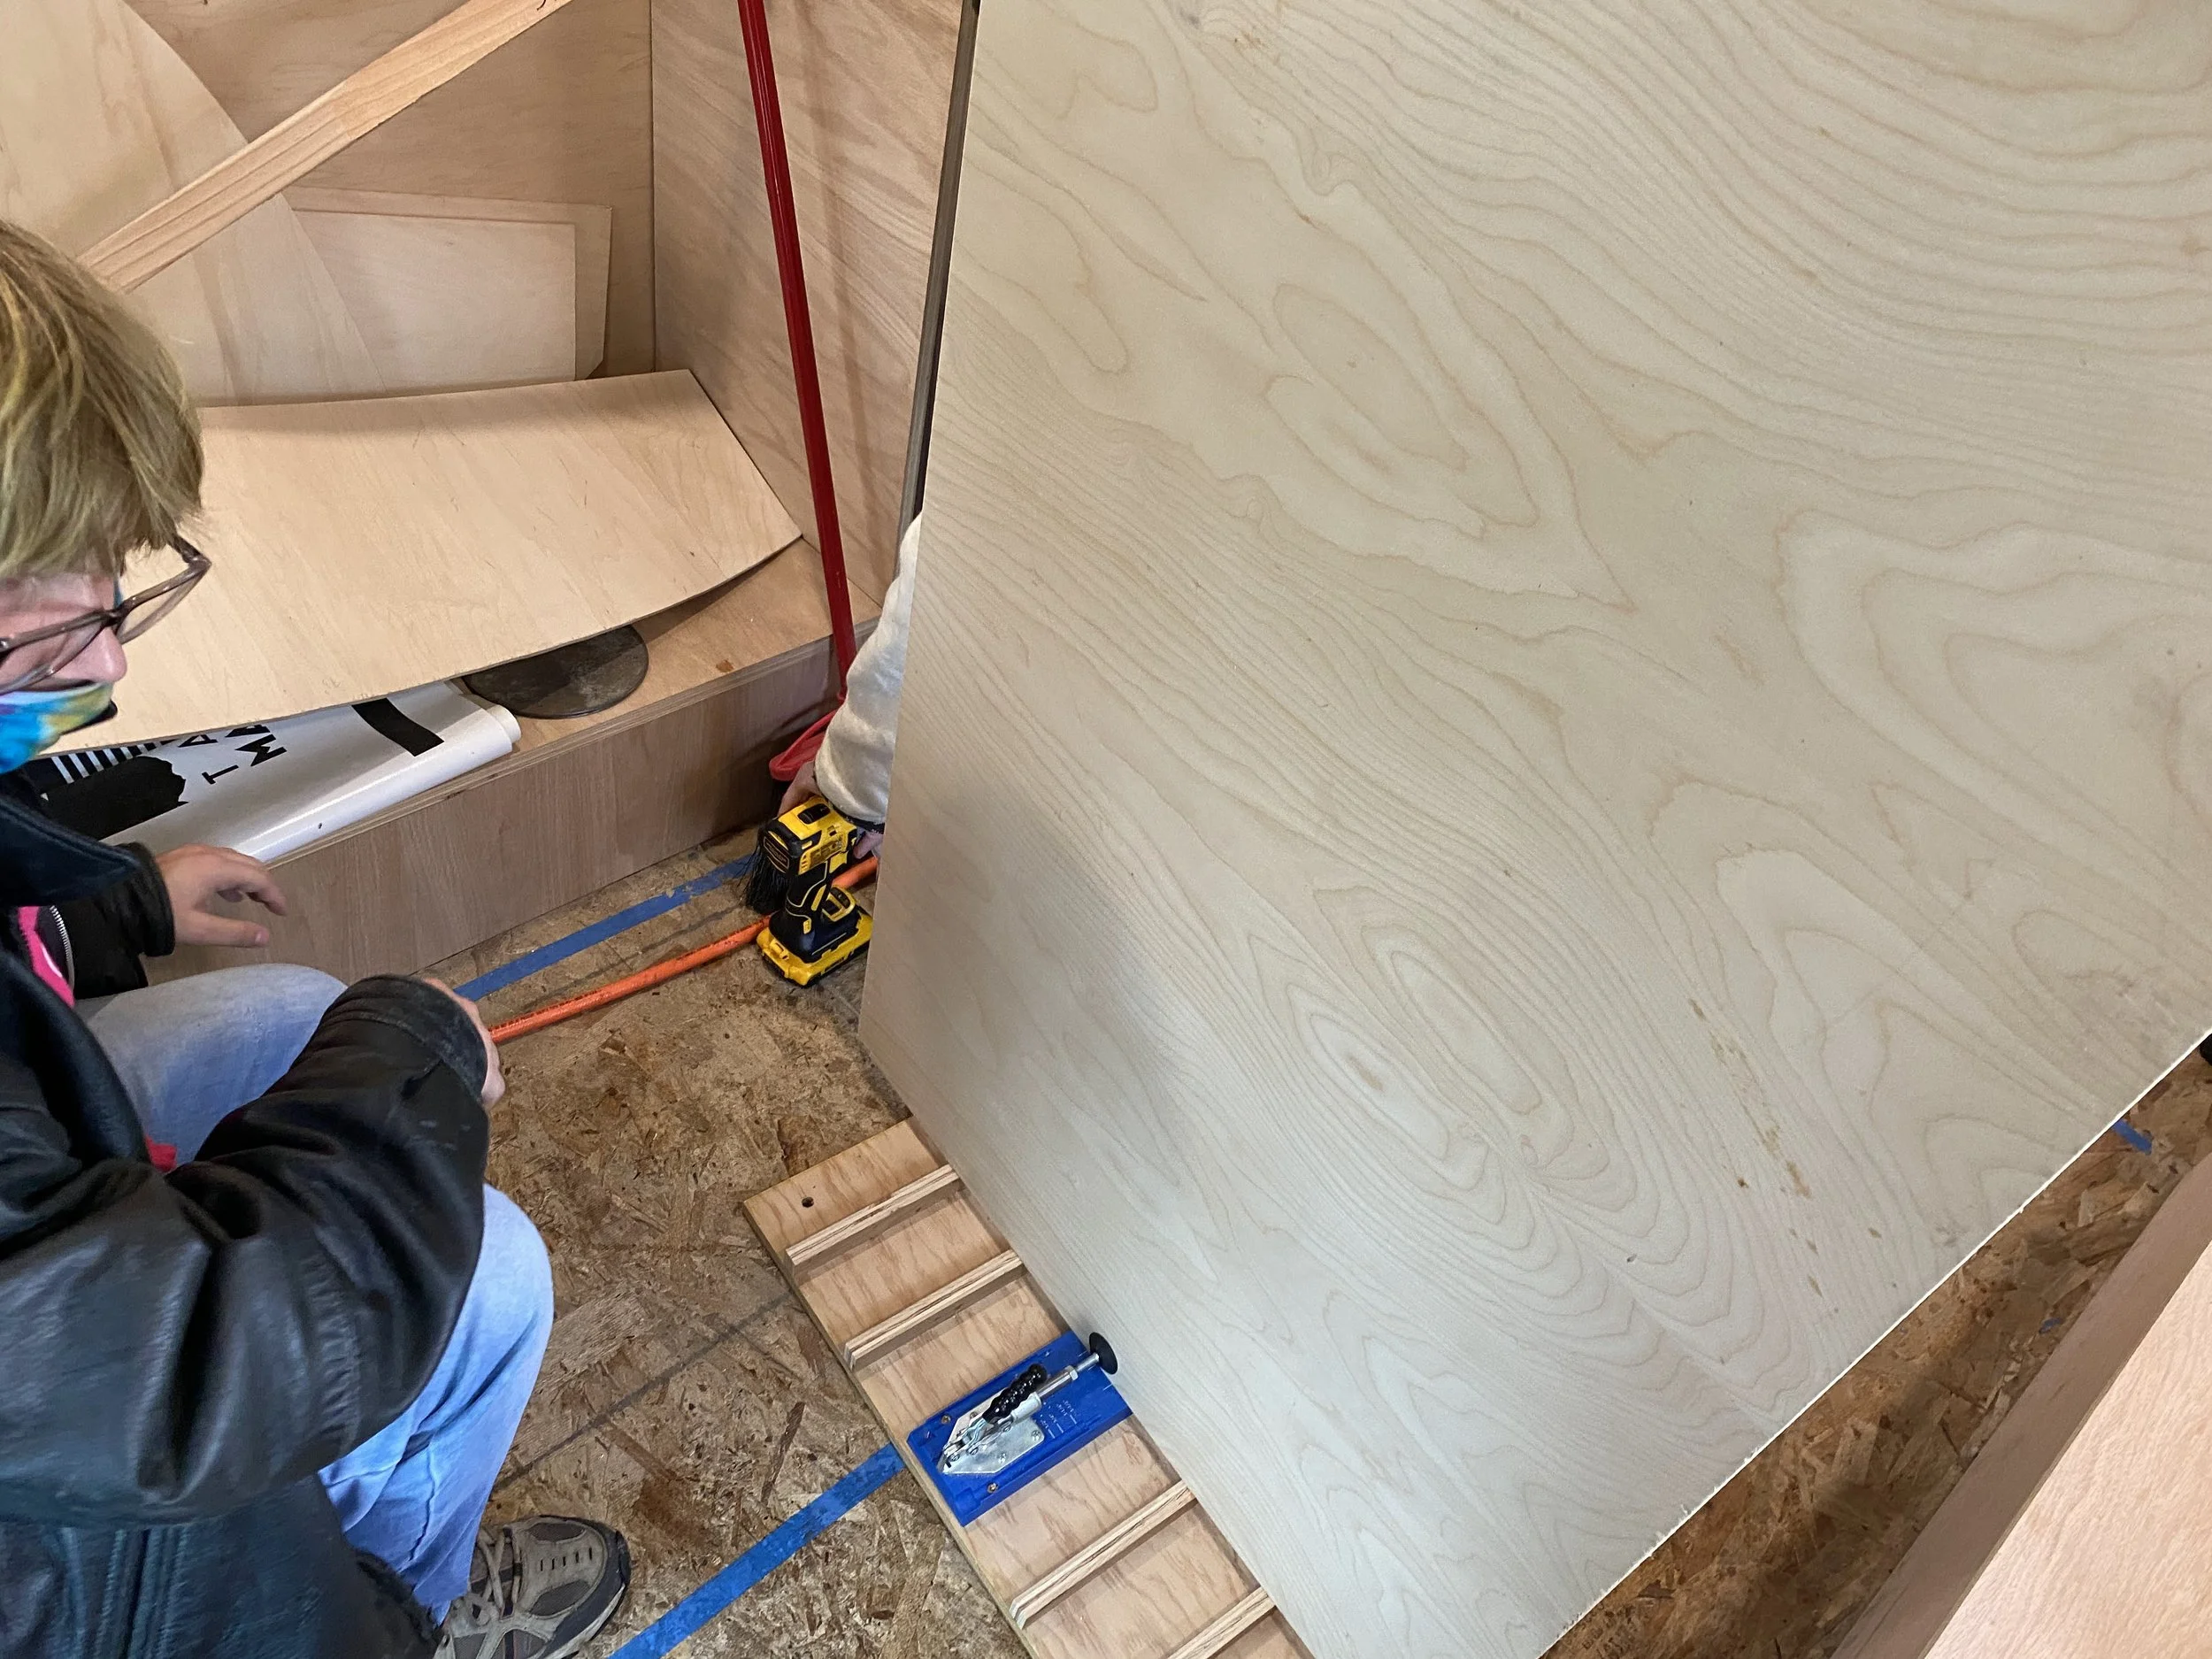
Used ¼” and ¾” ply, to conserve materials and also to give attachment points for shelving on ¾”. ¼” is used wherever there are windows, so the windows aren’t too deeply inset, and ¾” is mainly used where there is cabinetry.
Cut sheets 30” high, leaving a gap for electrical.
Attached ¼” ply with ¾” #10 panhead self-tapping metal screws directly to ribs, ¾” ply with same screw-type 1 ¼” long
Scribed and cut window openings and electrical boxes with circ saw/jigsaw, attached around windows with 1 ⅝” wood trim screws.
Low sides - can be done as a separate system.
Ran ¼” sheets of plywood longways from front to back
Cut holes/reliefs for electrical boxes and wheel wells.
Match up sheets with the upper edge as accurately as possible (approx 29 ⅜” from bottom to top)
Used 1 ¼” crown staples to attach - better/cleaner attachment than screws
Careful to remember furring strip pattern
Run all low side electrical before attaching
Chisel furring strips into a plane with each other where needed.
Builders Notes
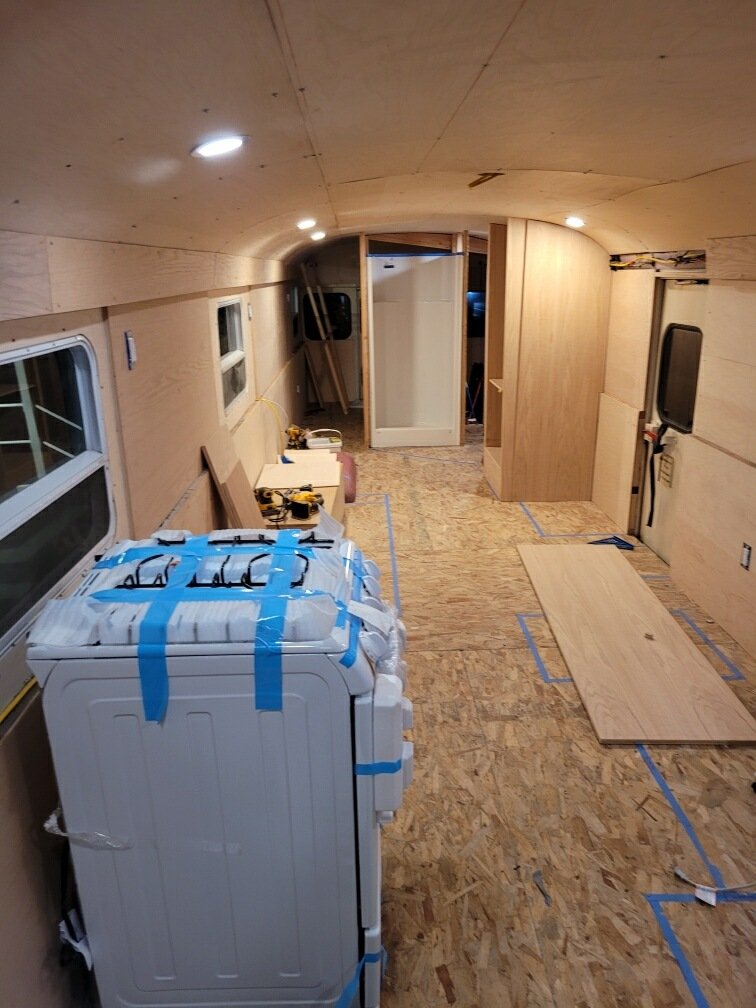
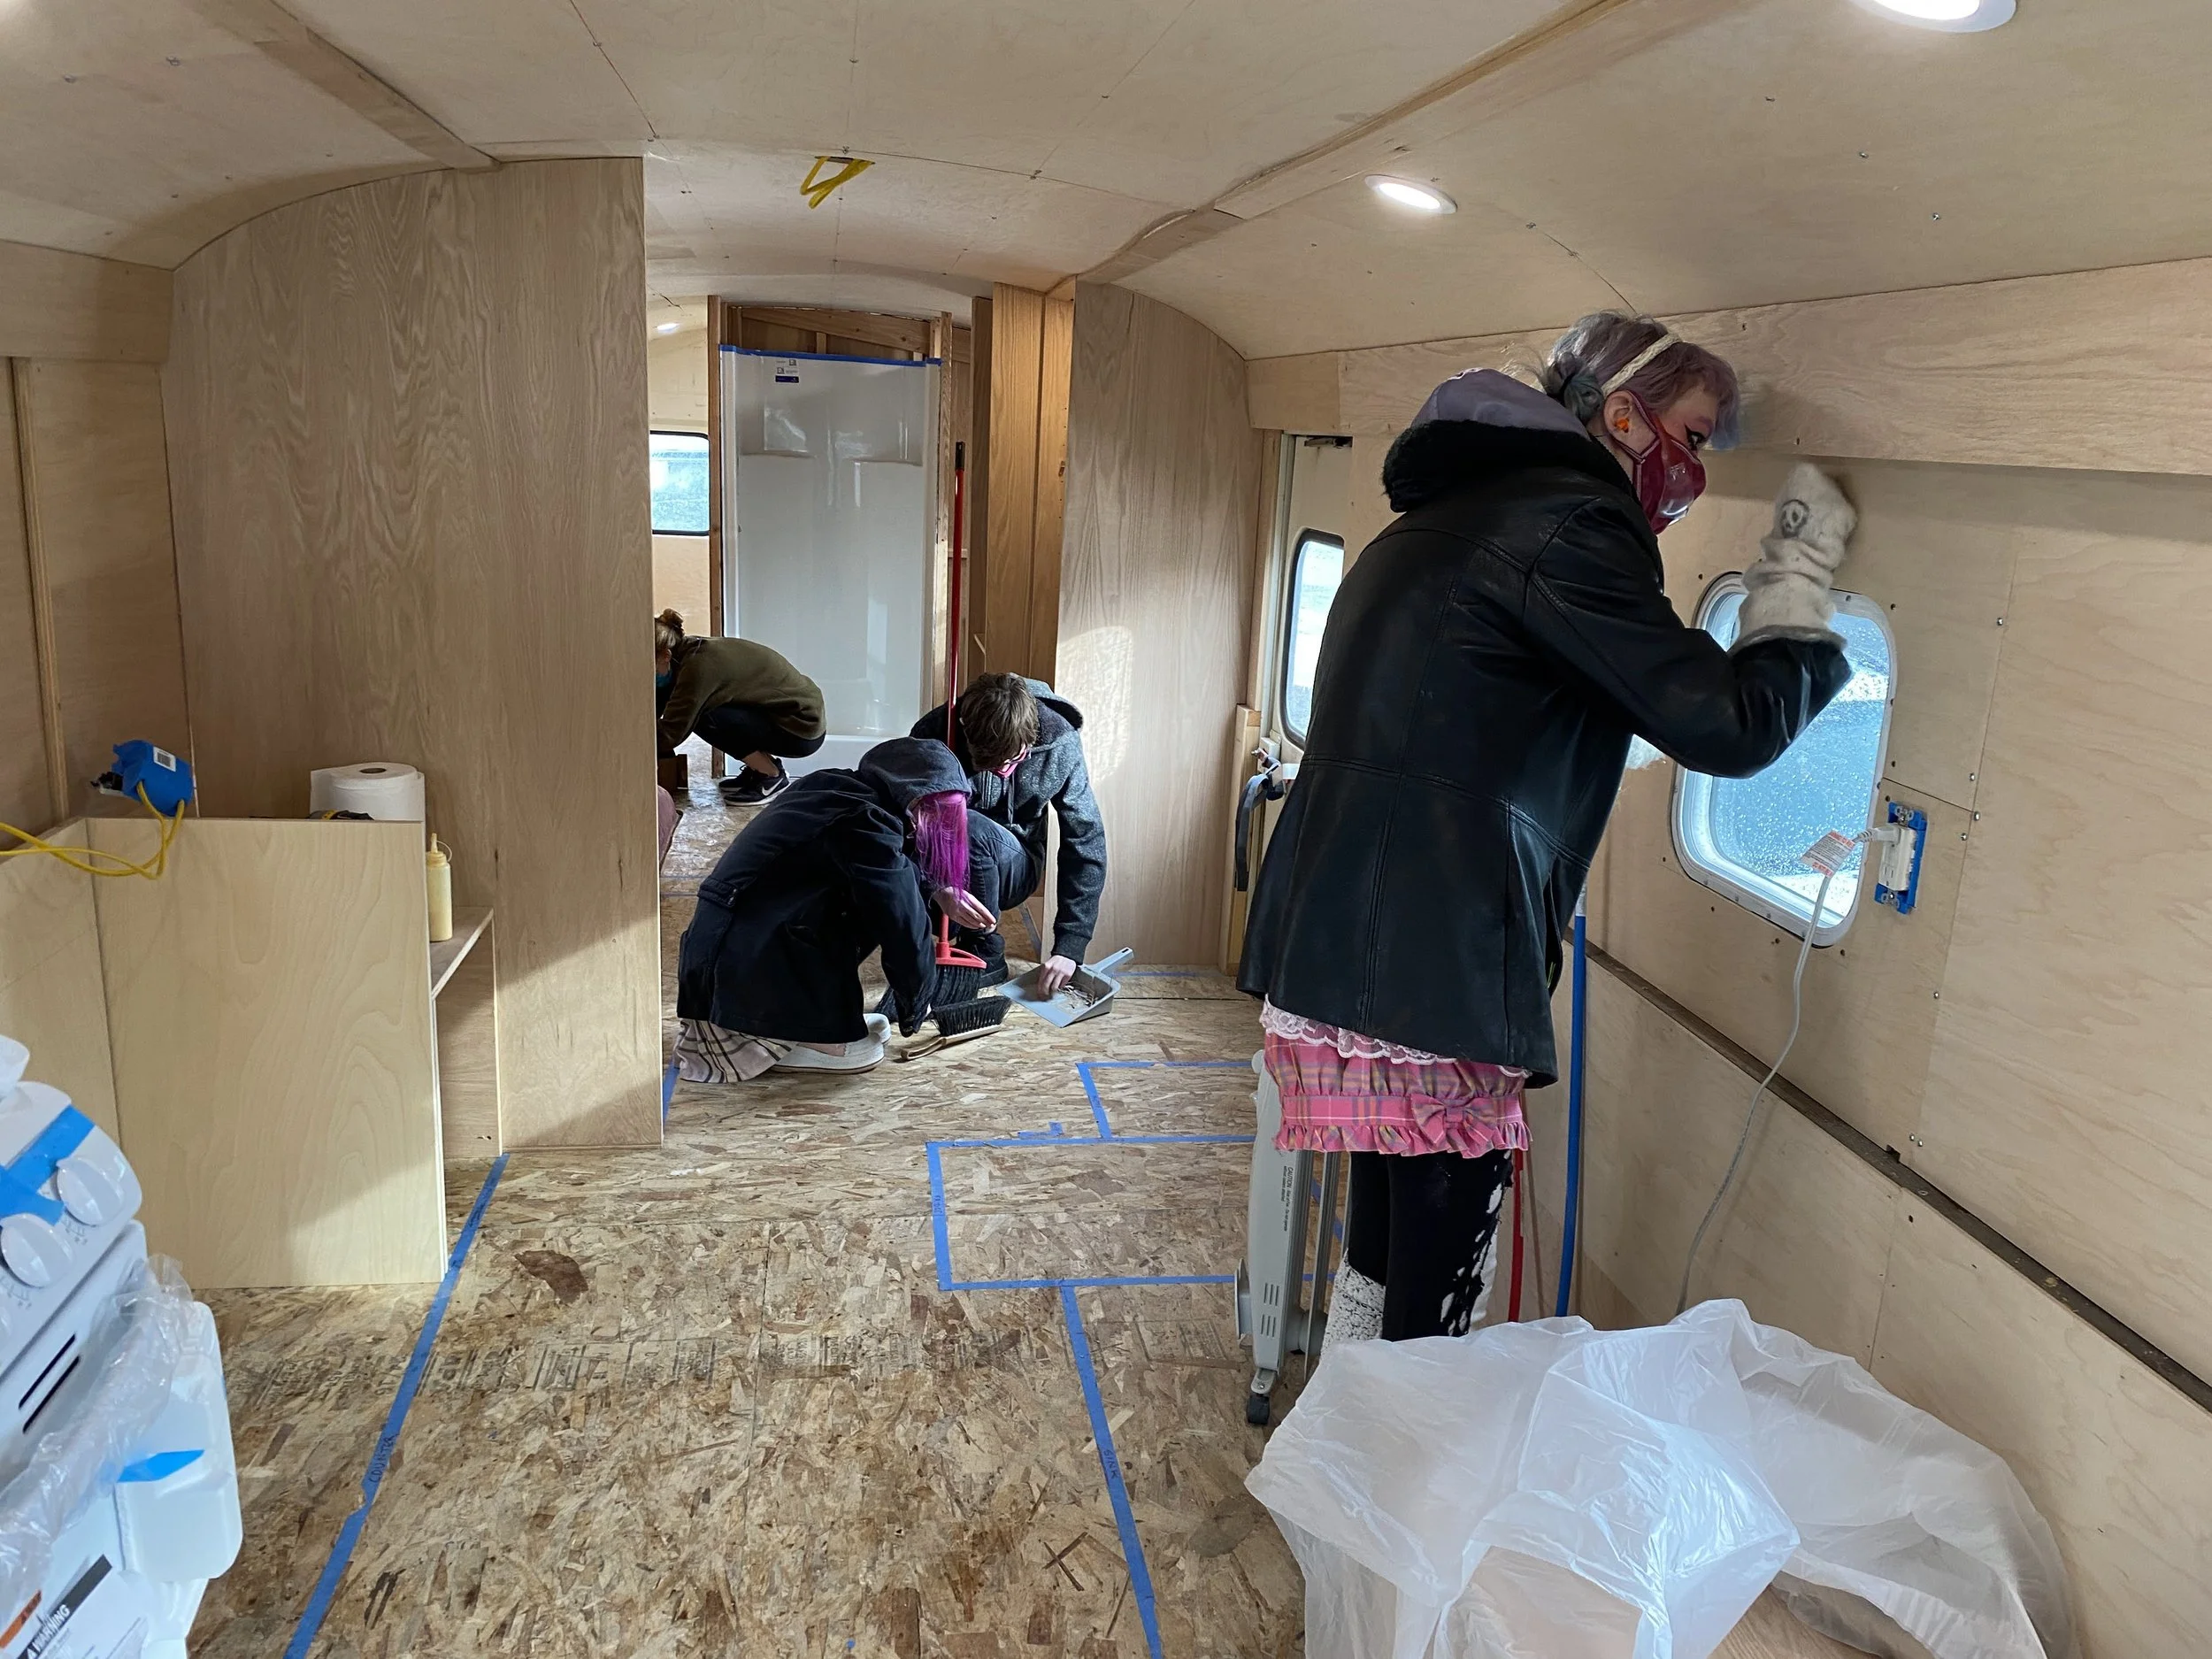
Installing the skin on our bus was made difficult because the metal ceiling had been preemptively removed. Given our materials, timeframe, and scope, covering the ceiling ate into a lot of our resources. Depending on the climate, we highly recommend leaving the metal ceiling intact.
Due to a generous donation, the materials we had to work with were ¼” composite plywood and ¾” hardwood plywood, both low VOC and sustainable. We used the ¼” ply for the entire ceiling, the lower wall bays, and about half of the upper walls. The remaining upper wall bays we sheathed in ¾”, those being the areas we planned on installing cabinetry and shelves that would benefit from a more structural attachment point. We recommend not using ¼” composite plywood at all if possible due to its tendency to warp, but we also encourage using what’s readily available. We did not furr out our upper wall system or ceiling and therefore only had metal to attach to, which didn’t provide much structural support underneath the ¼” - with more horizontal support, the skin would have warped less.
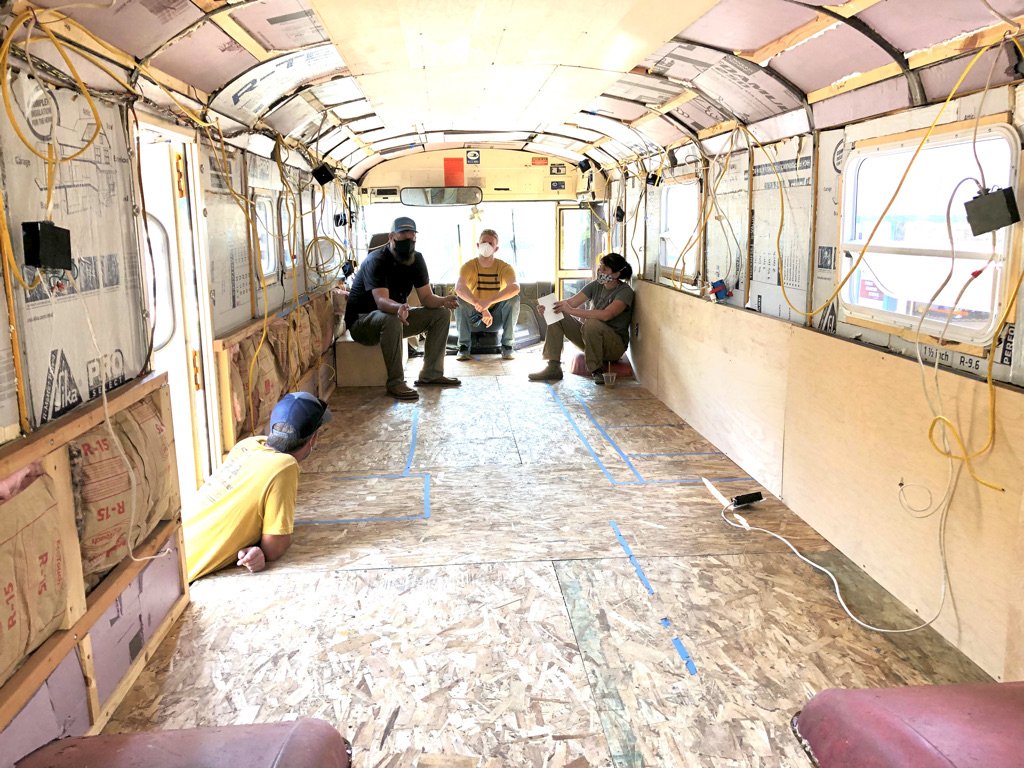
*We didn’t have students work on the ceiling because it was meticulous, frustrating, and easy to mess up. The wall systems are easier to install, especially where they attach to wood with a nail gun, and are good practice with measuring, scribing, notching, and using a variety of saws.