Furring and insulating
Warm it up, cool it down
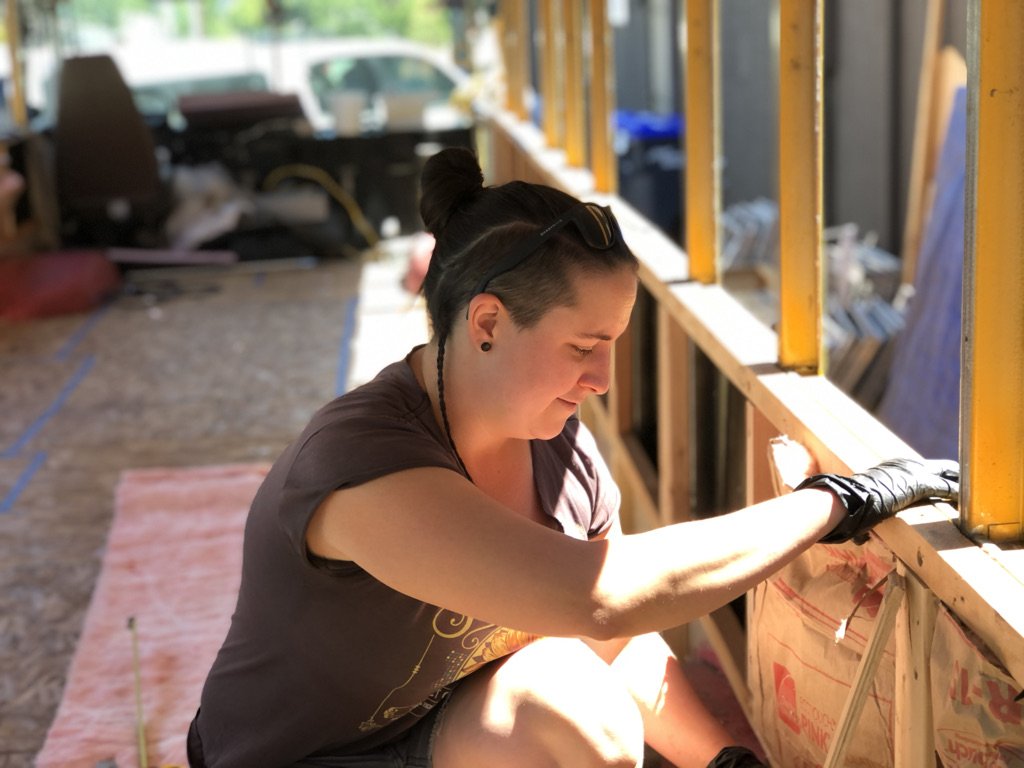
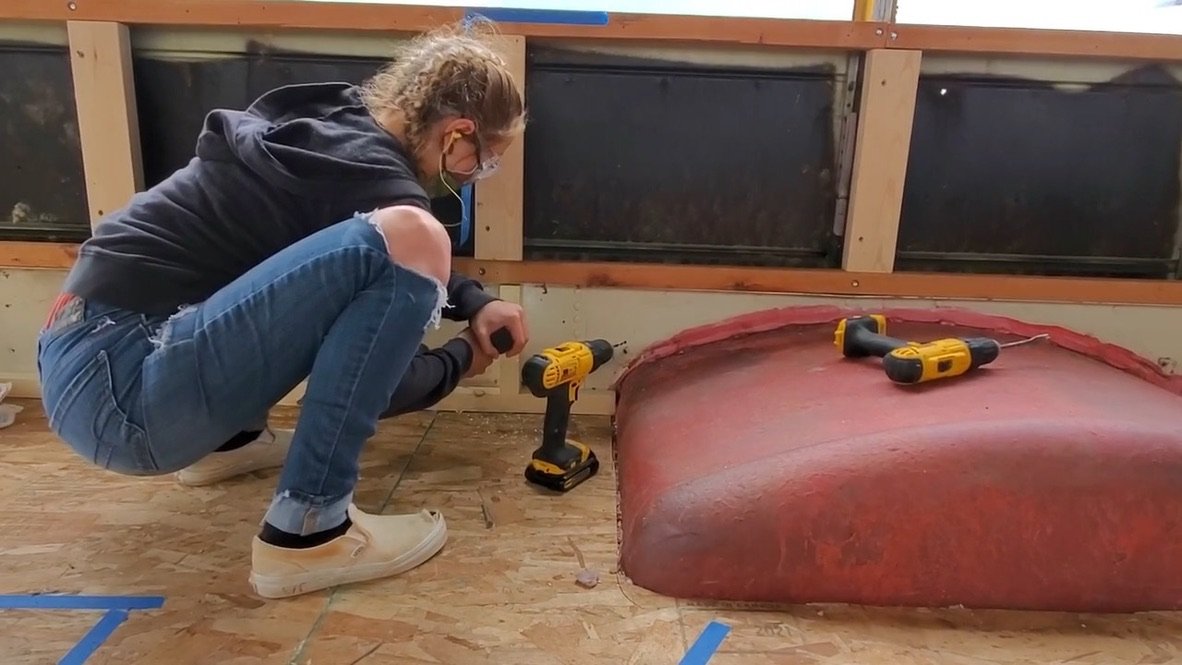
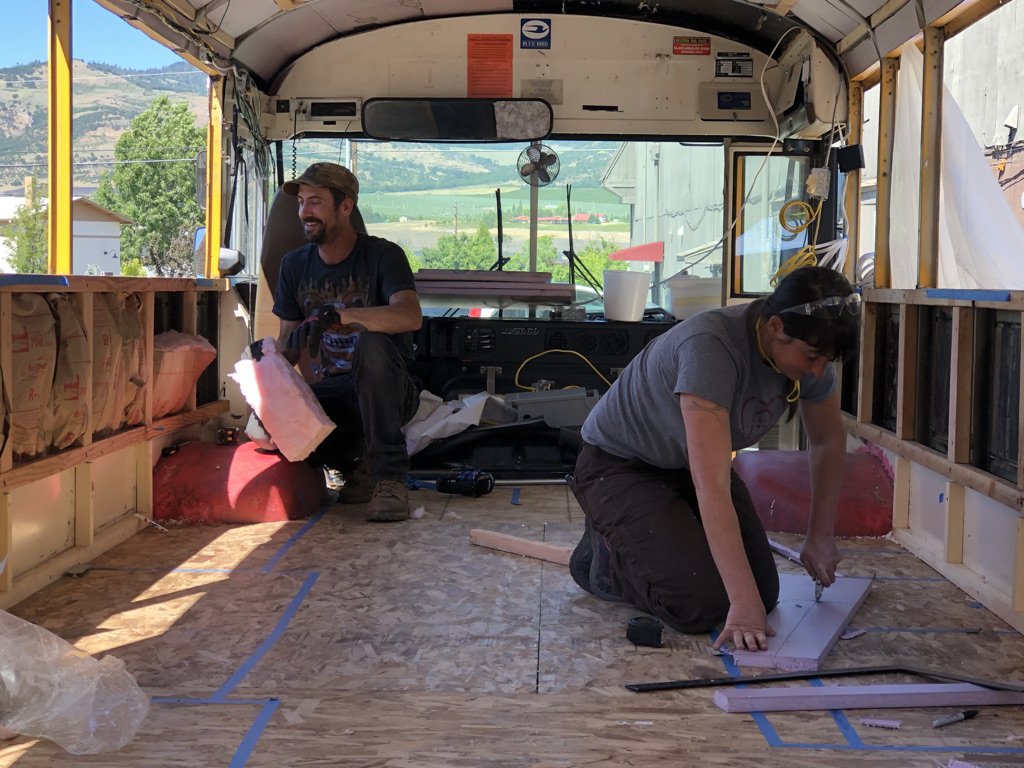
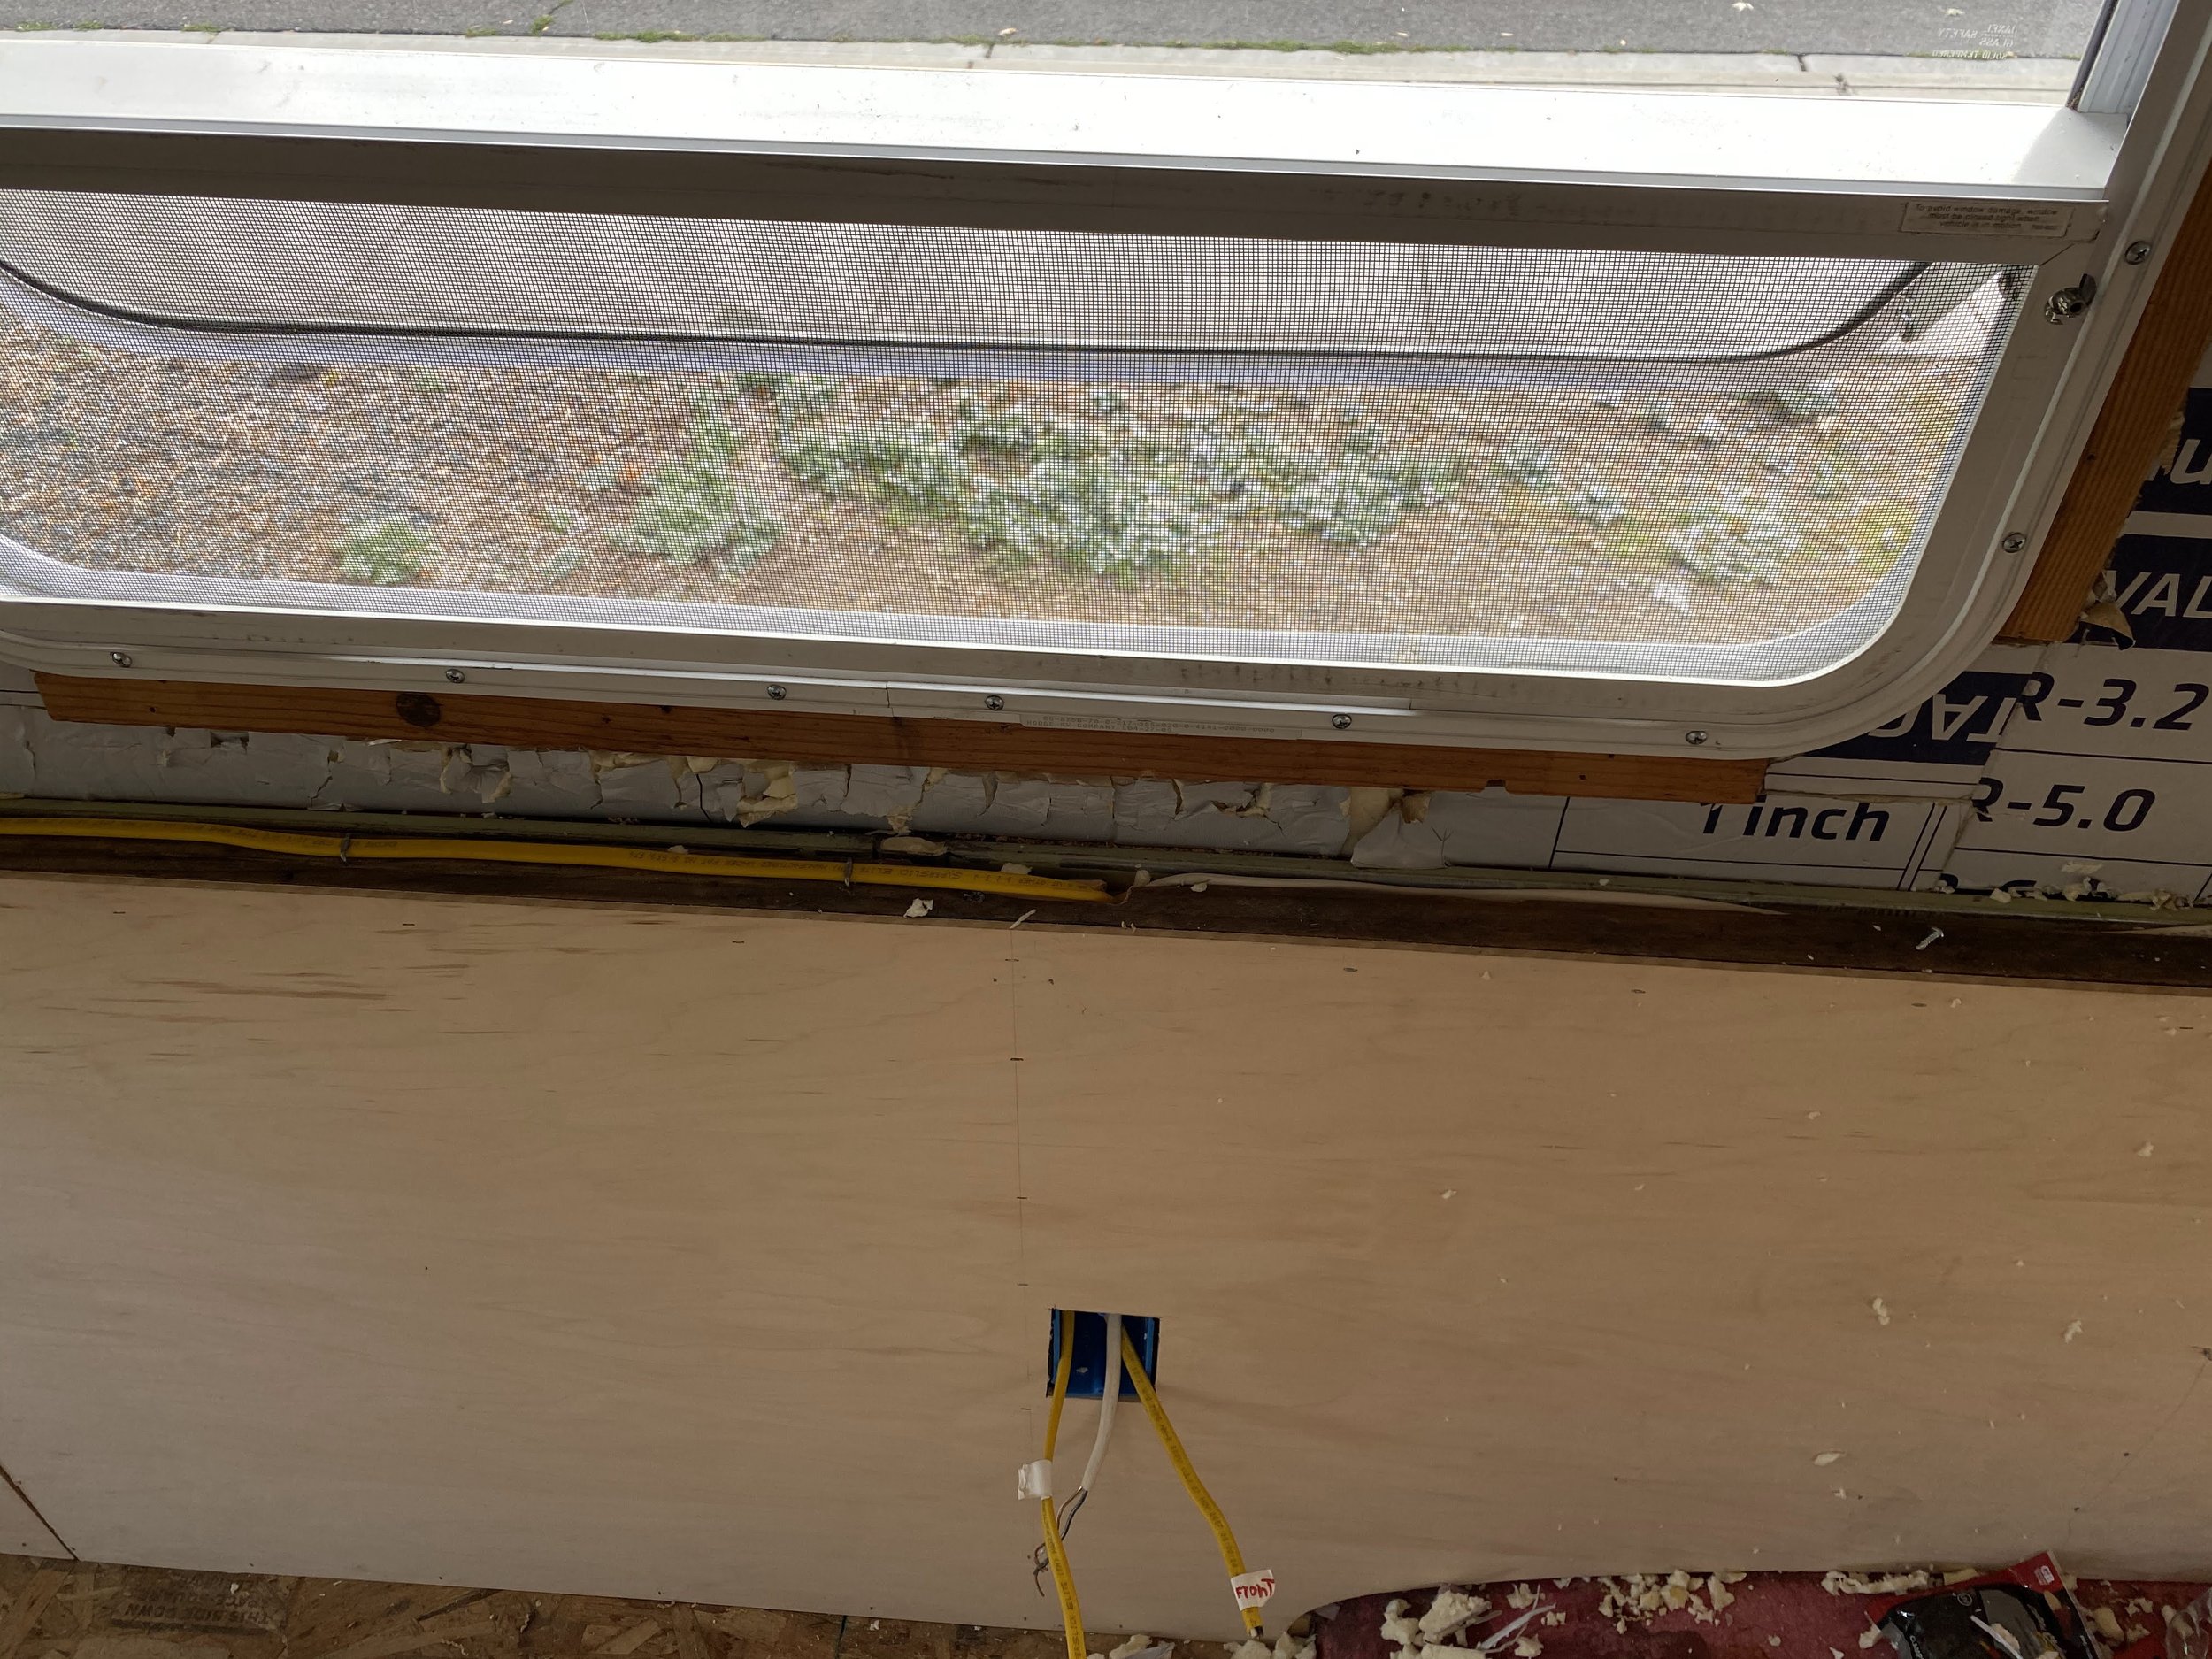
There were pre-installed 2x2 furring strips in lower wall cavities.
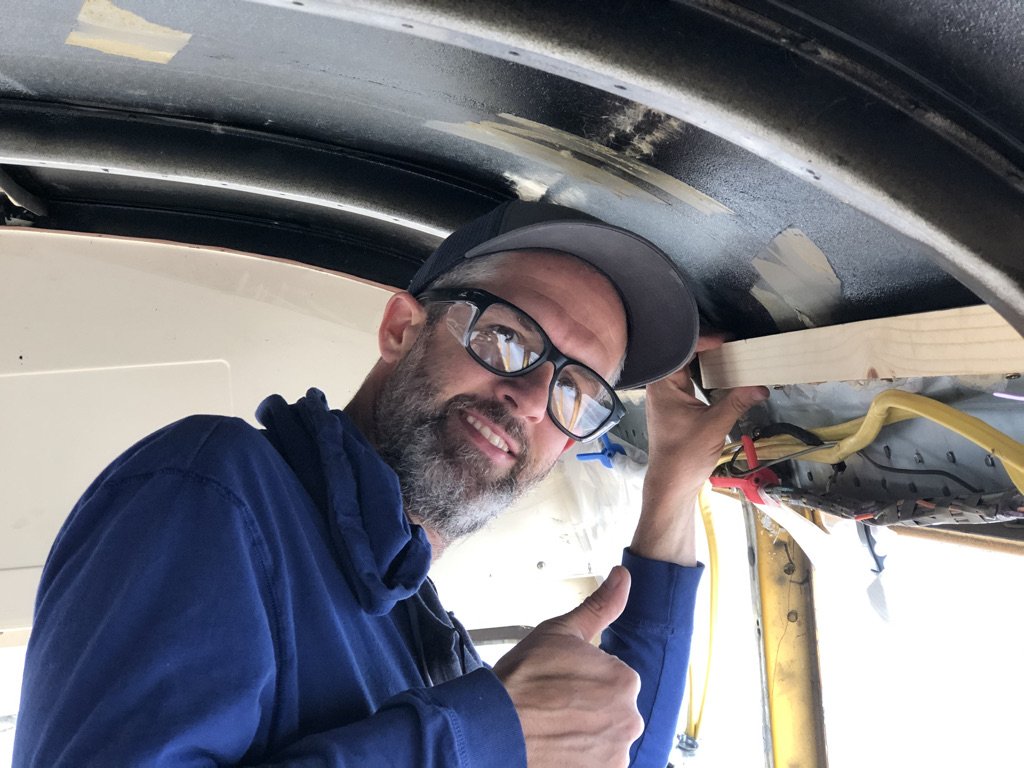
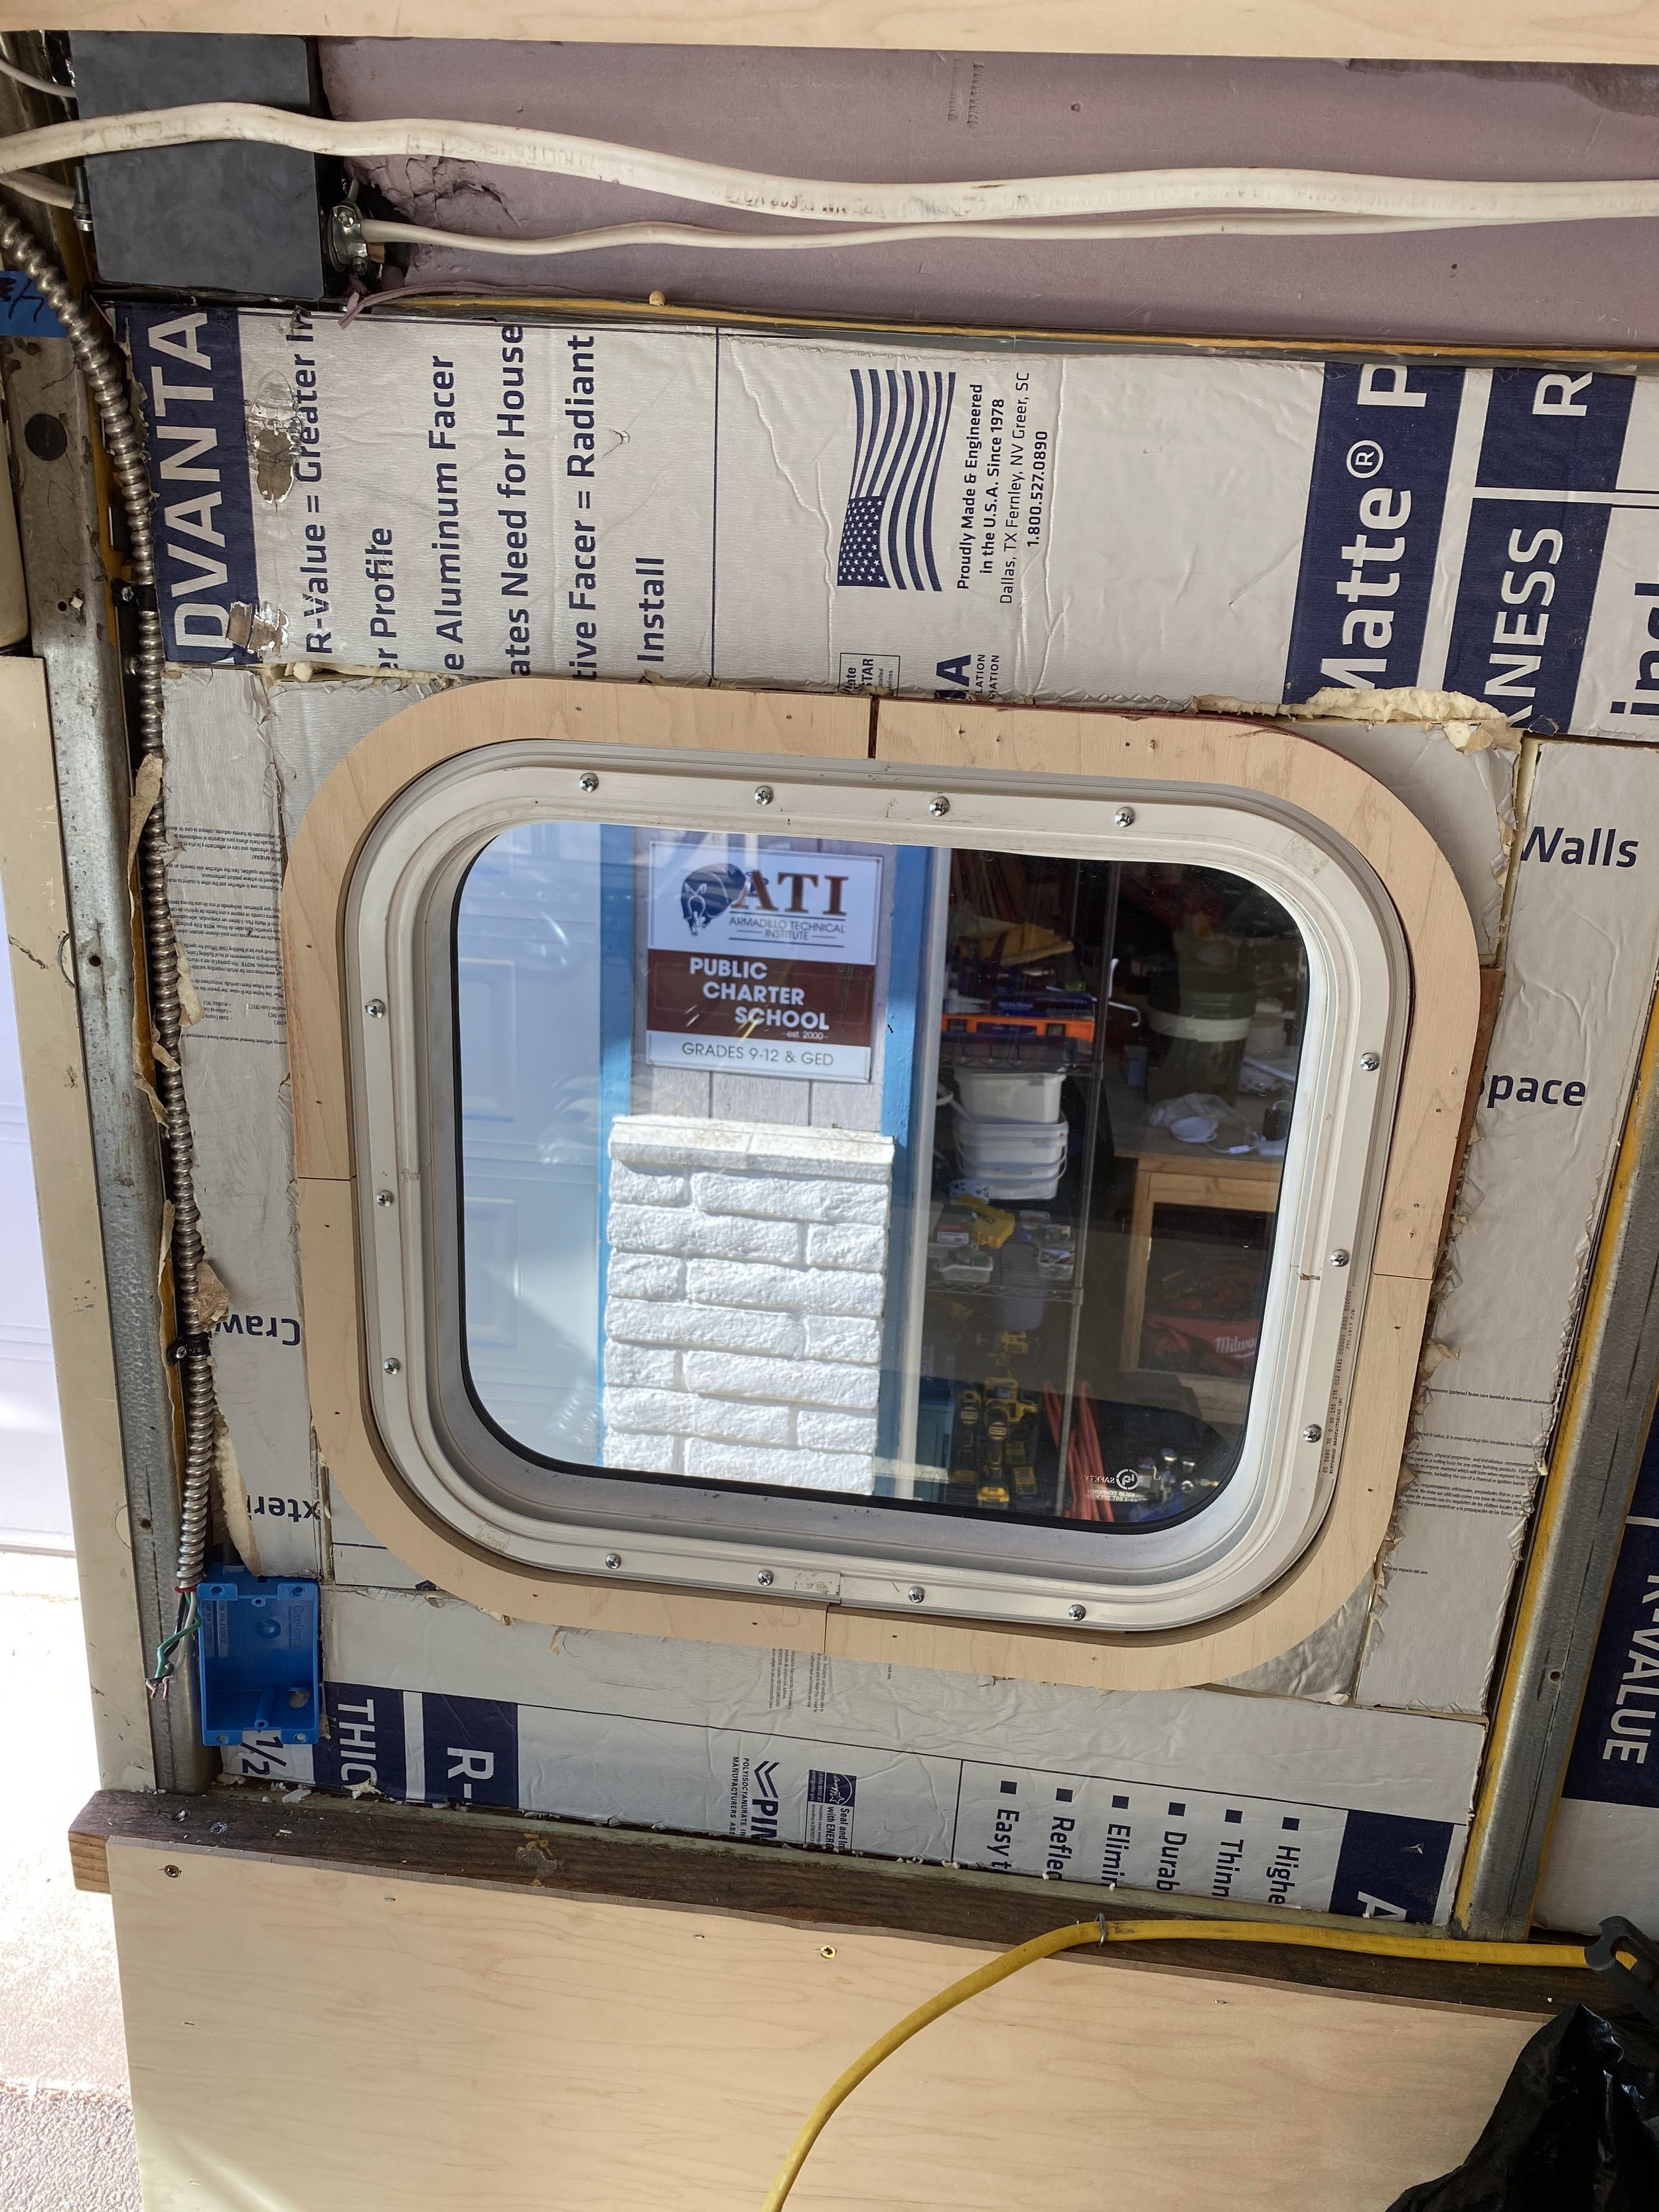
We decided not to furr out upper wall cavities around sheet metal so the windows wouldn’t be to inset. In retrospect, I would recommend furring strips would have helped with attaching skin/making it rigid and would bring walls flush with lower walls. It would also allow for easier electrical installation (regular-depth boxes)
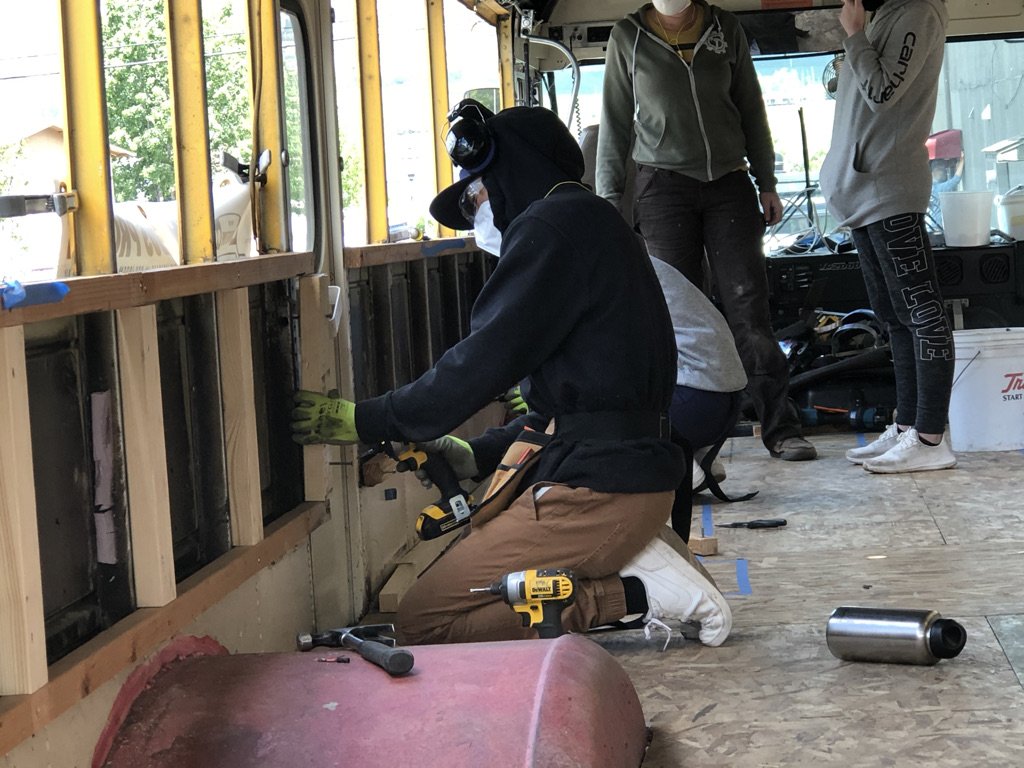
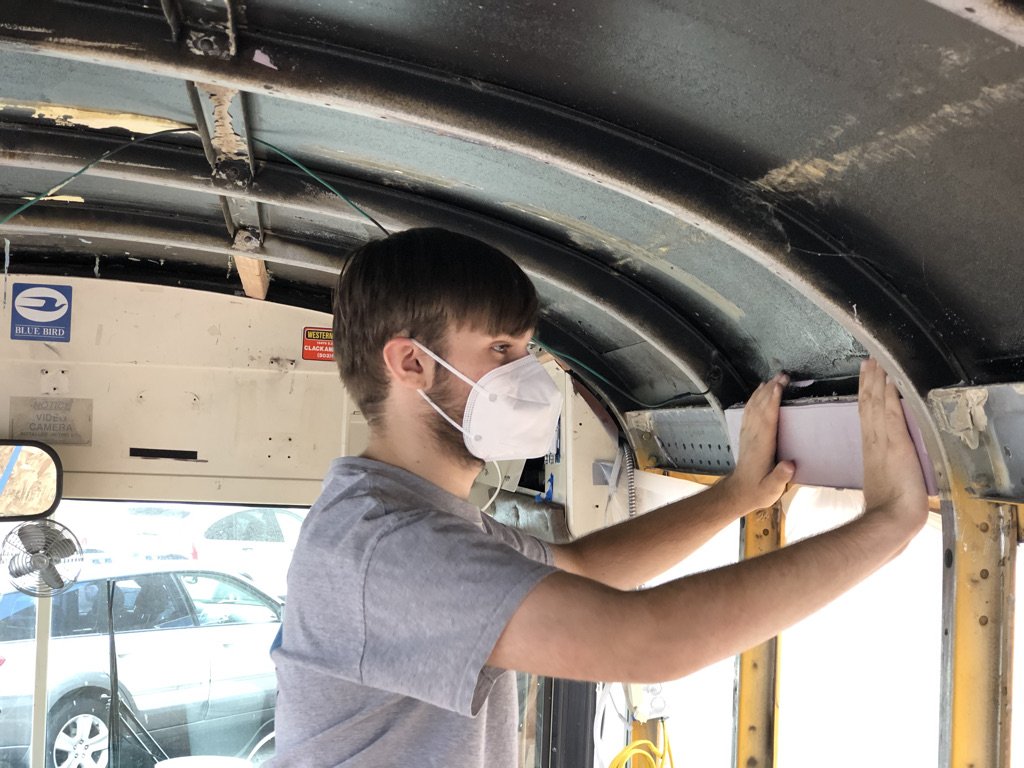
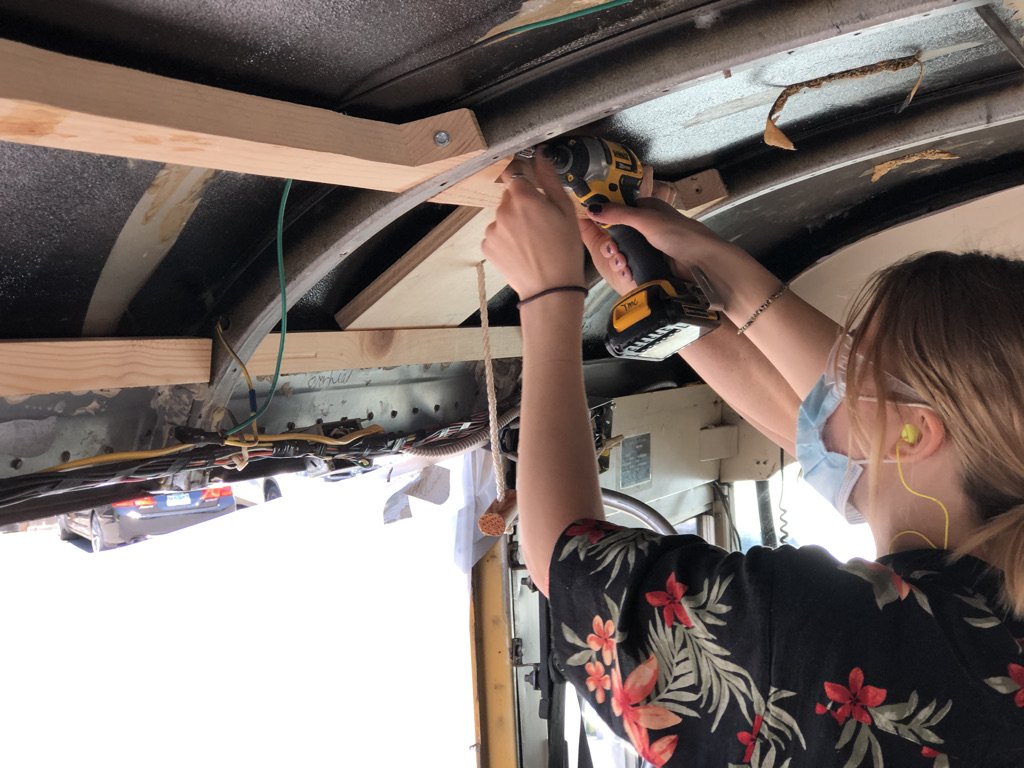
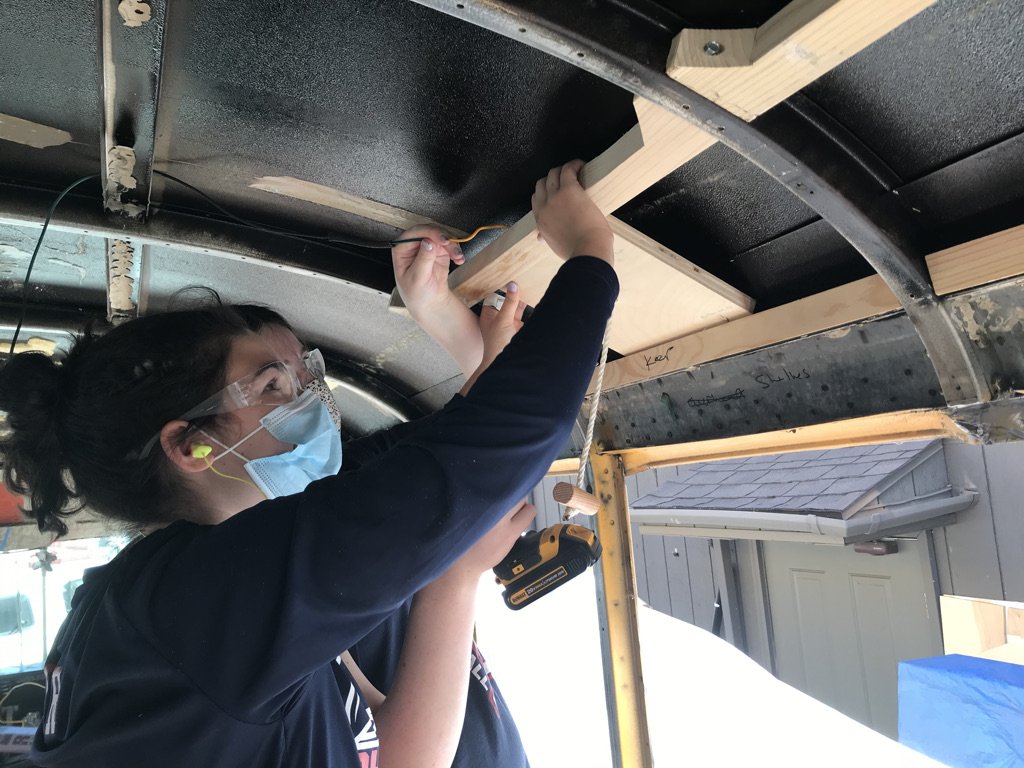
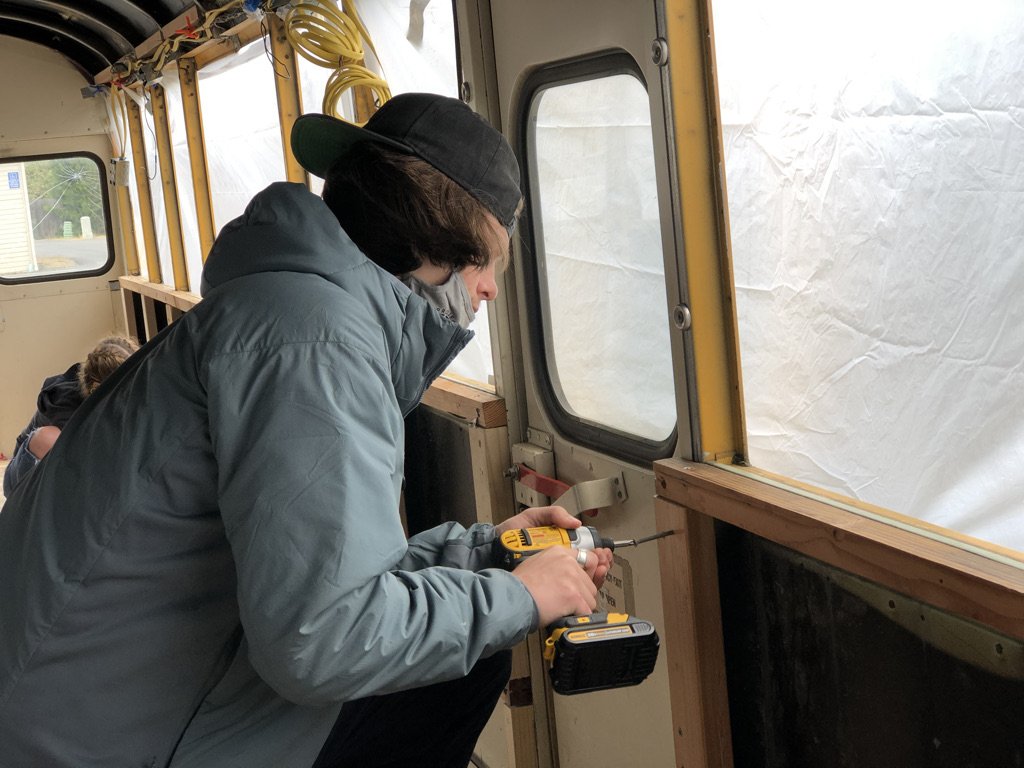
Furring strips are installed directly into metal ribs with self-tapping metal screws.
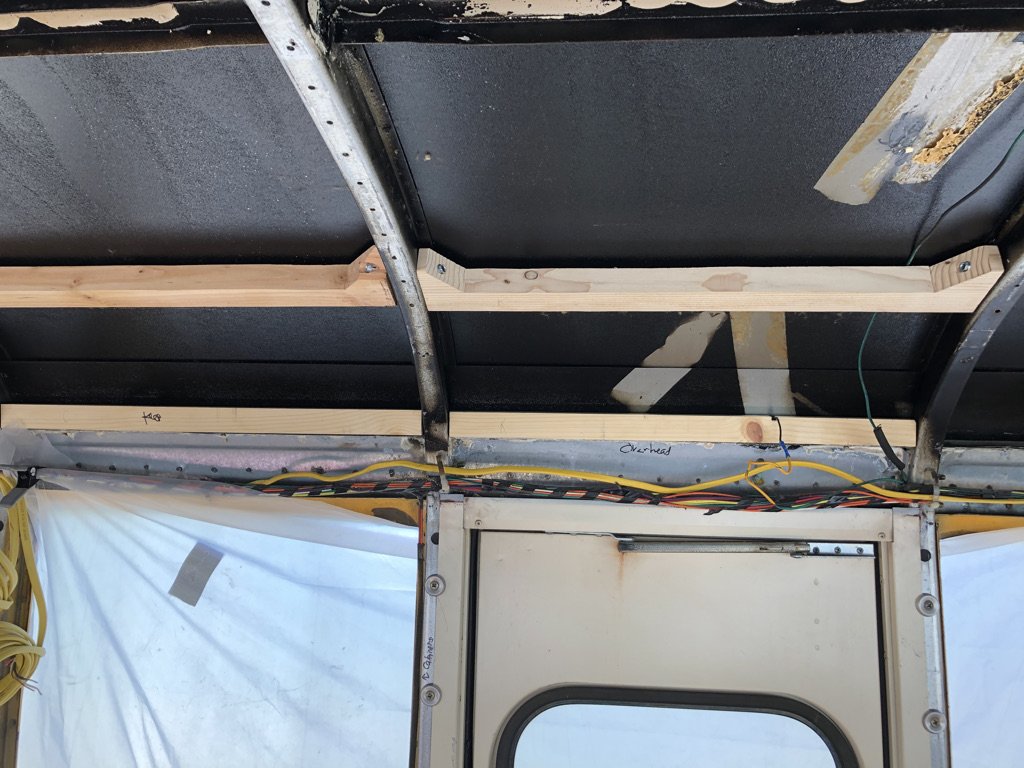
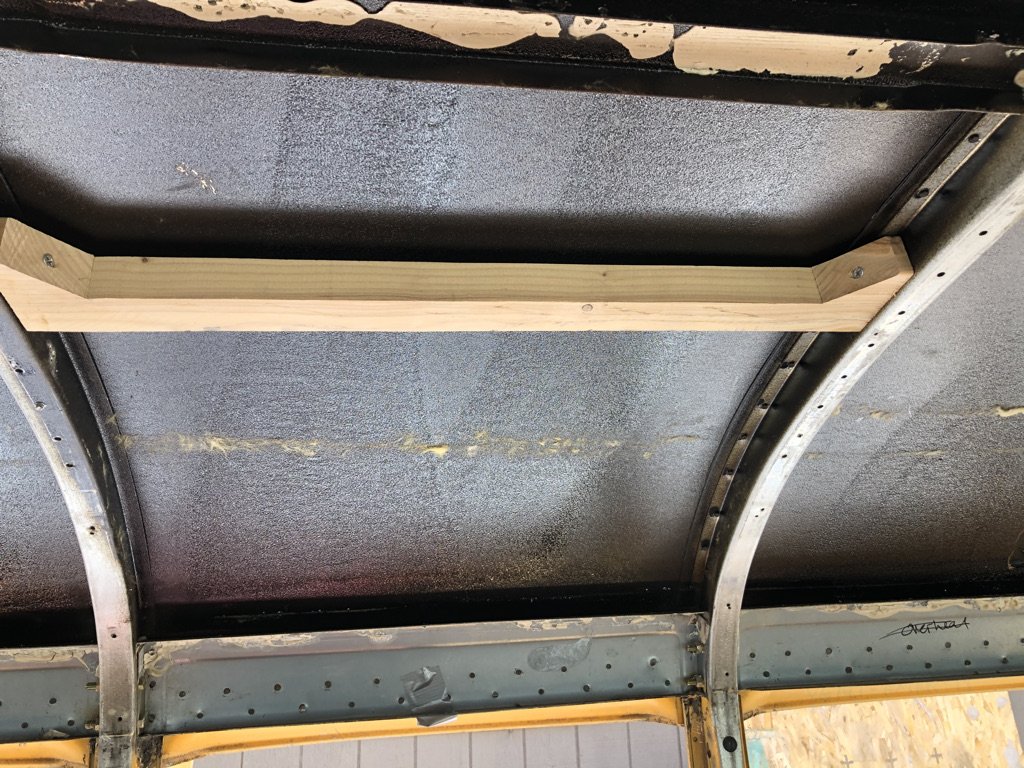
I attached nailers behind breaker box location and overhead compartments - 2x2s toe-screwed into the metal frame.
Insulation
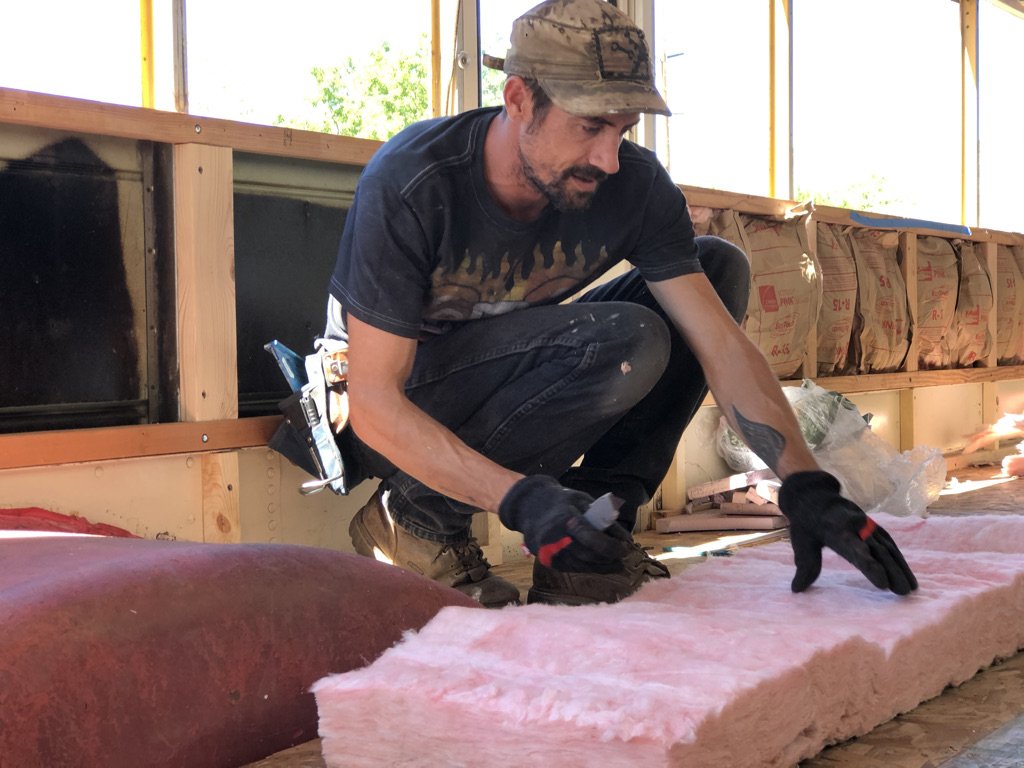
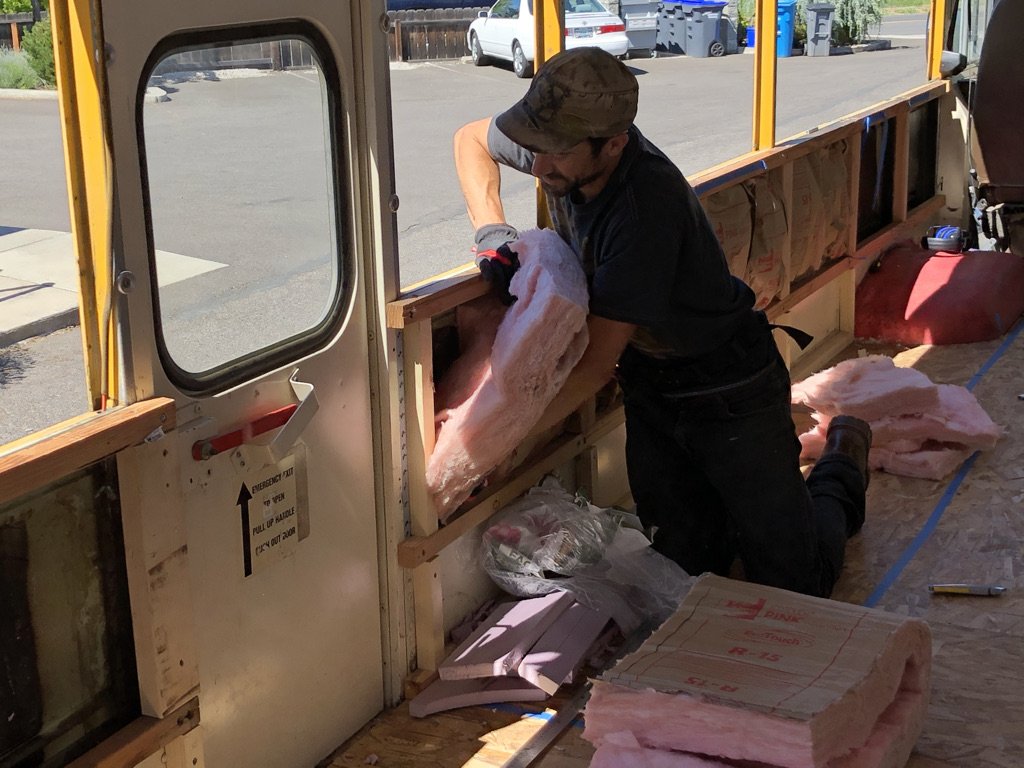
Fiberglass batts in lower bays so we could stuff them into cavities.
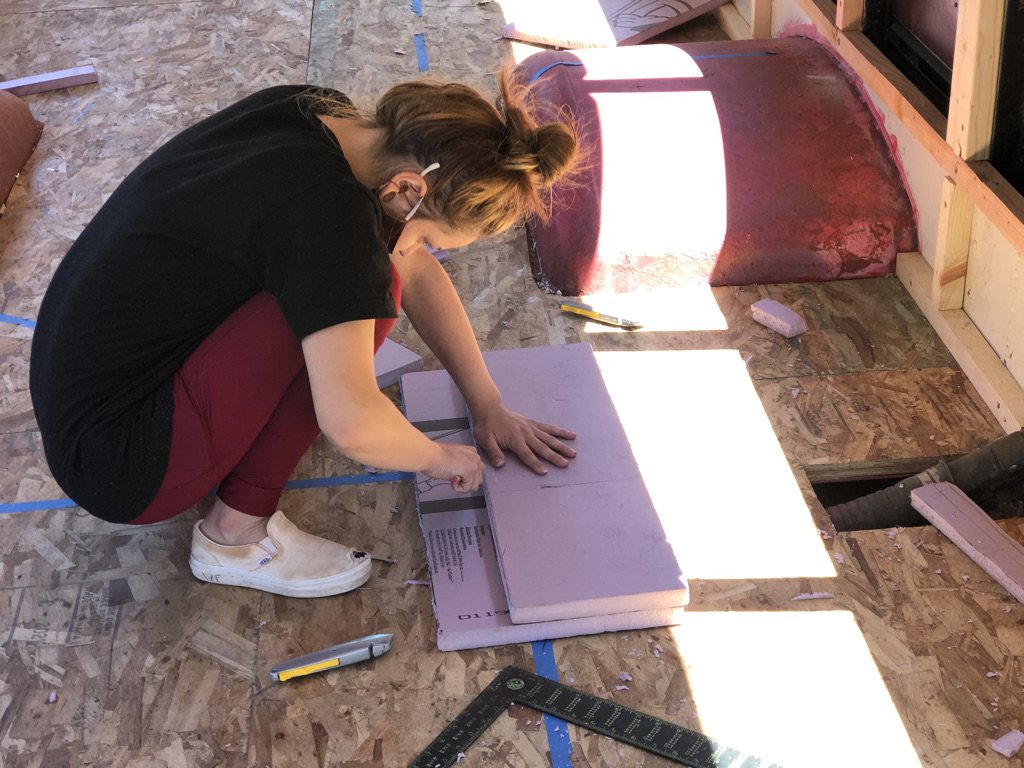
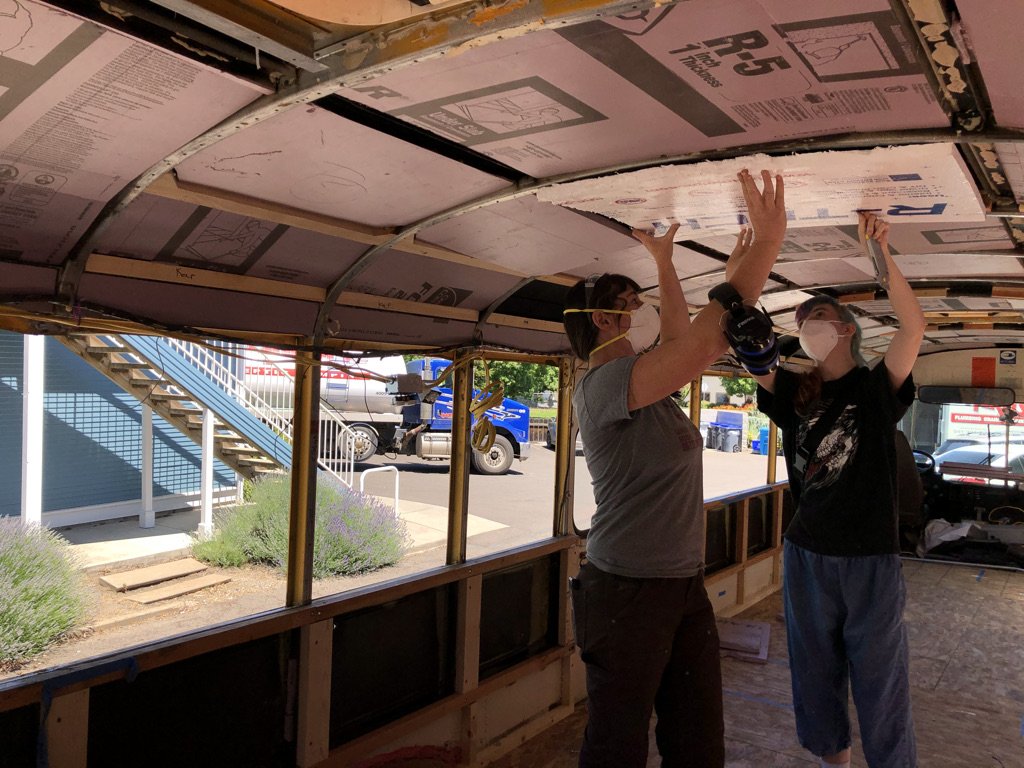
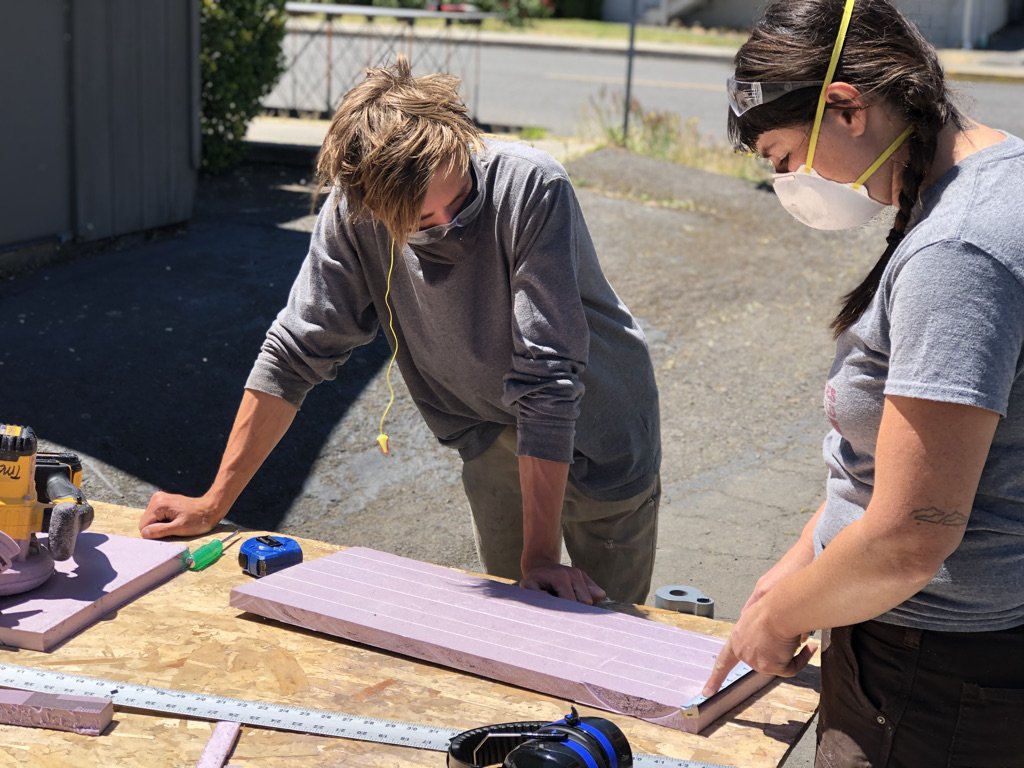
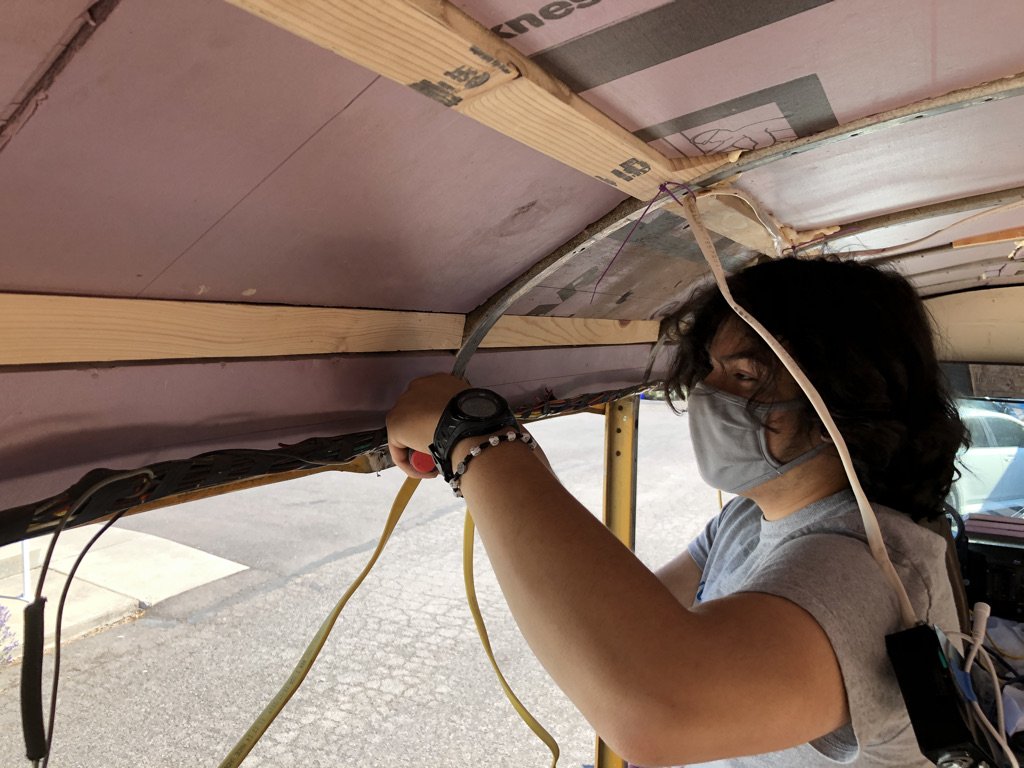
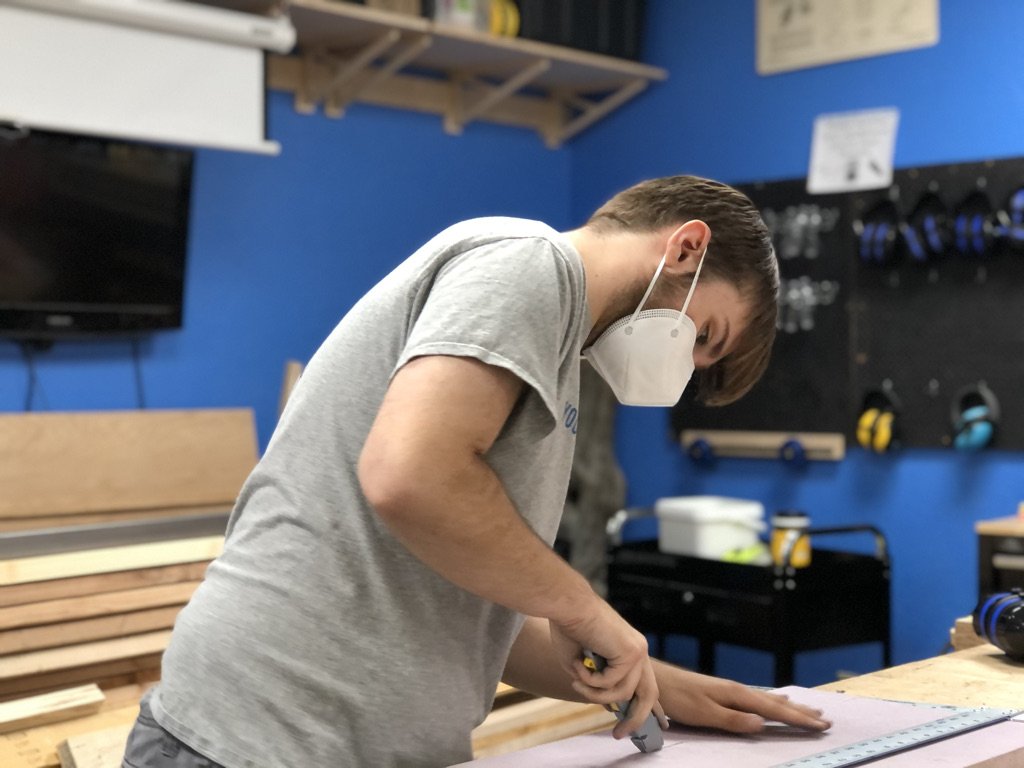
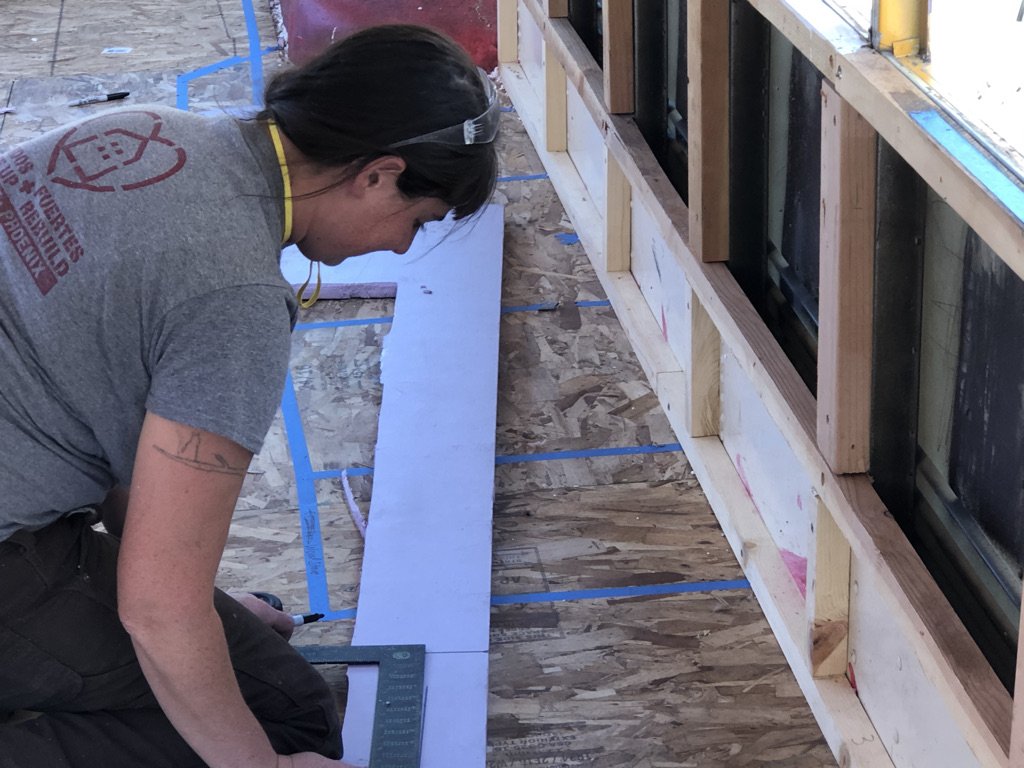
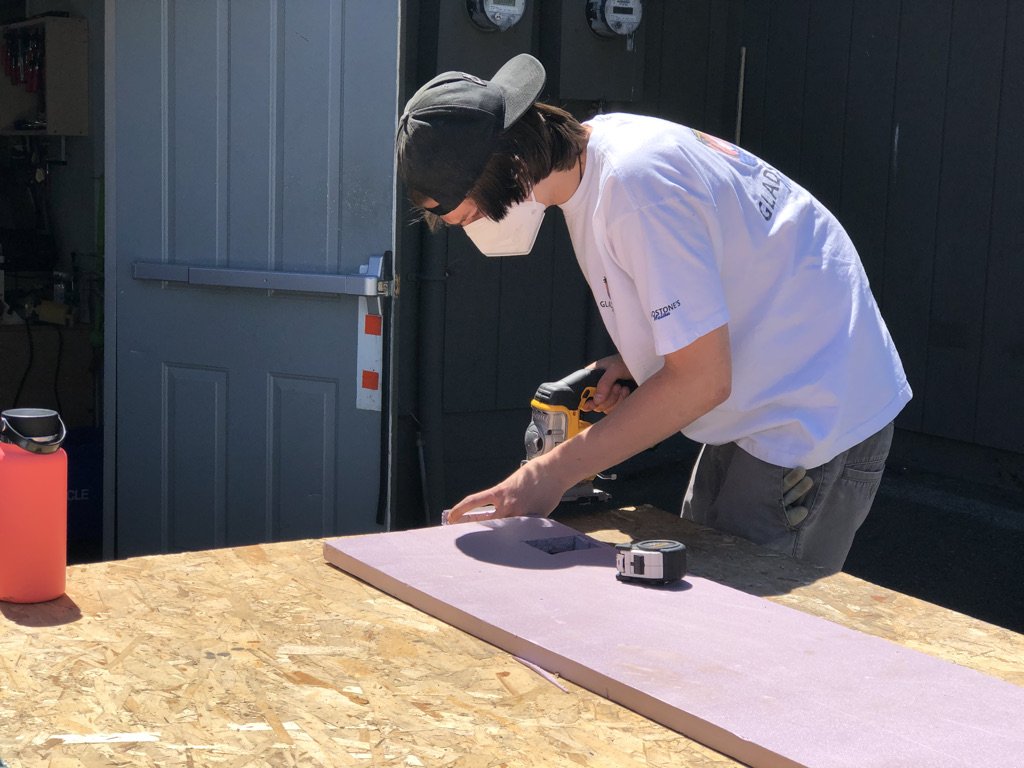
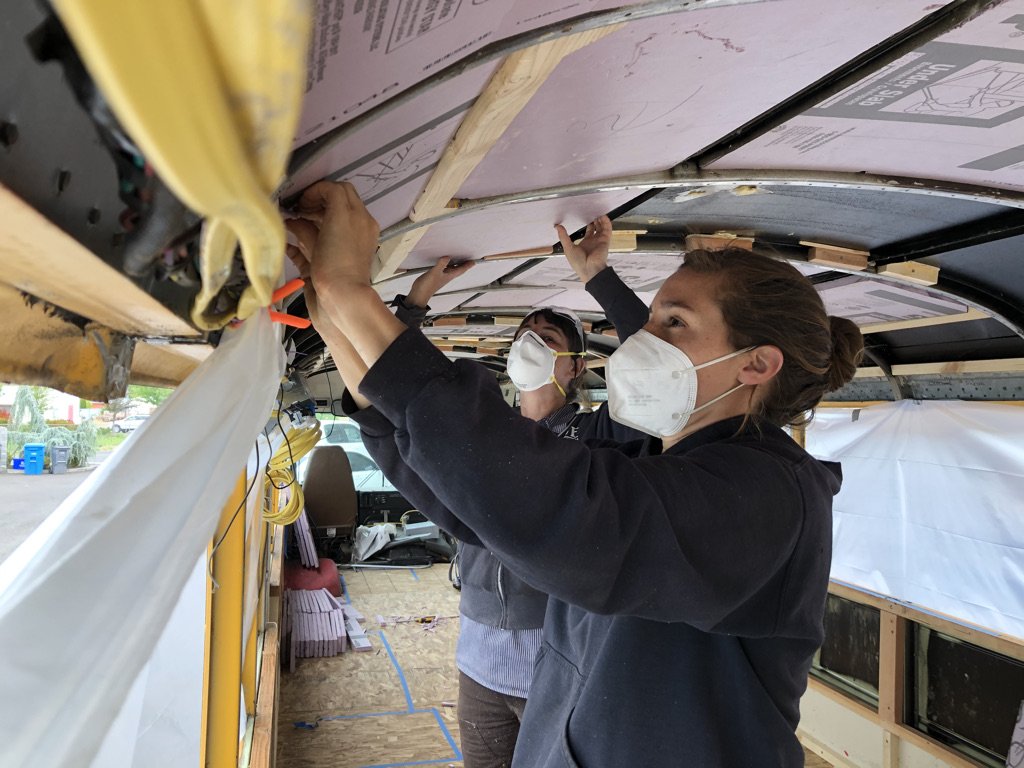
1” rigid foam in upper bays and ceiling
Consider spray foam insulation for the whole thing if it’s in your scope - it would seal everything up very tightly.
Builders Notes
A good rule of thumb regarding furring strips is the more the better. Attaching the skin to wood is easier, a more solid attachment, and prevents sweating directly behind the skin. Bring interior wall ribs flush with each other wherever possible. We recommend running strips both along AND between bays - this helps provide rigidity and prevent skin warping. In retrospect, we installed fewer furring strips than would have been beneficial, creating more difficulties and inconsistencies down the road. Wherever shelves or structural attachments are needed,
it is also essential to plan ahead with nailers behind the skin. Alternatively, install ¾” plywood as the skin on wall sections that will need to be used as attachment points for built-ins and interior walls.
Insulation is pretty straightforward - fill gaps as tightly as possible! We used a combination of fiberglass batts and rigid foam, with spray foam as needed. Install electrical wiring and boxes where appropriate in conjunction with furring strips and insulation.
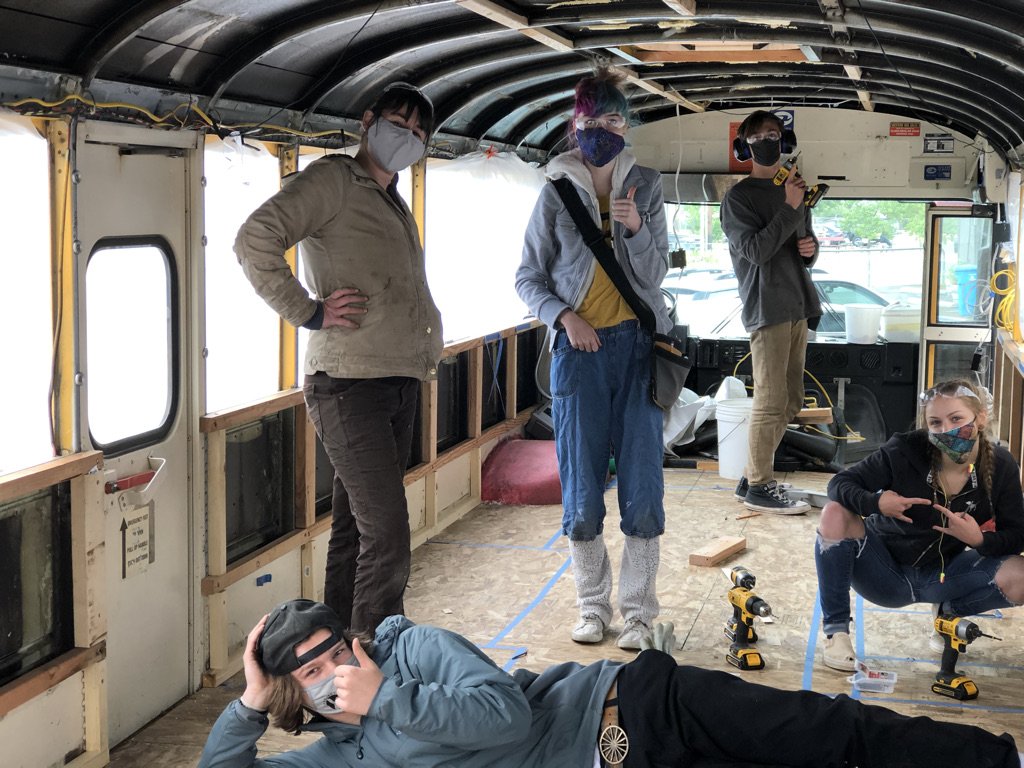
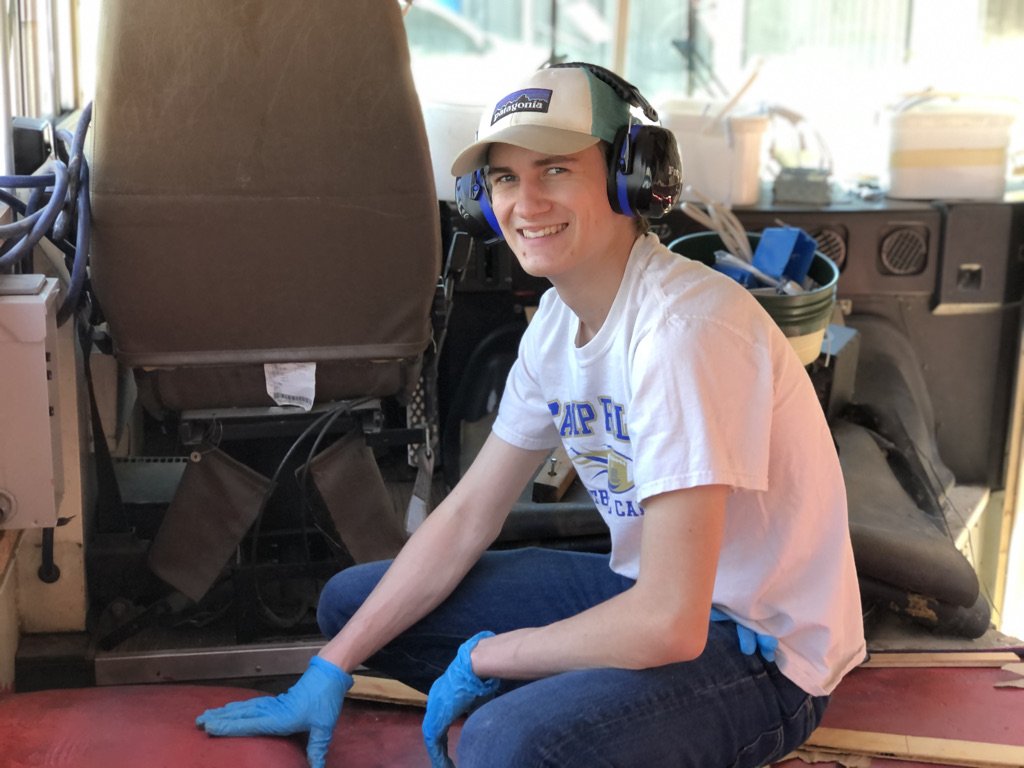
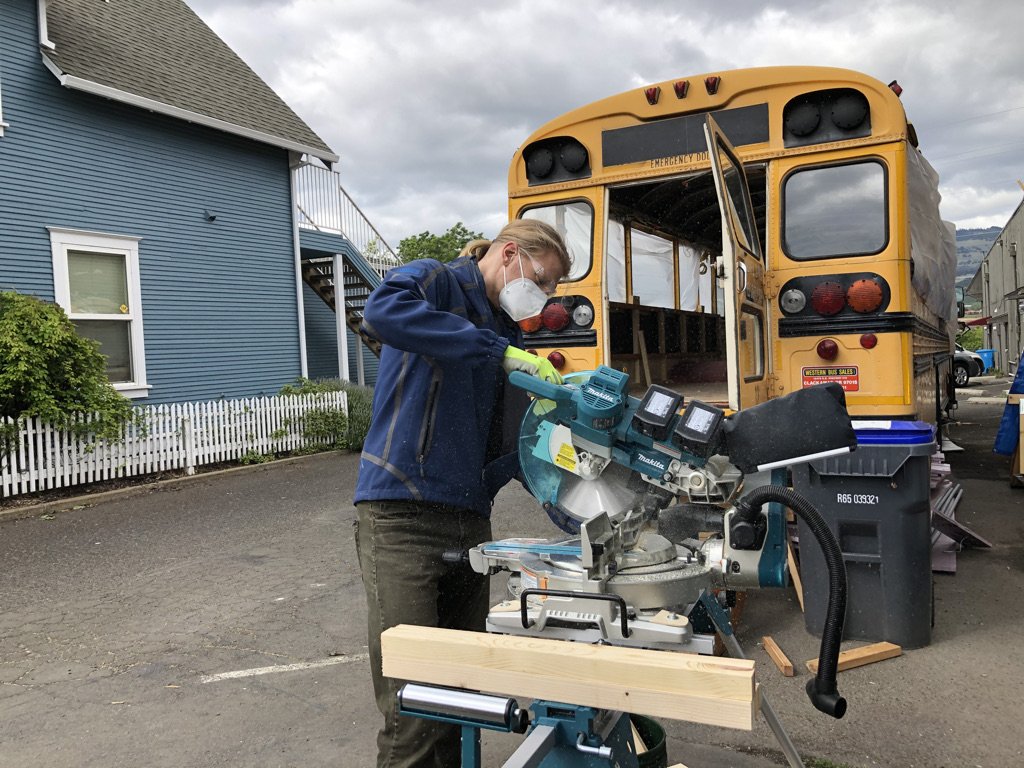
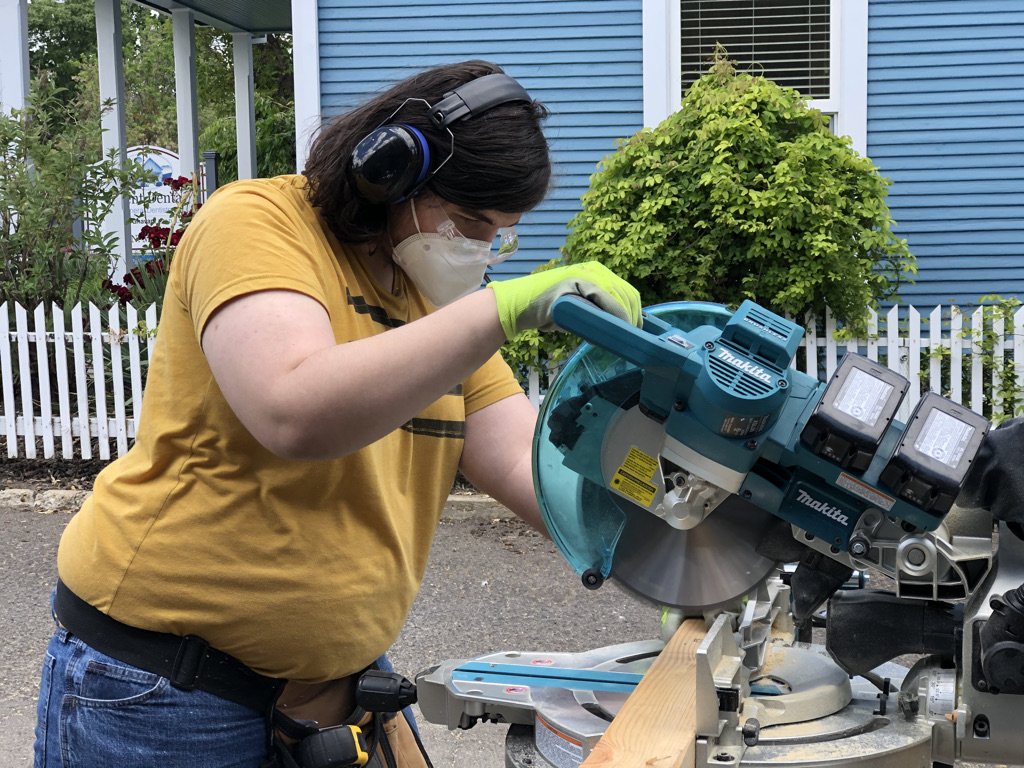
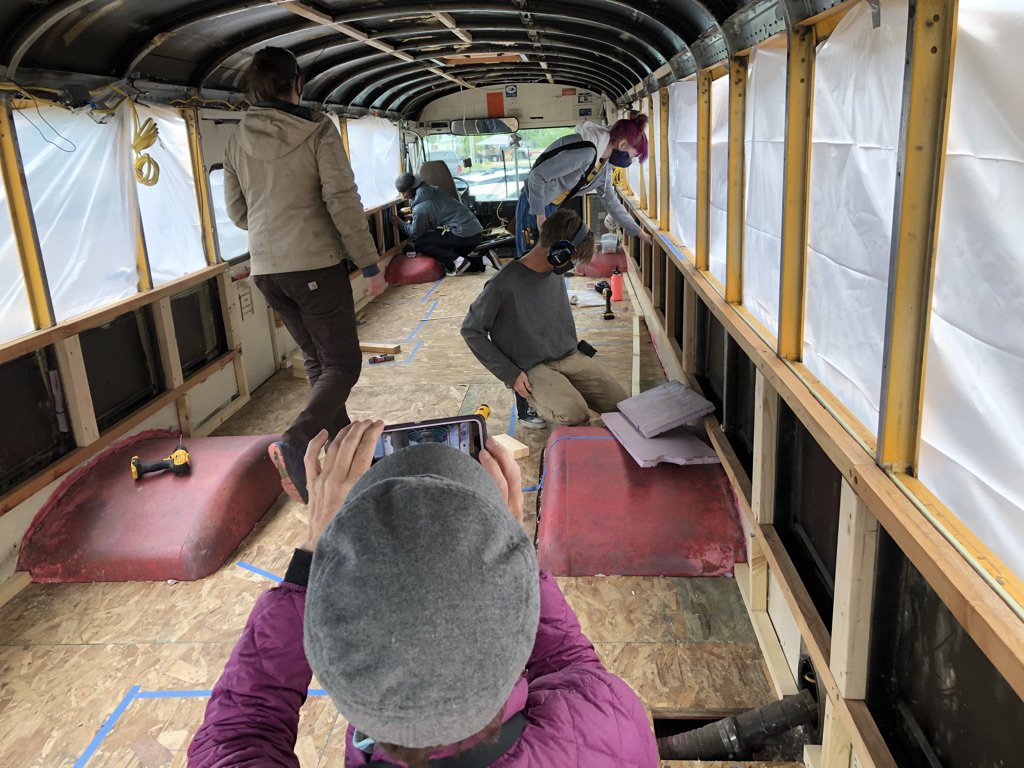
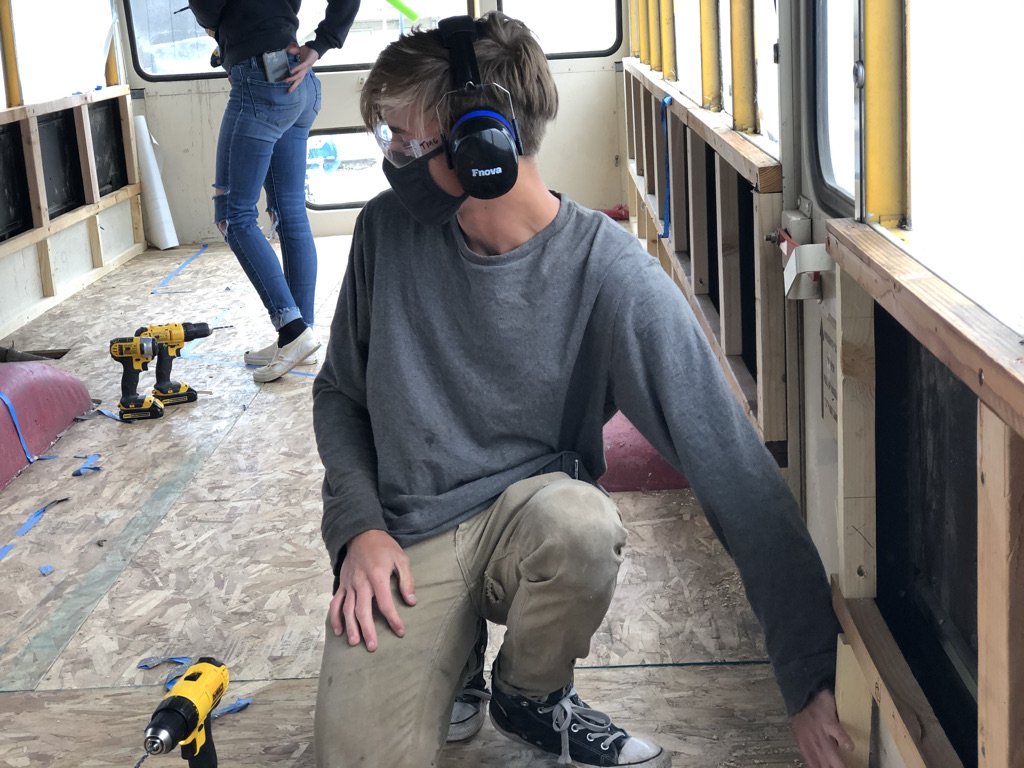
*Insulation is an excellent project to unleash students on. Protective gear/long shirts and pants are extra important when working with fiberglass. Students can install furring strips - they should understand the importance of firm attachments and bringing strips flush with each other. The more detail-oriented and accurate this step is, the more headaches you save for yourself later. This is a good stage to teach the concept of compounding errors!
